Spring Break 2016 in Rockport, Texas

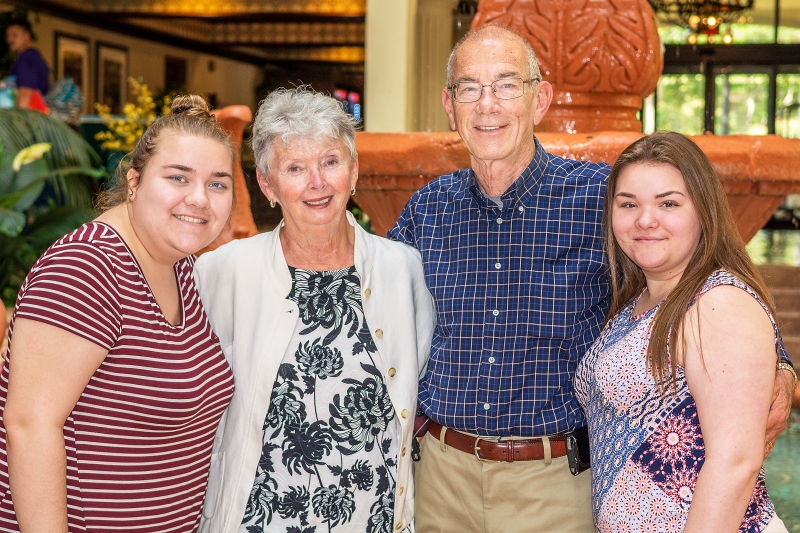
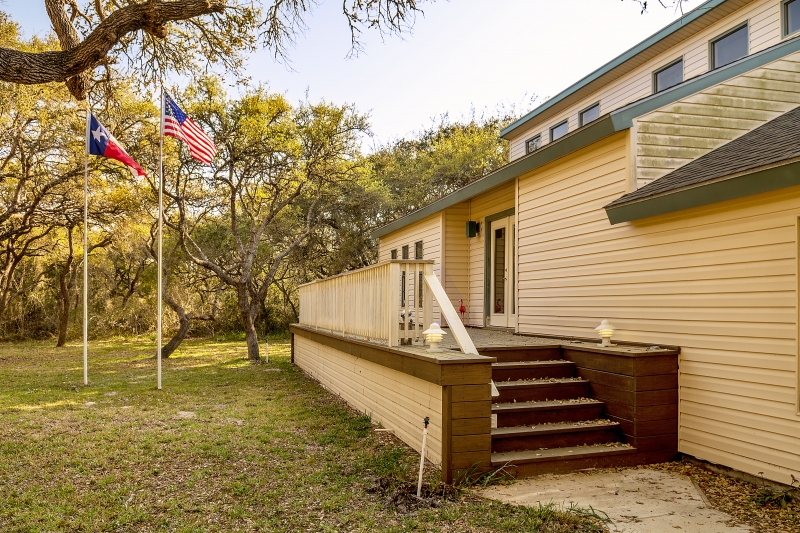
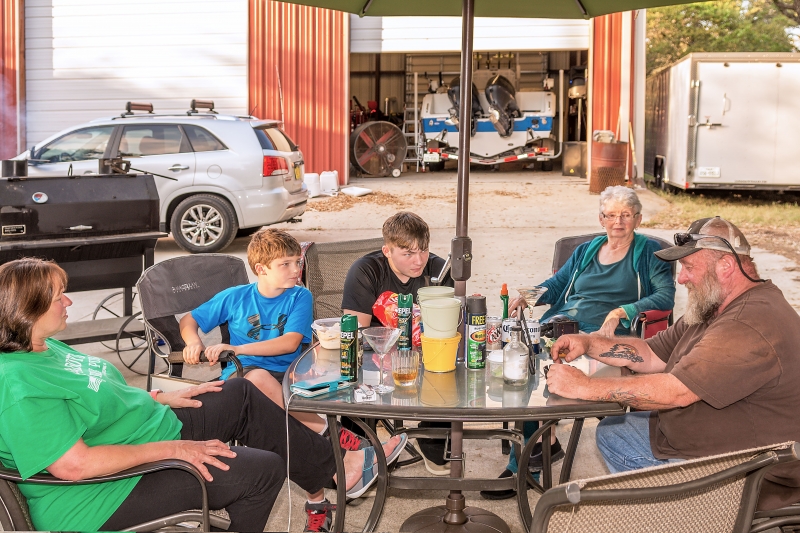
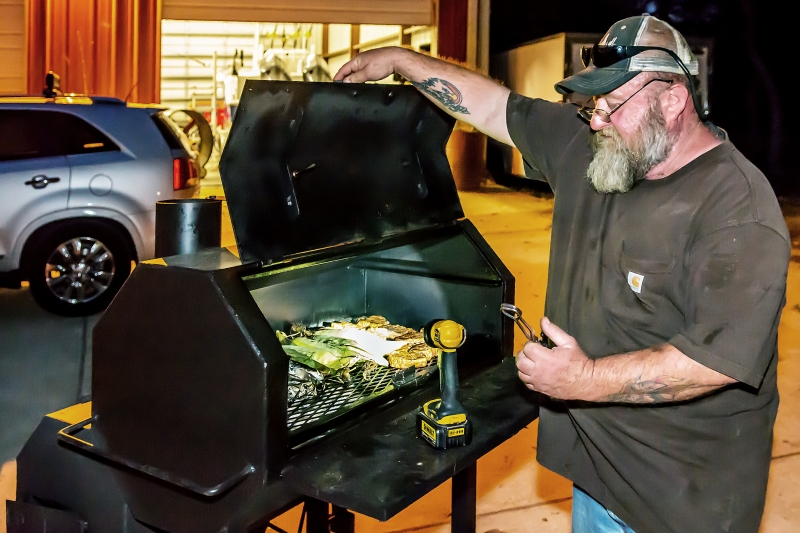
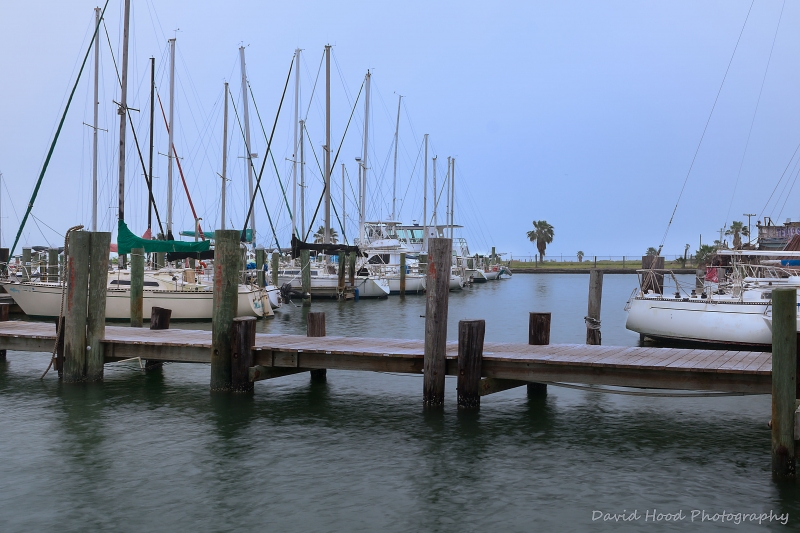
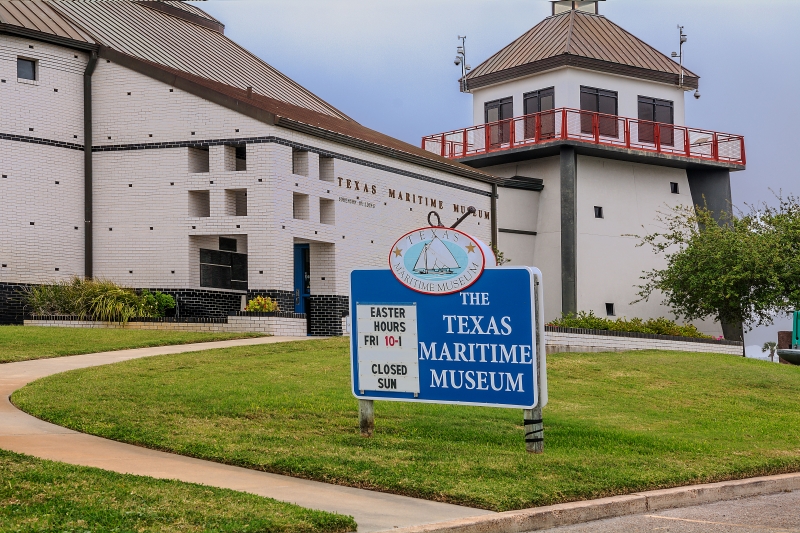
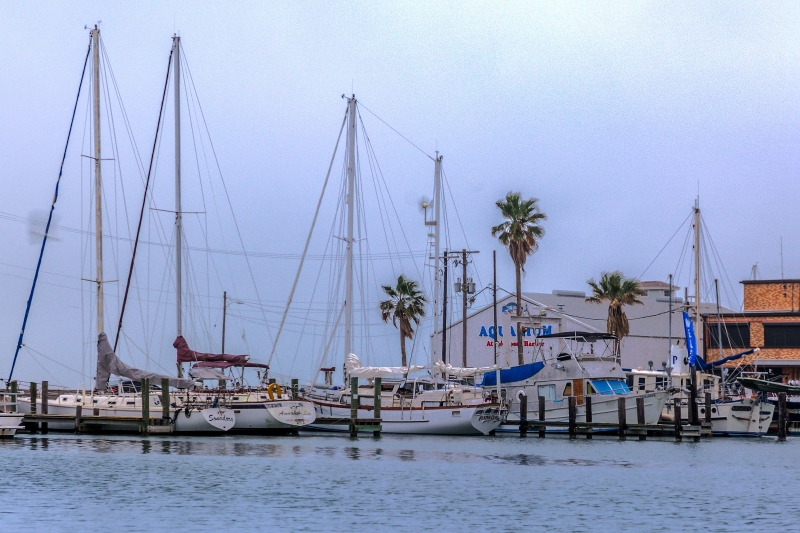
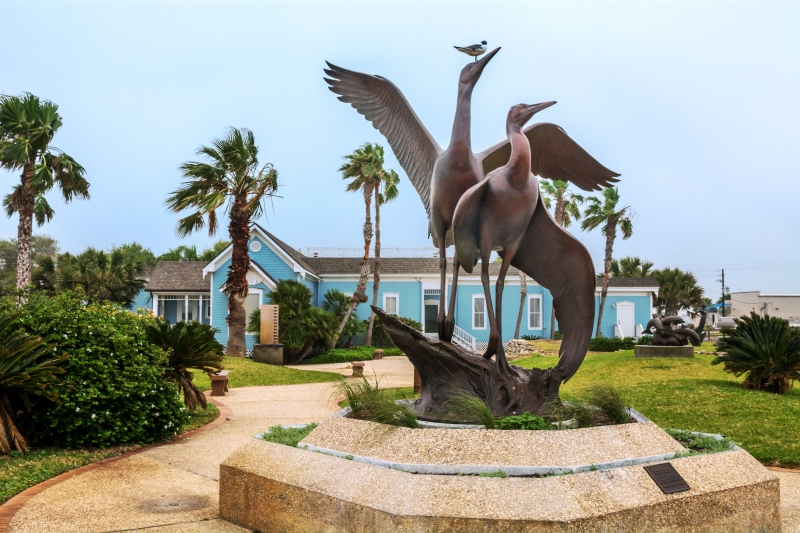
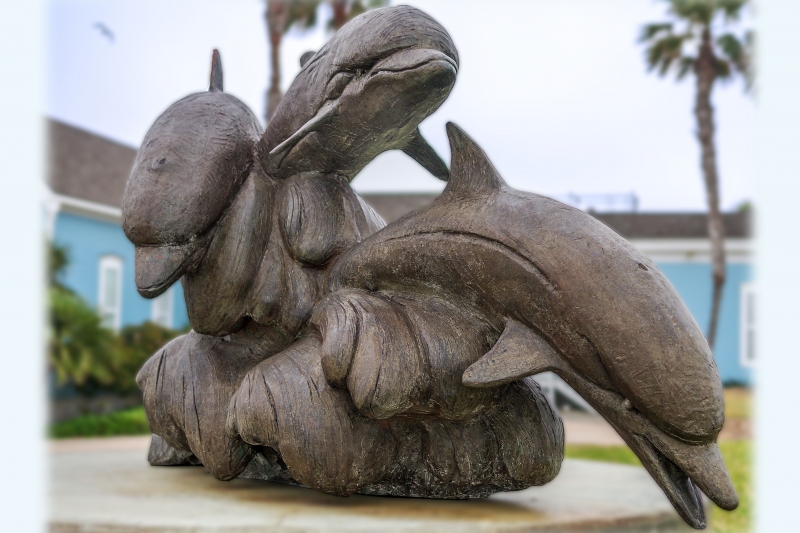
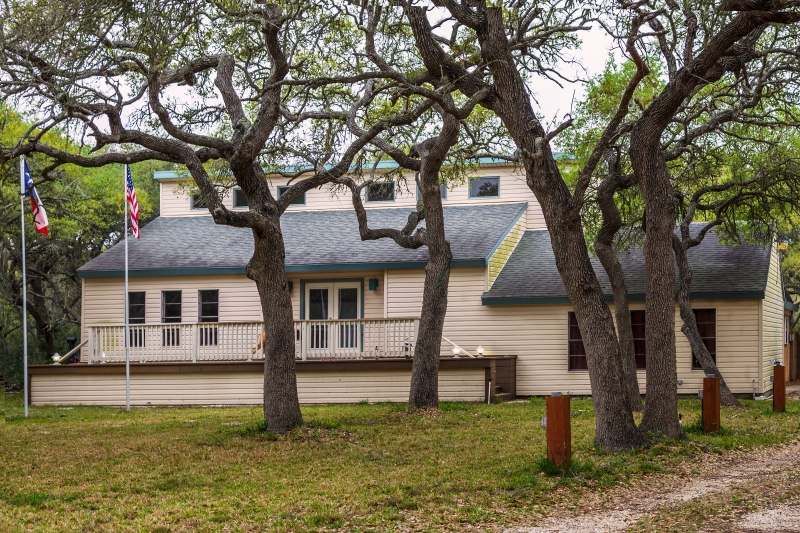
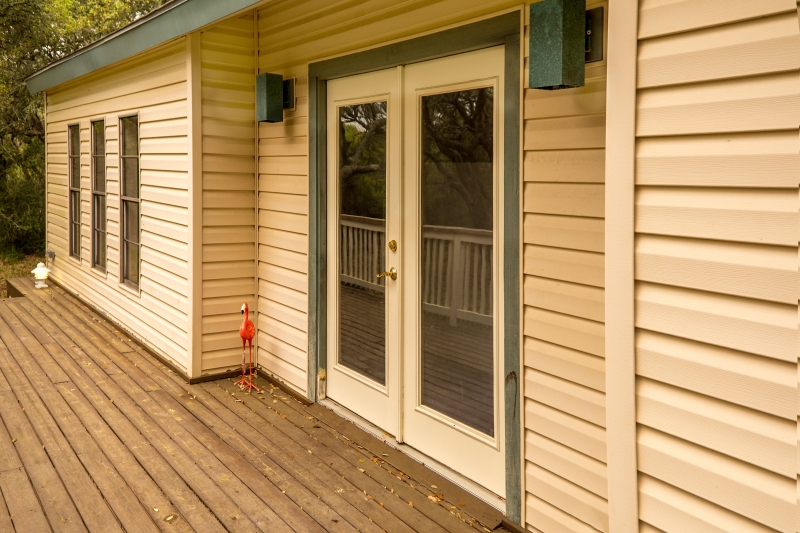
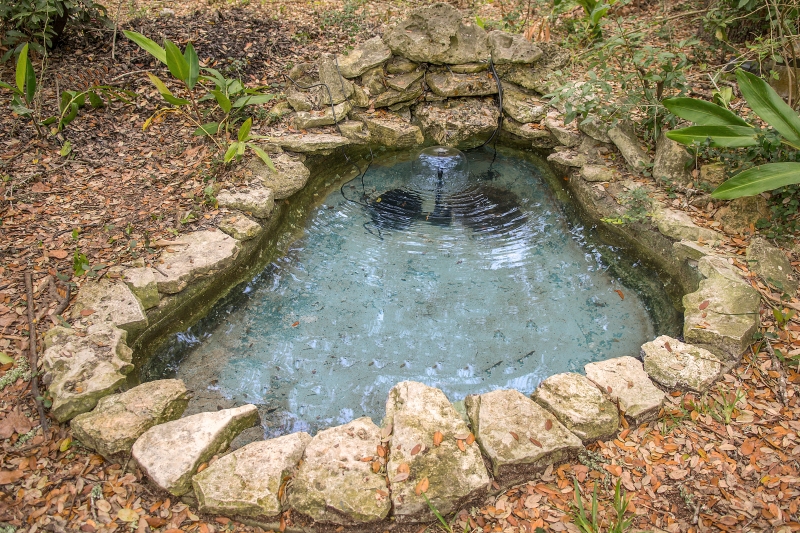
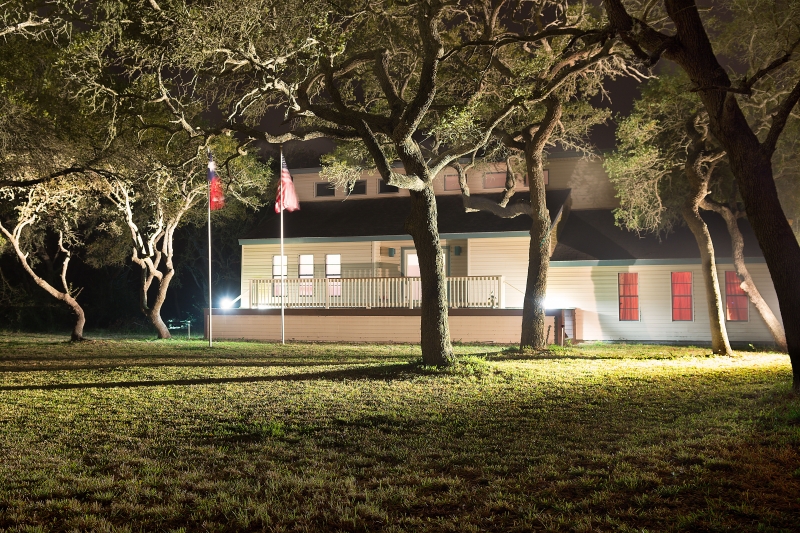
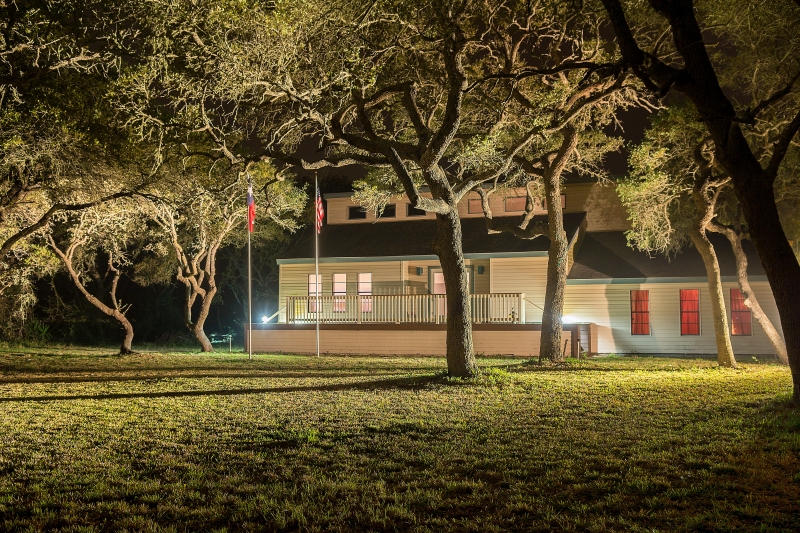
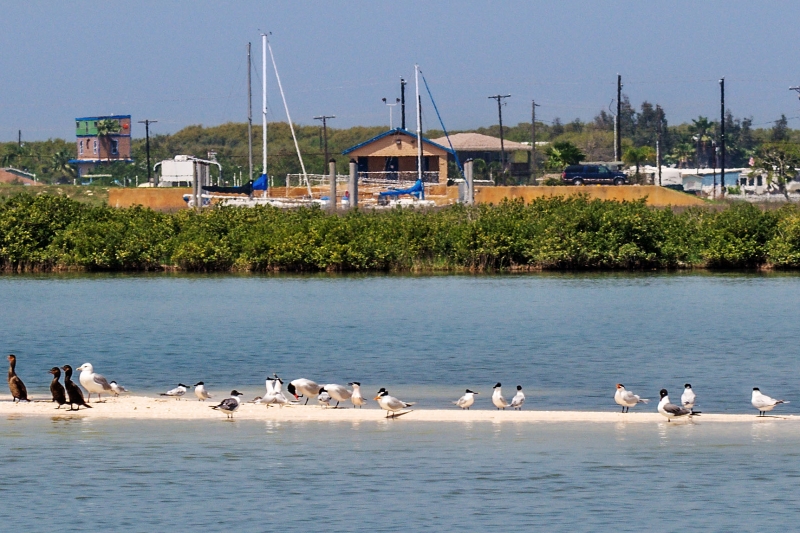
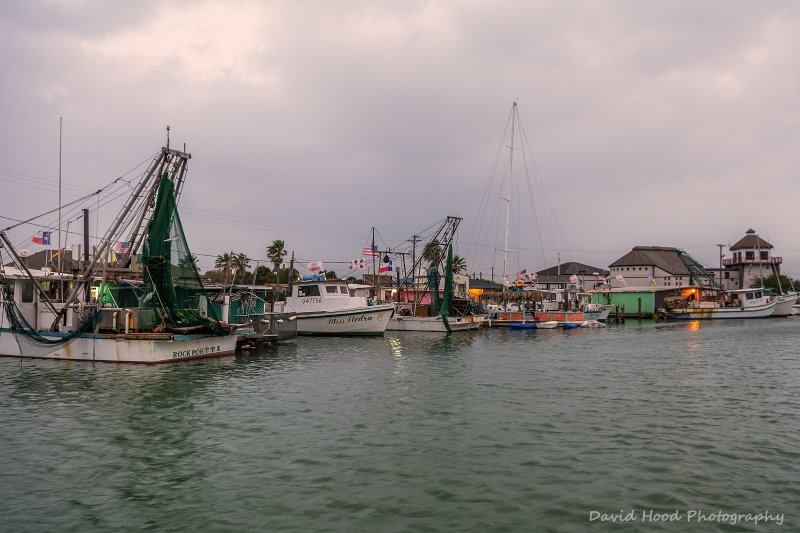
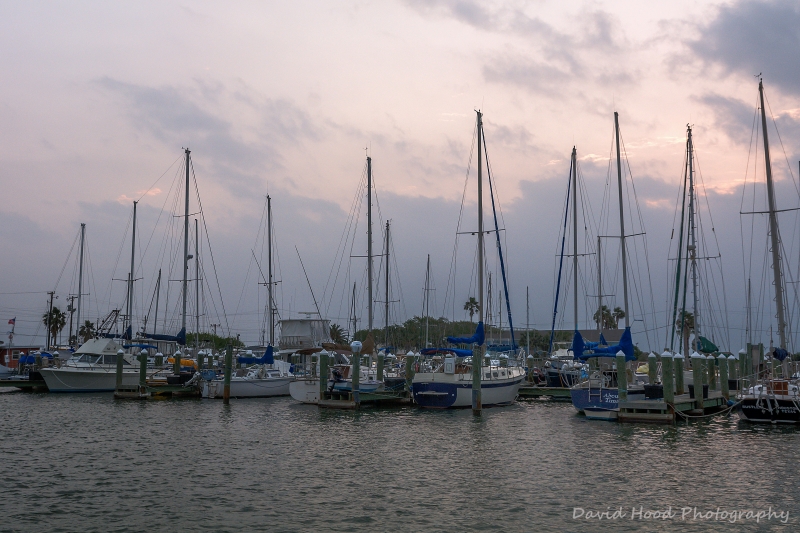
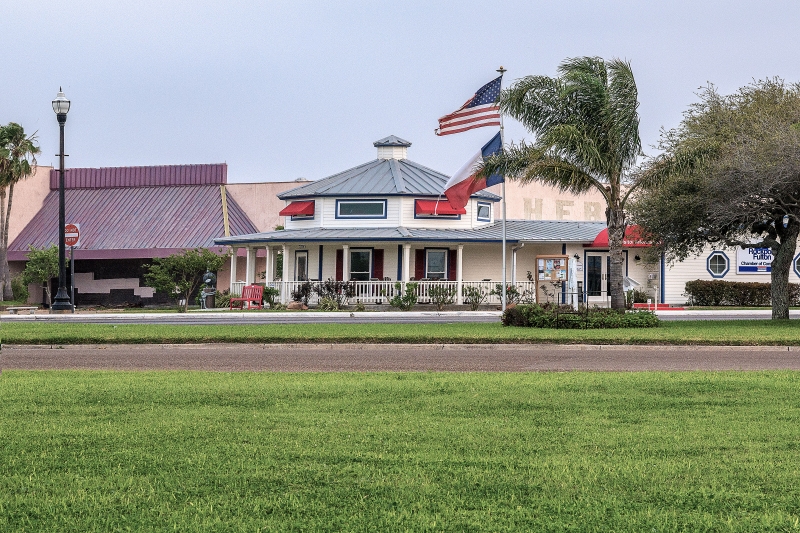
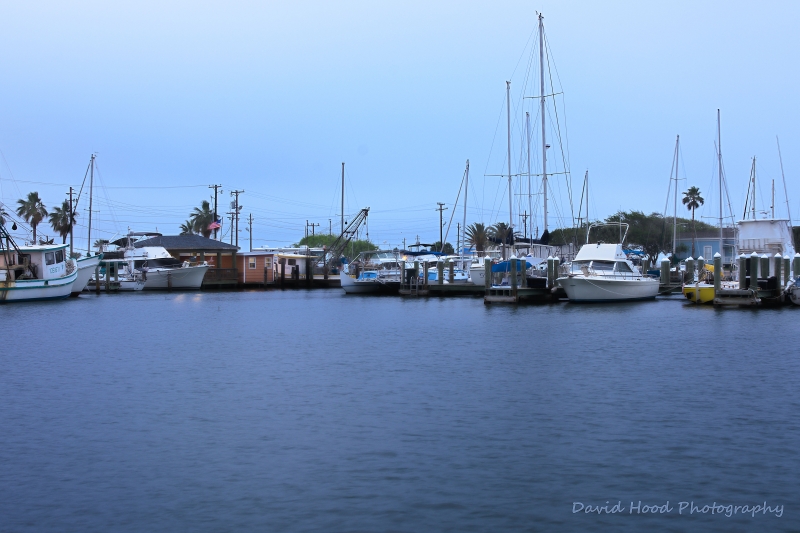
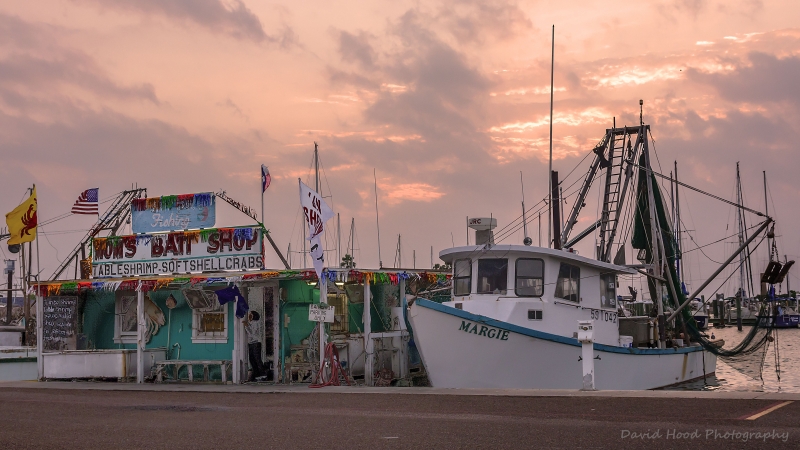
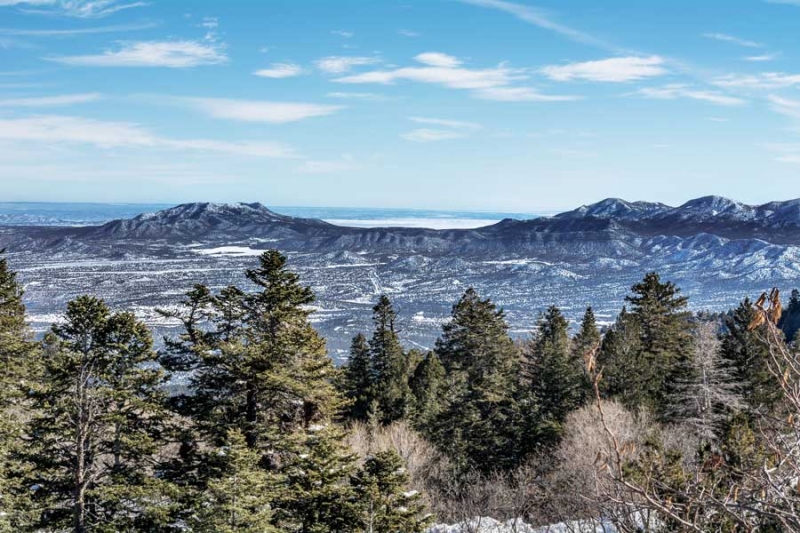
During the last week of March our family took a road trip to Texas to visit friends and family. During our trip through Texas we were hosted for 5 days by our boys’ maternal Grandmother and her husband in Rockport. They were wonderful hosts, and showed us many sites in the area by  land and by sea.

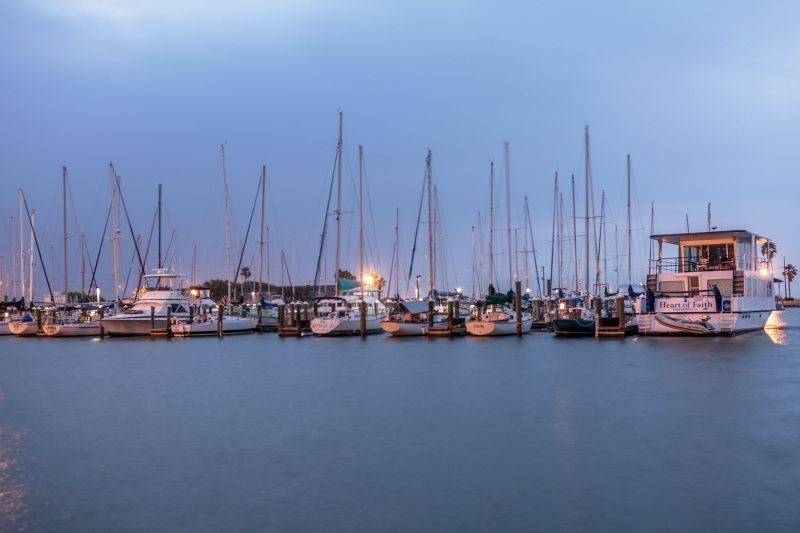
We enjoyed ourselves, and I especially enjoyed capturing many photographs that will be great memories for years to come. I follow Stephen Fisher Photography on Facebook and had been looking forward to visiting Rockport Harbor to try to emulate some of his great work.

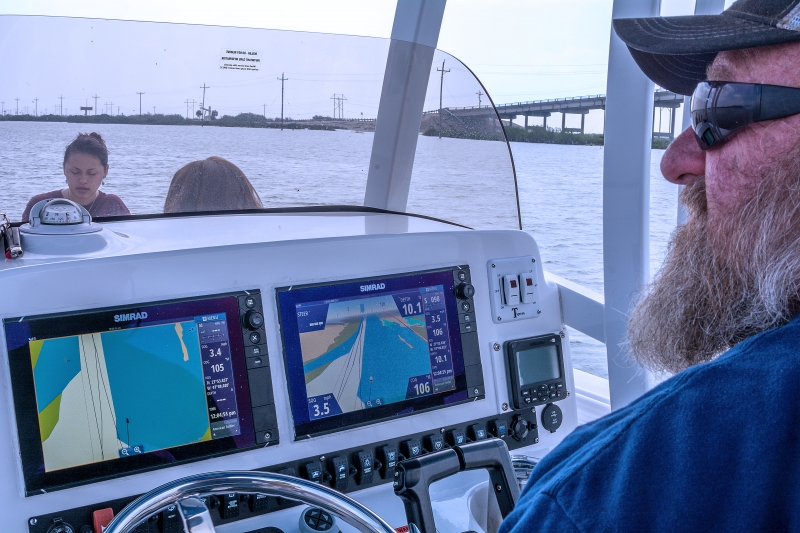
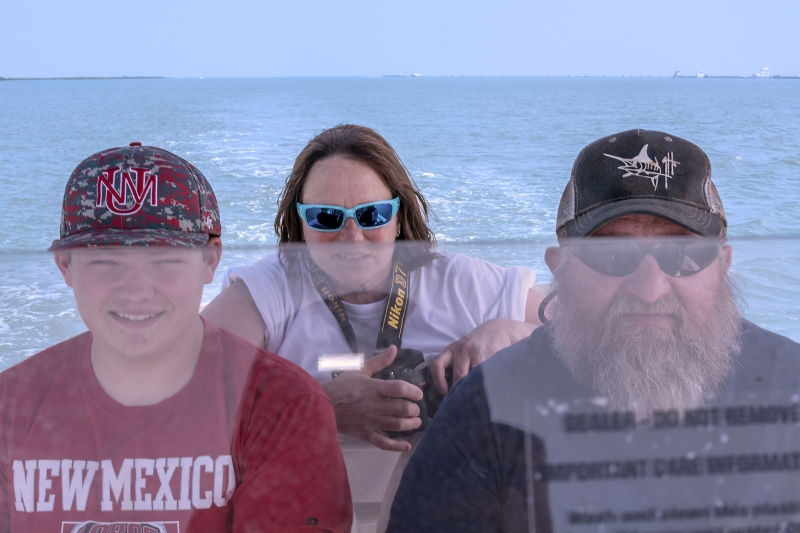
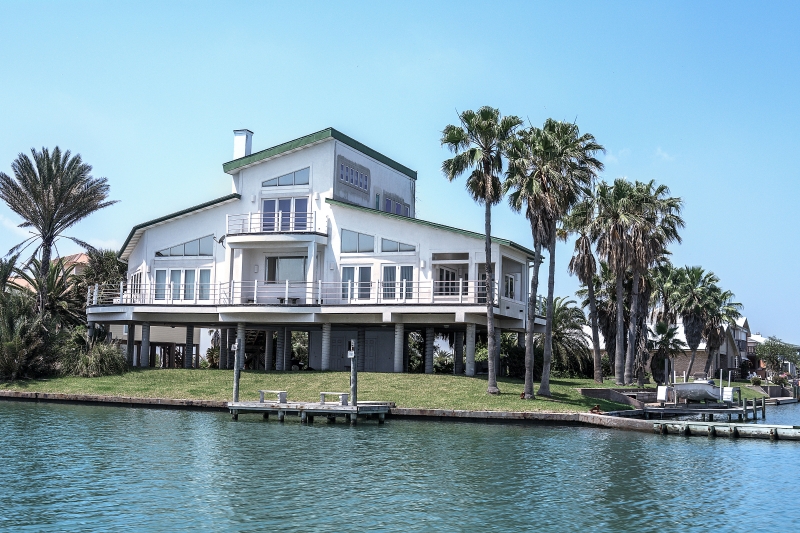
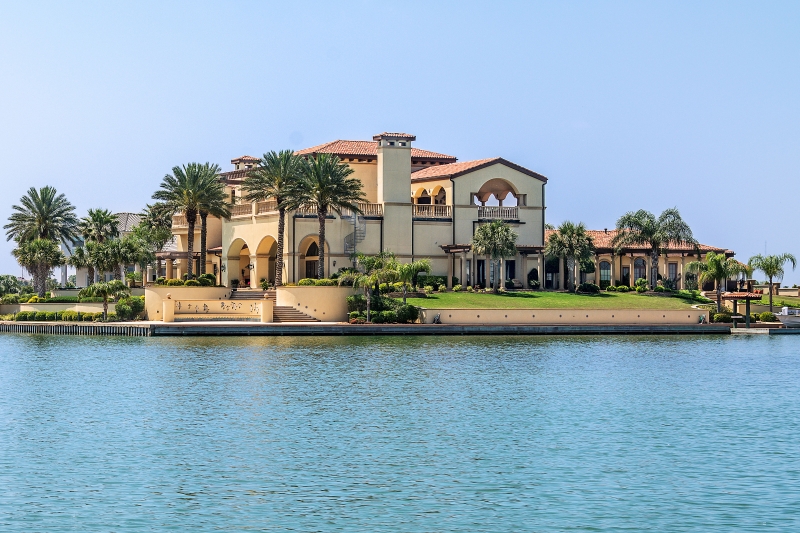
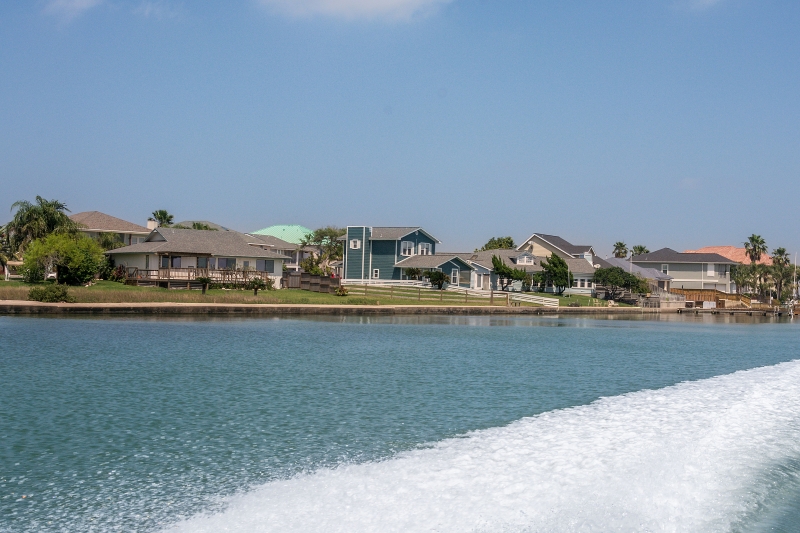
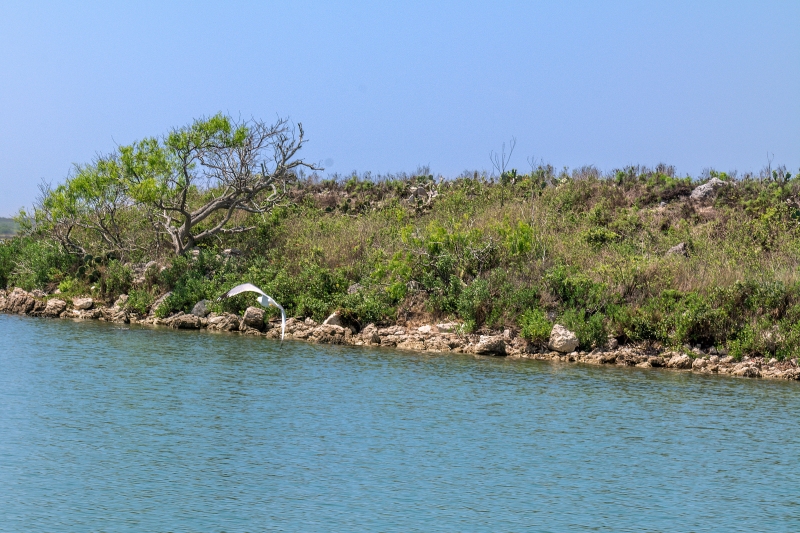
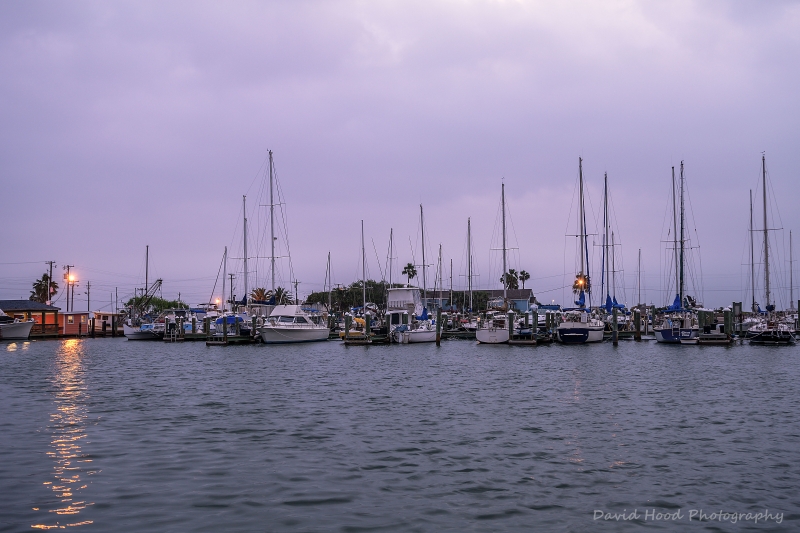
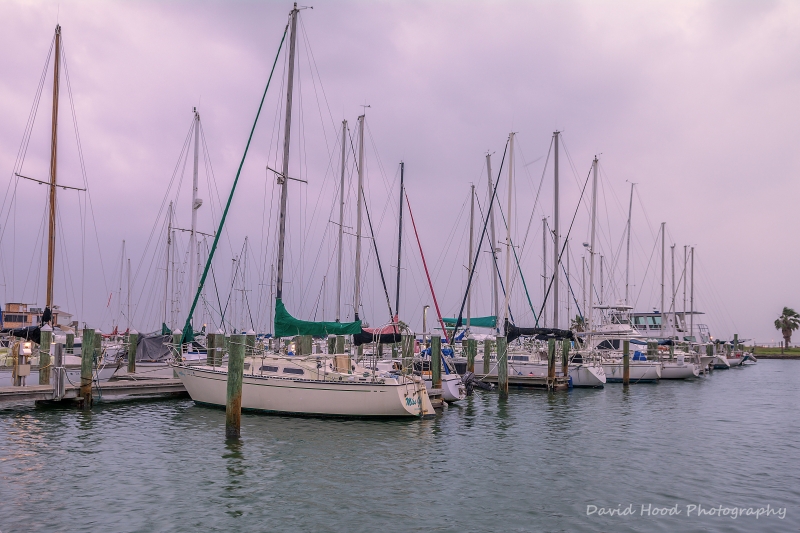
Alas, the weather did not fully cooperate with my goal of capturing an iconic harbor sunrise.  Every morning for 5 days the skies were overcast and heavy in the morning hours.  The only time we saw a sunrise was in the rear view mirror on the morning we left!  Nonetheless, I was content to capture photos of  many interesting sites and practice photography skills required for less than ideal weather conditions.  We did have sunny skies and calm winds on one afternoon, and were excited to see the area by sea on a 28′ boat piloted by the boys’ Grandfather.

I hope you enjoy viewing these photos and I invite your comments and questions.

Capture the Wonders Found in Travel and Life                                          d300dave@gmail.com

Instagram
Share

Creating a Composite Photo With Layers in Photoshop

I used Photoshop CS6 to produce this composite of our grandson Jim’s basketball team photo combined with their mascot – the Bulls. I pasted the photo of the Bull into Jim’s photo as a layer, set it to normal blending, and adjusted the opacity of that layer to suit.  Please feel free to comment.

Jim34Composite

Image 1 of 1

Capture the Wonders Found in Travel and Life                              Email: d300dave@gmail.com

Instagram
Share

DVD Video Sports Memories

Readers of my blog know that I’m  a strong proponent of creating permanent and lasting memories of life’s events by gathering photos of those events and creating a DVD video set to music.  The photo files can be embedded in the DVD for safekeeping and future download if needed, and the DVD itself makes a meaningful gift for a variety of occasions.  I recently finished a project to make a DVD Video of my grandson’s school basketball season (click to view video).  It made a nice gift for presentation to the coaches and players at their end of season banquet.  Baseball season will start soon, Easter and Mother’s Day will soon be here, and then comes graduations, summer vacation, travel, and family outings. Don’t let these memories fade away with photos sitting in a shoe box or on a computer drive – take lots of pictures, then contact me for a custom, personalized DVD video production.

Capture the Wonders Found in Travel and Life                             Email: d300dave@gmail.com

Instagram
Share

How to Create a Christmas Ornament With Photo Inside Using Photoshop

I was searching for a way to create a translucent Christmas ornament with a photo of our house inside that I could use to create a Christmas card.  I’m by no means a Photoshop guru, but I know enough about how to use the basic tools in Photoshop to follow most tutorials, so I thought I’d share the results of my project with those that may wish to undertake something similar.  The entire process has many steps and I won’t repeat them here, but instead will share the (free) links to the tutorials that I found helpful.

This link entitled Photoshop: How to Make a Custom SNOWGLOBE from Scratch by Blue Light TV will guide you through the process of creating the round translucent ornament, placing your chosen photo inside, and adding falling snow.

This link entitled Creating a Christmas Bauble in Photoshop by davrodigital contains the steps for adding the ornament loop to the top of the ball.

This is how my project turned out.  It’s not perfect by any means, but I’m satisfied with the results.  Some of you may see this again when our Christmas cards go out!  😉

Capture the Wonders Found in Travel and Life                       Email:  d300dave@gmail.com

OrnamentHouse

Image 1 of 1

Instagram
Share

Digital Photo File Storage and Backup

If you’ve followed my blog posts, you know that I much prefer storing digital files than dealing with boxes of paper (print) photos.  But digital photo and video file storage can take up a lot of disk space on your computer, especially if you’re like me and shoot in camera raw and never delete any photo or video files!

This week it was time for me to take some action – my 2 TB external computer drive was full. I take about 5,000 photos per year, and up to this time I had been filing all of my photos and edited files on the 2 TB drive and backing them up to (a what shall go unnamed) cloud service at a cost of $12 per month.  I decided to purchase 2 Seagate Backup Plus 5 TB capacity external hard drives at Costco and use one for file storage and the other for backup.  I rationalized that by cancelling my cloud service, the new backup drive would pay for itself in one year.

It was important to me to have all of my photos and videos stored on the same drive for easier access, so the first step was to copy the 100K+ files on my old 2 TB drive the new 5 TB storage drive. This step took 30 hours!  Once I was sure the files had successfully transferred, I then deleted the files from my old 2 TB drive and used it to backup my Windows “file history” so that I wouldn’t lose any important files or  documents stored on my computer’s internal hard drive if it crashed.

So I now have an additional 3 TB of added file storage space available for photos and videos.  By the time I fill up that space there will likely be new technology for file storage, or I will have reached the point where advancing age will dictate restrictions on my pursuit of photography.  Until that time comes, I will continue to shoot, learn, and have fun!

Capture the Wonders Found in Travel and Life                      Email: d300dave@gmail.com

Instagram
Share

How to Use Photoshop to Blur Part of a Photo

Often with good quality sports action shots (especially football) it takes a moment for the eyes to be drawn to the key players because the players, crowd, or referee on the periphery and background create a distraction. So I searched for a technique to selectively blur the distracting elements of a photo using Photoshop, and after some trial and error, found a tutorial by wikiHow to be very helpful.

This is the original photo:

DJH_7425NoCrop

Image 1 of 1

This is the original photo with a selective blur applied:

DJH_7425NoCropBlur

Image 1 of 1

This photo is the original photo with the selective blur applied, plus a crop to isolate the key players and action:

DJH_7425CropBlur

Image 1 of 1

Photo buffs may find this technique useful not only for sports, but also for portraits, kids, pets, flowers, and the like. Questions and comments are welcome!

Capture the Wonders Found in Travel and Life                      Email: d300dave@gmail.com

Instagram
Share

Get Ready for the Albuquerque International Balloon Festival!

Calling all camera buffs – the Albuquerque International Balloon Fiesta is coming October 3-11! There’s a good article in the September issue of Shutterbug magazine titled Photographing the Albuquerque Balloon Festival, by George Schaub.  The 2 page spread covers the best times for photographs, suggested camera gear, how to dress, cost, photogenic side trips, hotels, restaurants, etc.  Mr. Schaub points out that each day the festival begins with the low light (6 AM) Dawn Patrol and Mass Ascension of balloons.  He suggests that you bring a fast (f/2.8 or higher) wide-angle lens (28mm or wider) and that you test what ISO setting works best under the low light conditions (he used 800).  He also recommends using spot or center-weighted metering reading off the glowing balloon to ensure that the surrounding dark sky doesn’t throw off your exposure setting.

I agree with George’s suggestions, and offer a couple of comments.  First, for those not familiar with the festival, there are also many late day/evening low light photo opportunities such as the Glow and, as George mentions, a big fireworks display on some evenings.  The light changes quickly during these dawn and evening events, so remember to check your ISO settings often at these times.  Finally I would suggest that if your camera gives you this option, turn on the exposure bracketing function during these times with something like +2 Frames – giving you a two-shot bracket with overexposure and normal exposure.  In this way, if you have 2 or 3 glowing balloons in close proximity, you will achieve acceptable exposure(s) to capture the entire scene.  In very difficult lighting conditions it will allow you to combine detail in both the shadows and highlights using exposure blending or High Dynamic Range (HDR) post processing techniques.  And if all of this hurts your head, set your camera mode to “auto” and just go out to enjoy the Balloon Festival and have fun shooting!

Below is my photo from one of the evening Glow events in 2013 shot with a Nikon D300, Nikon 50mm f/1.8 lens set at f/2.8, and an ISO setting of 1000.

Capture the Wonders Found In Travel and Life                             Email:d300dave@gmail.com

_DSC7189Glow10.13web

Image 1 of 1

Instagram
Share

Color or Black & White?

Our friend Sybil asked in a comment if I had produced black & white photos of the color driftwood photos previously posted in South Carolina Beach.  I thought that was an interesting question, so I’ve processed the photos  in black and white for comparison with the color versions below.  It’s clear that I’m no Ansel Adams, but I’ll leave the preferences to my readers – all comments and opinions are welcome!

DJH_2610

Image 1 of 4

Capture the Wonders Found in Travel and Life                       Email: d300dave@gmail.com

Instagram
Share

Facebook for WordPress

While this is a photography blog, I decided to vary off course and write a post that may help other WordPress users.  I had installed the Facebook for WordPress plugin so that when I published a post on my website, it would also appear under my Facebook account.  However, when I hit the “publish” button for a post from my WordPress blog, it didn’t show up in Facebook – very frustrating!

After much internet research and some trial and error, I found the solution.  If you’ve installed the Facebook for WordPress plugin, the WordPress dashboard will show the Facebook icon.  Click on that link and it will bring up a screen titled Facebook for WordPress.  On that screen, you will need to enter the “App ID” and the “App Secret”.  It took me a while to figure out where to find this information.  I finally found an internet article How do I get a Facebook Application ID? with the answer.  Basically you have to log into your Facebook account, then register as a Facebook developer at https://developers.facebook.com, enter the name and domain name of your website, and then you will be provided a numeric App ID number and an alpha-numeric App Secret.  Copy these codes into the WordPress “Facebook for WordPress” screen referenced above, save it, and presto – problem solved!

I hope this may be of some help to other WordPress users.

Capture the Wonders Found in Travel and Life                            Email: d300dave@gmail.com

Instagram
Share