Nikon f/2.8 70-200 VRII Zoom Lens

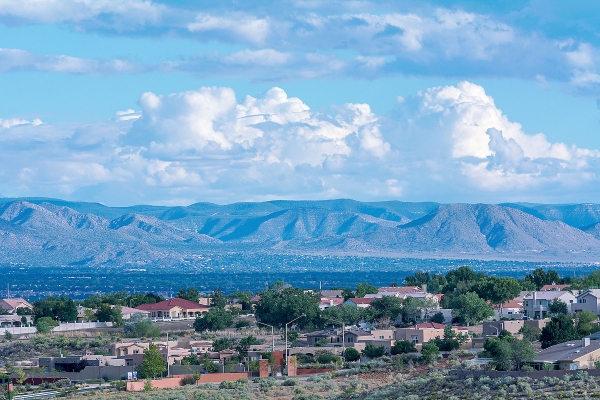
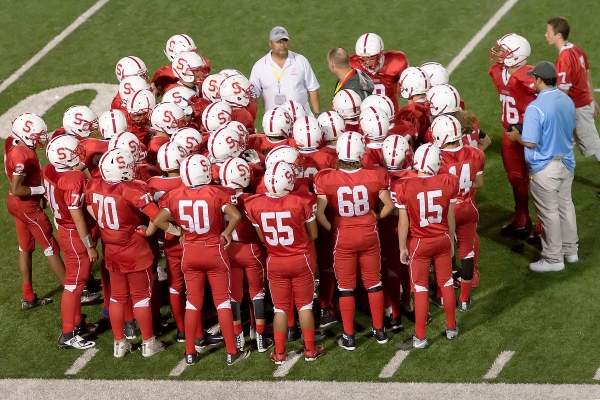
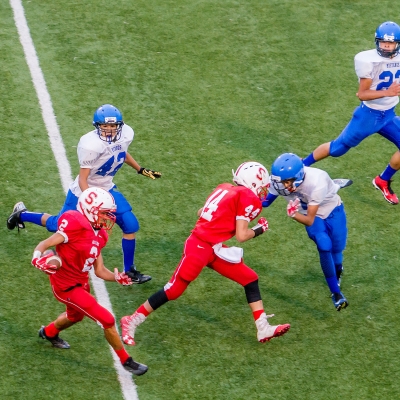
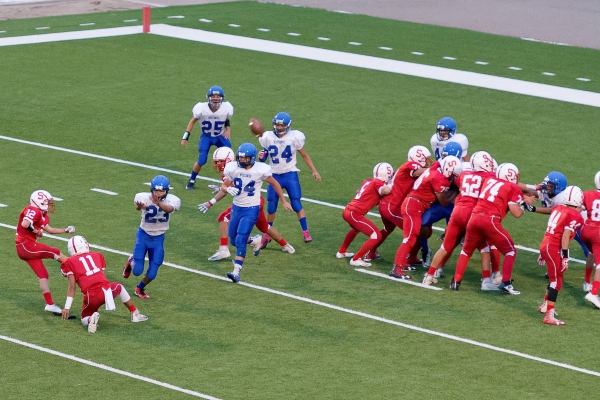
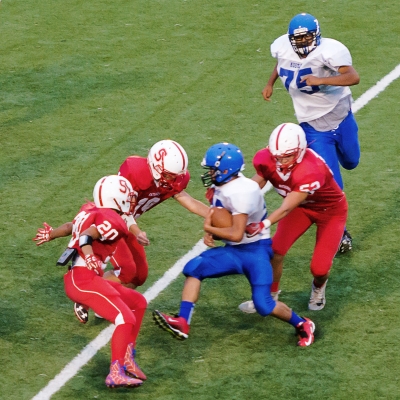
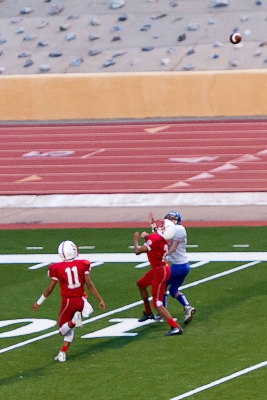
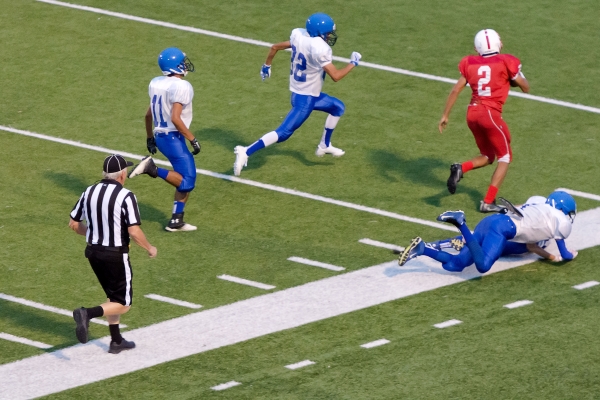
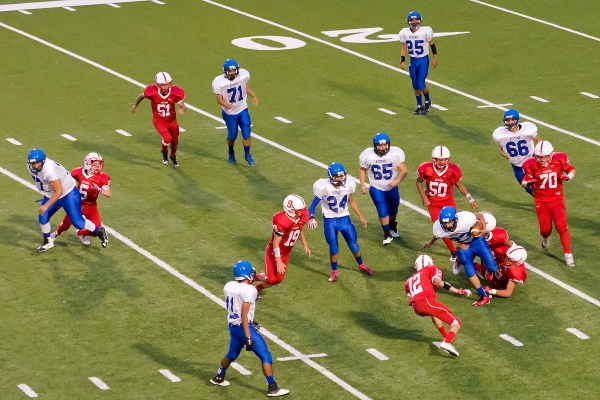
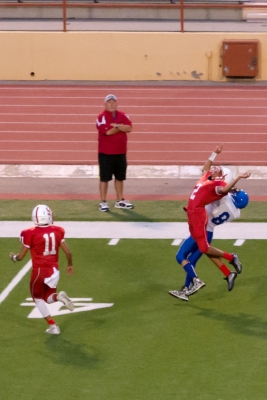
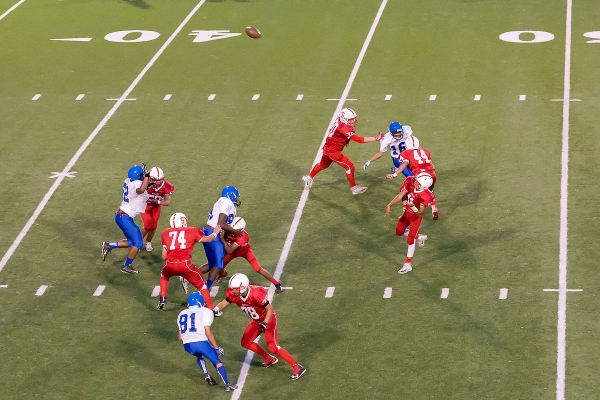
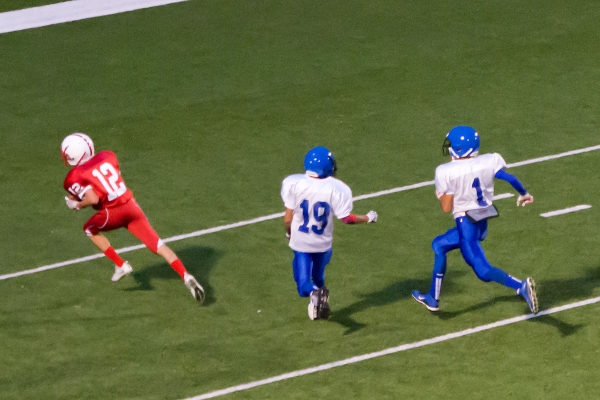
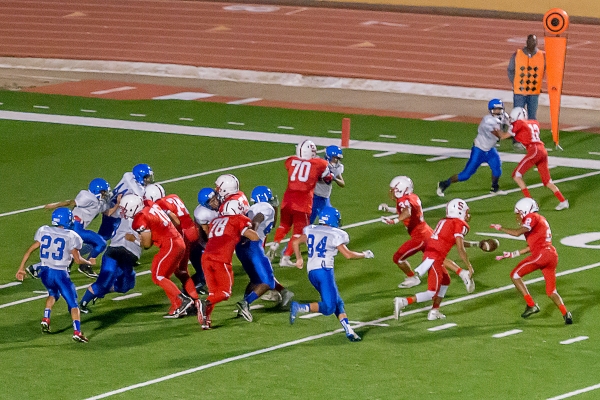
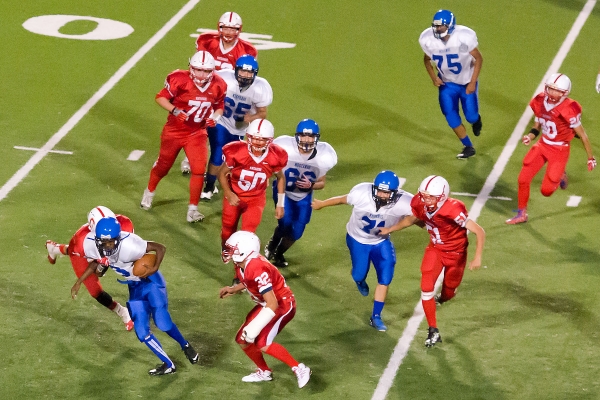
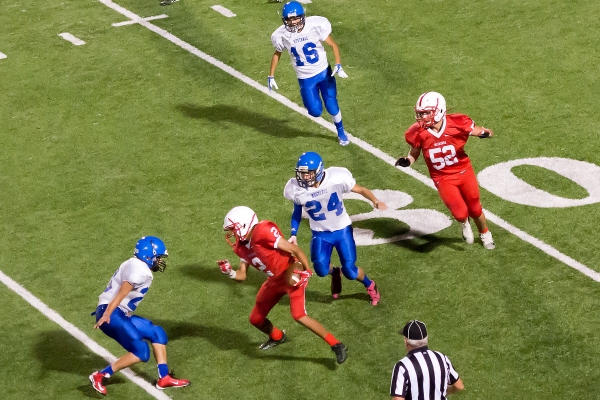
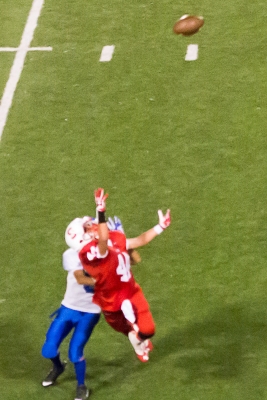
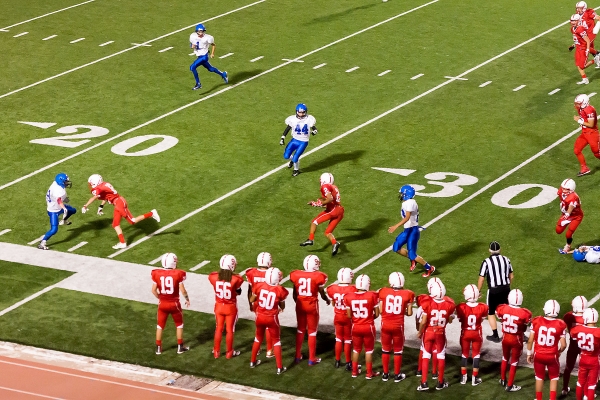
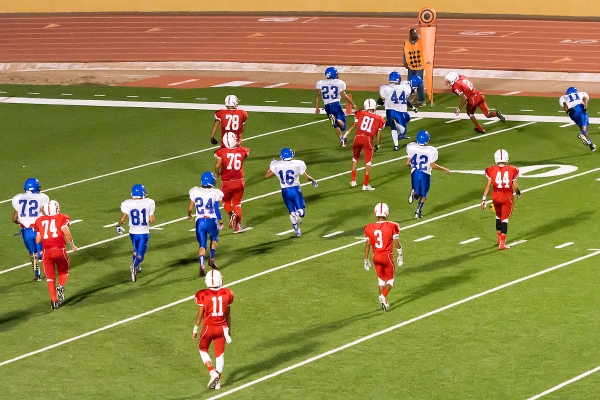
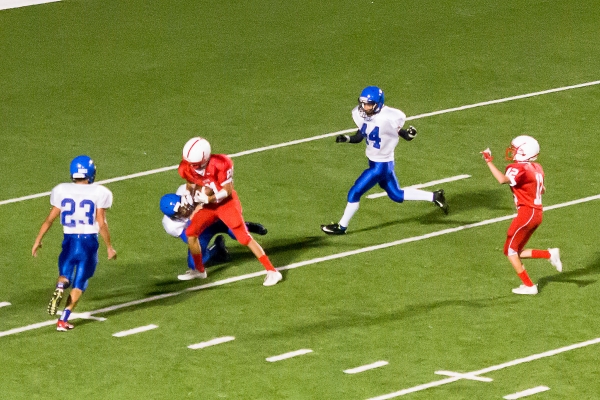
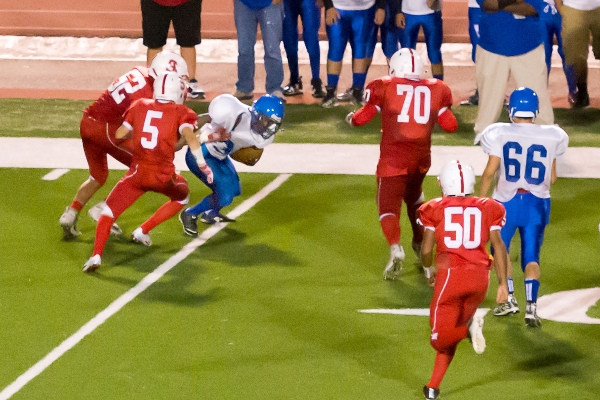
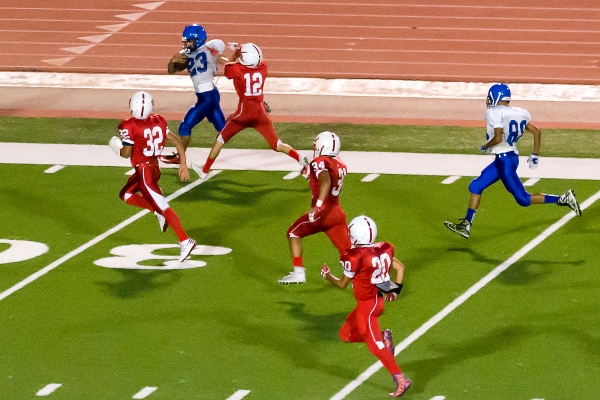
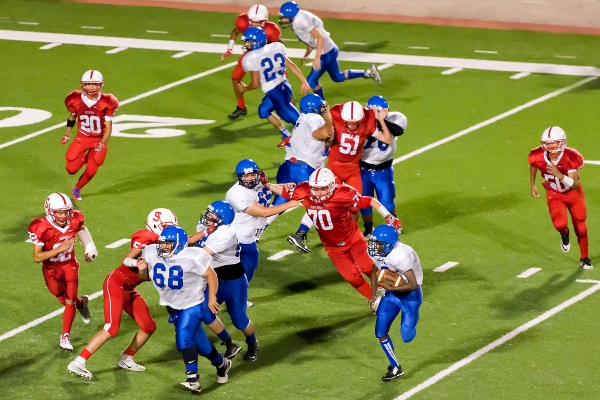
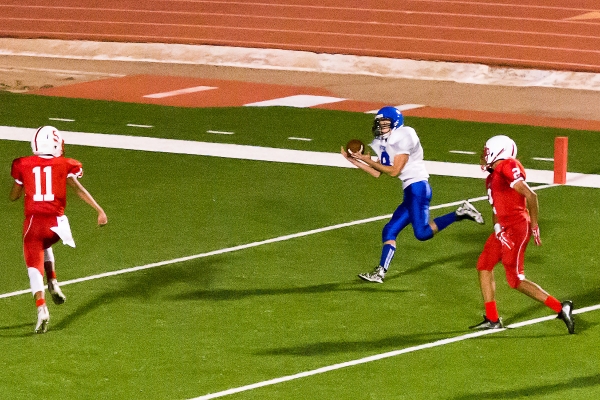
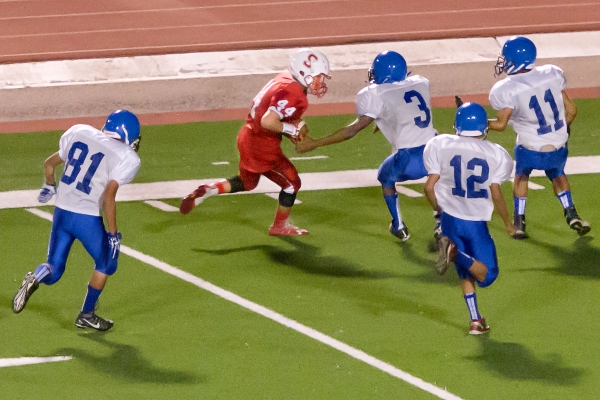
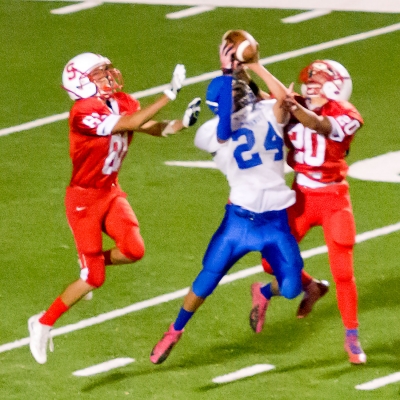
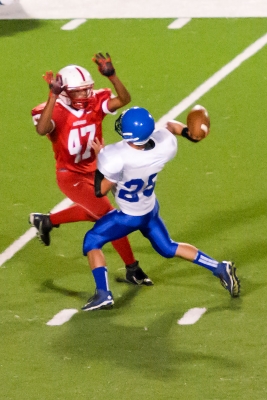
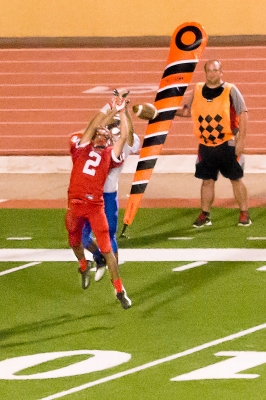
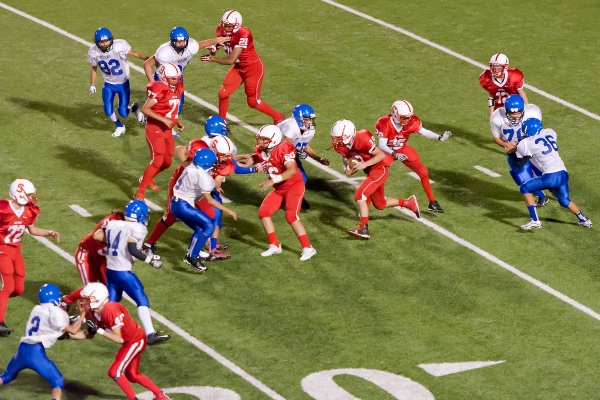
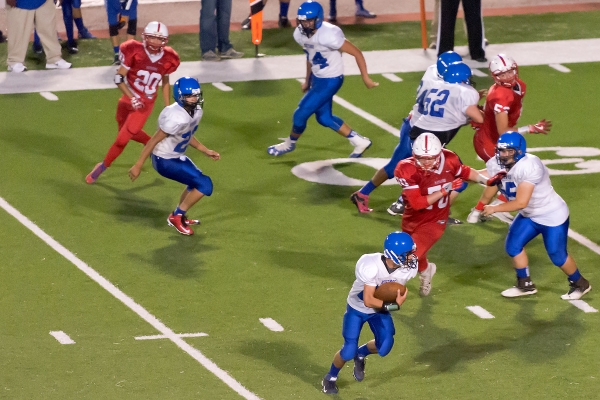
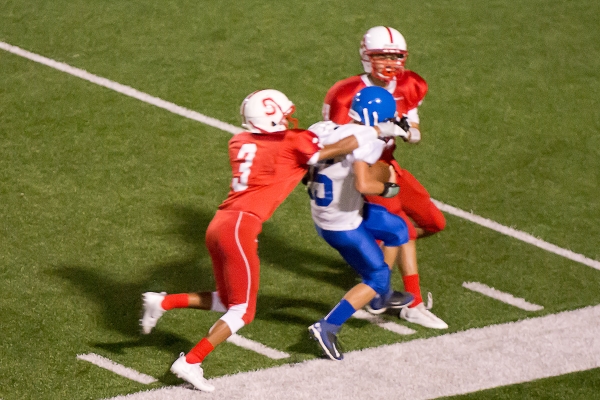
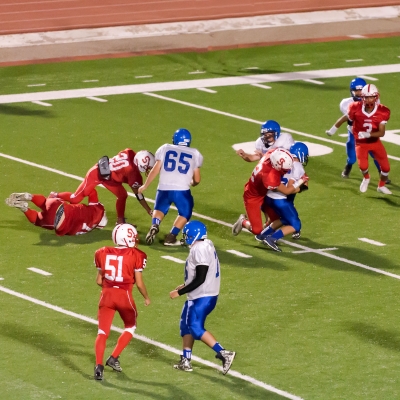
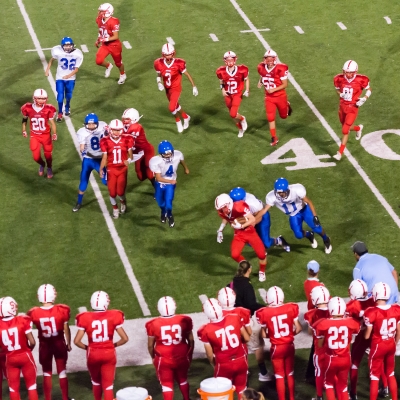
I bought this lens for the specific purpose of enabling better quality photos of my grandson’s “under the lights” high school football games.  Yesterday afternoon I was using the lens with my Nikon D7100 camera shooting a late afternoon game.  As the game ended I noticed the cloud buildup over the nearby Sandia Mountains, so without changing my camera’s manual settings ( f/5.6, shutter 1/500, ISO 160), I simply aimed, cranked the focal length to the max 200 mm, hit the back button focus, and fired.  Not the “go to” lens for landscape photos, but I’m impressed with its capabilities!
Capture the Wonders Found in Travel and Life                               Email: d300dave@gmail.com

DJH_0025

Image 1 of 1

Instagram
Share

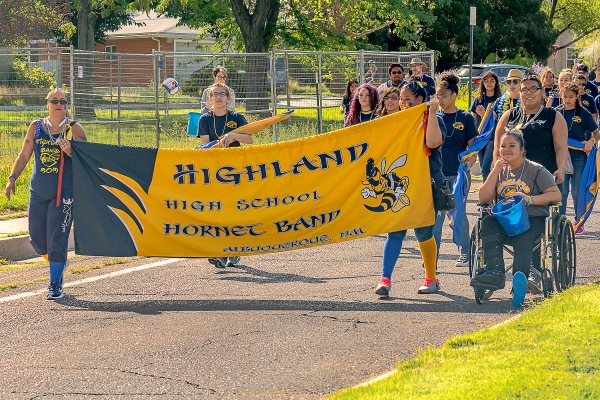
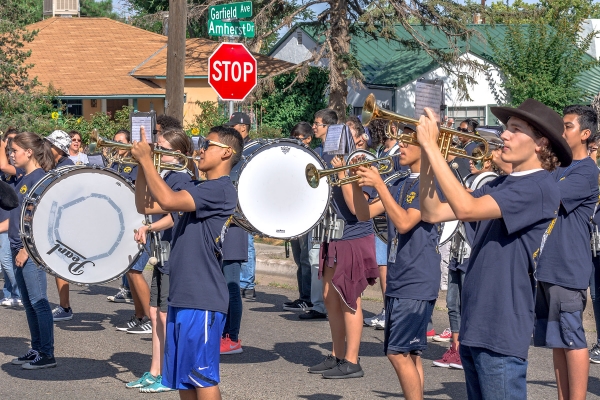
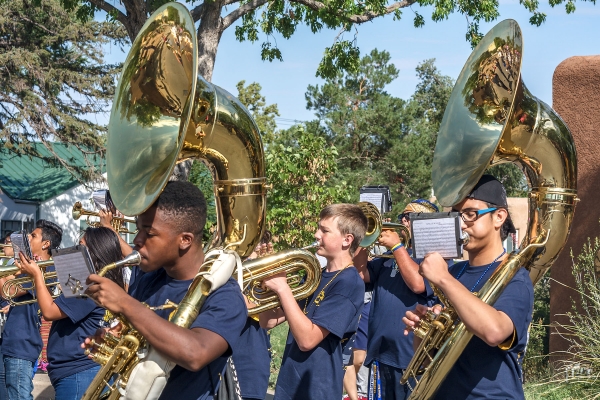
Highland High School Marching Band

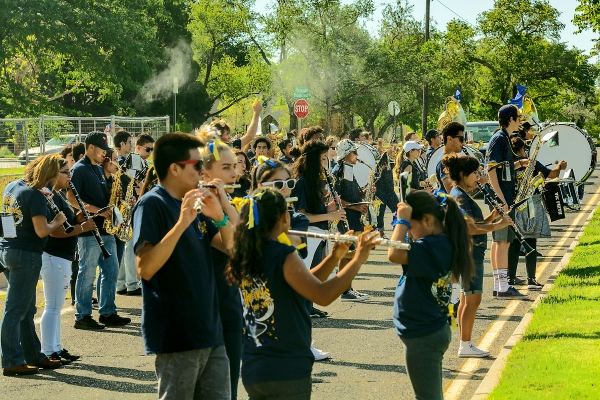
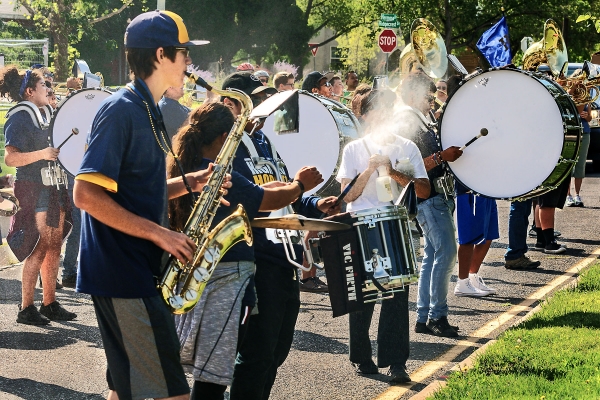
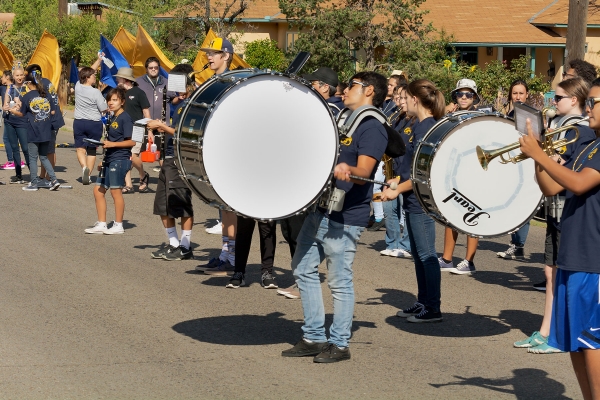
I started the morning by going to my Grandson’s soccer practice to try out my newly acquired Nikon f/2.8 70-200 VR II lens.  After being there about 15 minutes I heard band music near the playground where the boys were practicing – so off I went to find it.  It turned out to be the Marching Band from our neighborhood District high school, Highland High School.  The band was marching through the district neighborhoods to raise money for the bands’ needs.

I wouldn’t have chosen this zoom lens (which I bought for night-time football) to capture a marching band parade – a wider angle zoom would have been a better choice.  So I cranked it down to its lowest focal length of 70 mm (equivalent to 105 mm on my Nikon D7100 crop sensor camera) and tried to get far enough away to capture a few frames.  After all, you don’t often get to see and hear a band marching through your neighborhood!

All photos (except the first two) were taken in manual mode with shutter speed of  1/125 second, aperture f/11, and ISO 200 with matrix metering,  I took the first two photos at f/7.1, but decided to decrease the aperture slightly with the last photos as the sun rose in the sky and became brighter.

Comments and questions are always welcome.

Capture the Wonders Found in Travel and Life                                            d300dave@gmail.com

Instagram
Share

Save Route 66 in Albuquerque

Make ART Smart, a Coalition to Improve Albuquerque Rapid Transit (ART)  sponsored a photo contest entitled This Place Matters – Save Route 66 in Albuquerque.  Make ART Smart is an unfunded group of volunteer concerned citizens who are professional architects, planners, attorneys, and business/community leaders. Make ART Smart volunteers came together on the behalf of all citizens and stakeholders who care about and are effected by the impact of this huge project on Route 66/Central Ave in Albuquerque. Their mission is to make sure the design of Albuquerque’s proposed bus rapid transit system is aligned with preserving the charm and vibrancy of the most important historic segments remaining along Albuquerque’s historic Route 66. They support a well-designed bus rapid transit system provided that it supports and enhances the character and functionality of Albuquerque’s most valuable, historically sensitive areas.

The photo contest invited the submission of up to 6 photos depicting a specified section of Route 66/Central Avenue in Albuquerque including the area of Nob Hill – the neighborhood where I live. Only photos taken during the last 2 weeks of July 2016 were permitted in the contest – the idea was to document the charm and vibrancy of the area as it currently exists while fostering public awareness of deficiencies seen in the project’s planned implementation.  Sadly, on July 29th a federal judge declined to delay the project’s immediate start.  Nonetheless, I’m hoping that my photo submissions may yet play some small part in creating changes to the project that will Make ART Smart.

Instagram
Share

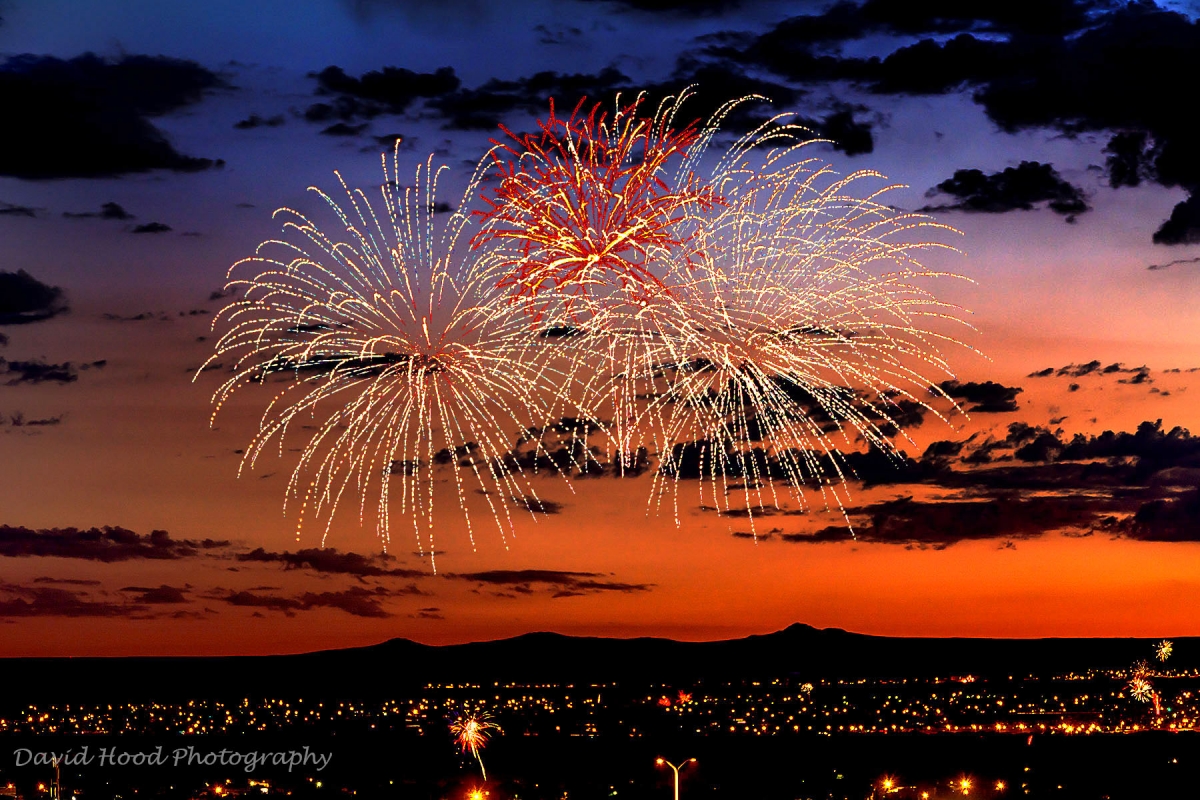
Fireworks and Sunset Composite

In my previous post I said that we arrived early at a good location to view the fireworks display in order to set up my tripod and camera, and that a rainstorm that had passed through the area left some cloud cover that provided a stunning sunset.  I recall thinking that it would have been nice if the show could have started about 30 minutes early – just before the sun fully set and the sky went black.  But alas, the show started on time – just as the sky was going dark,

So I created this composite photo of “what might have been”.  Enjoy!

Capture the Wonders Found in Travel and Life                              Email: d300dave@gmail.com

DJH_4846_4857_Comp

Image 1 of 1

Instagram
Share

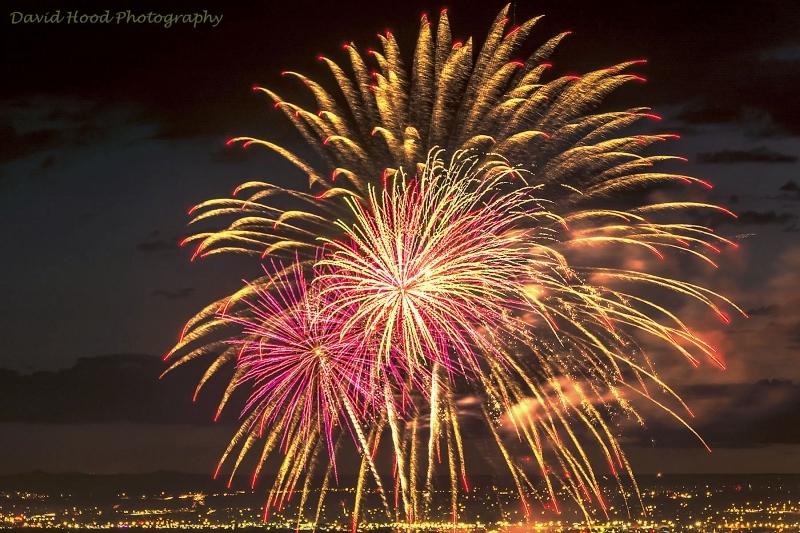
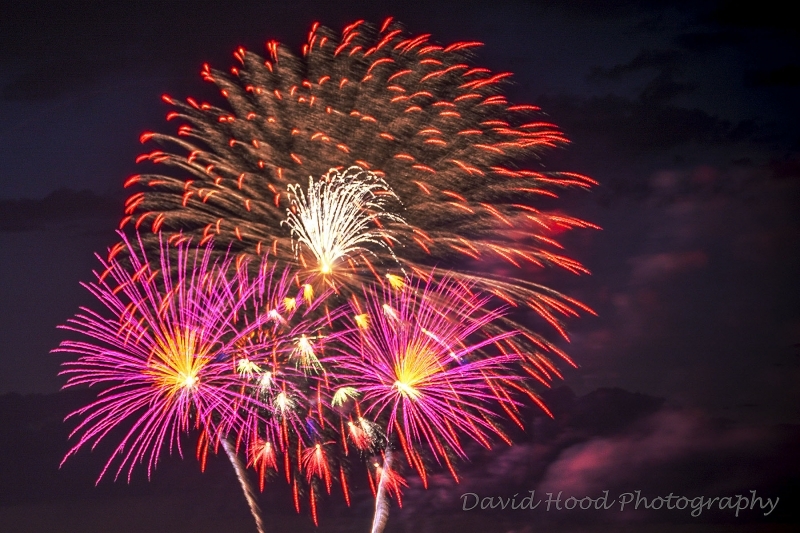
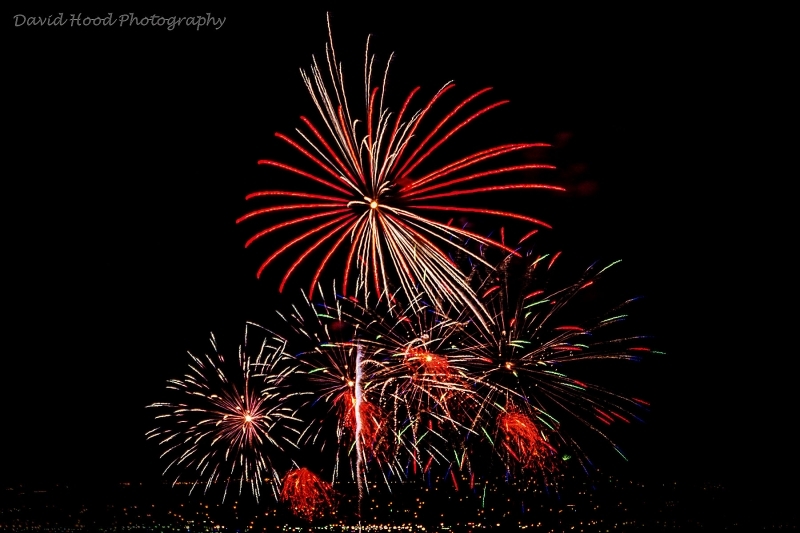
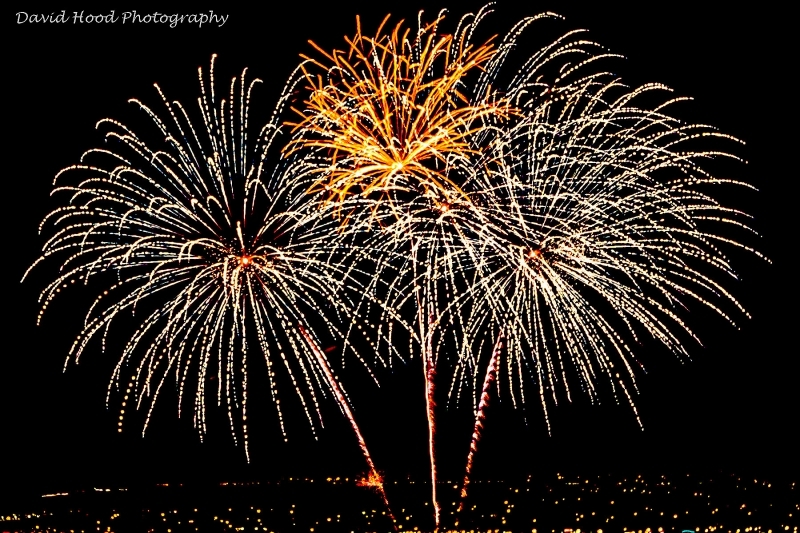
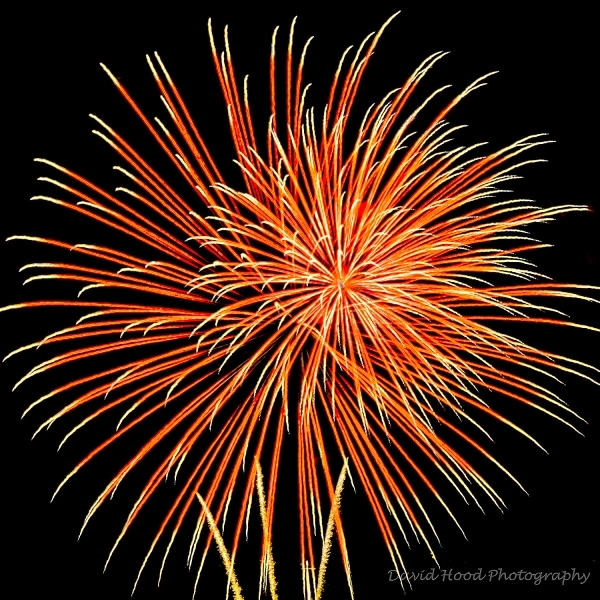
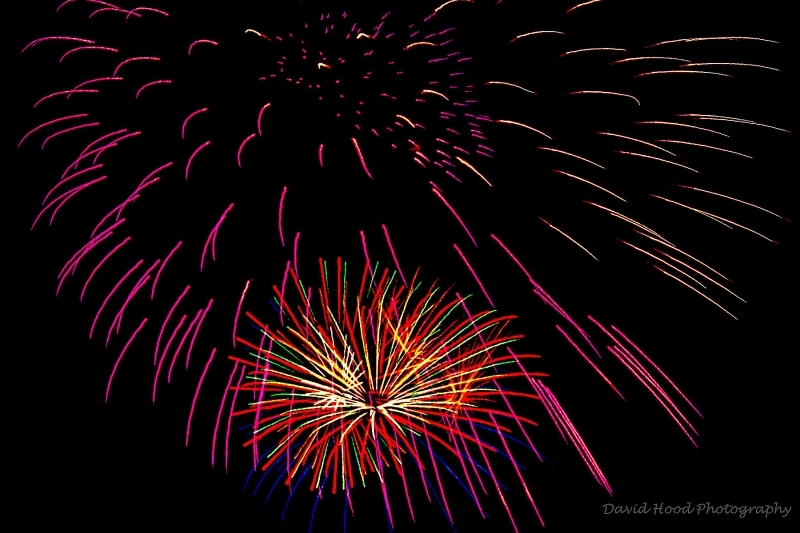
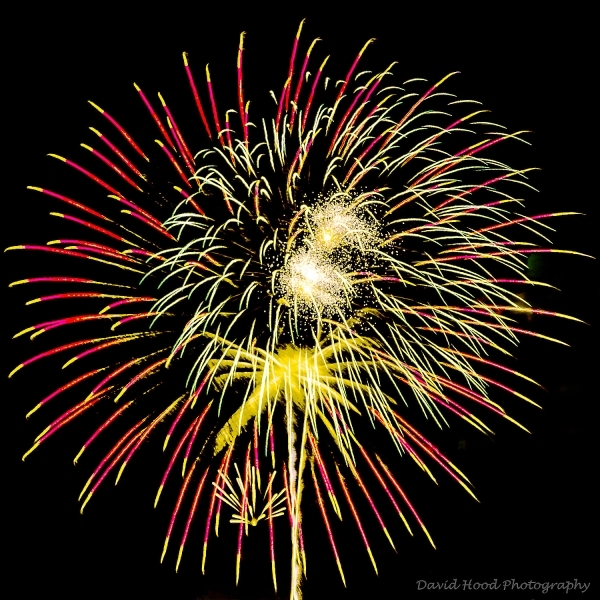
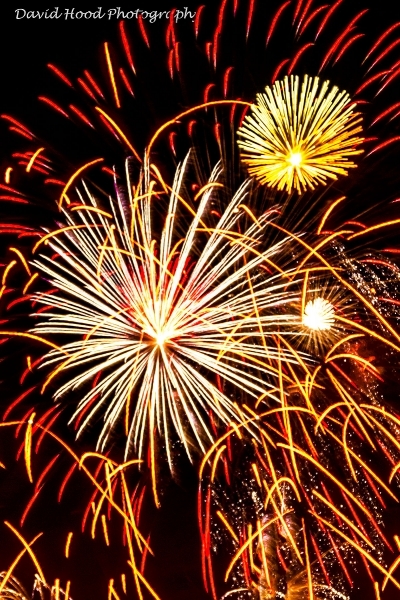
Albuquerque Balloon Fiesta Park Fireworks Display

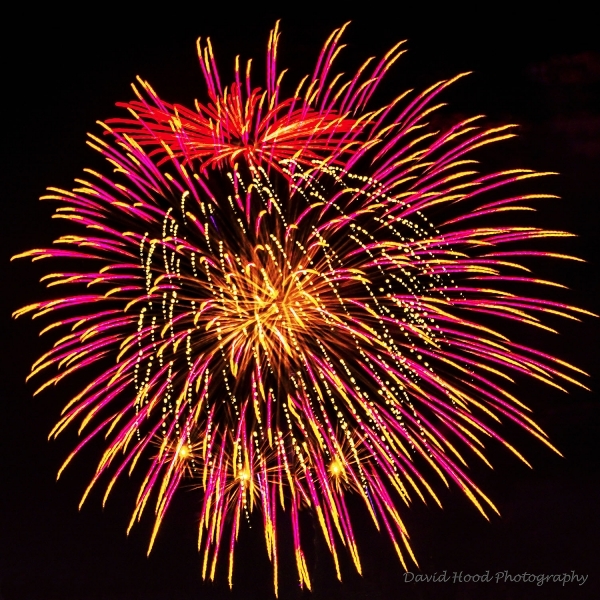
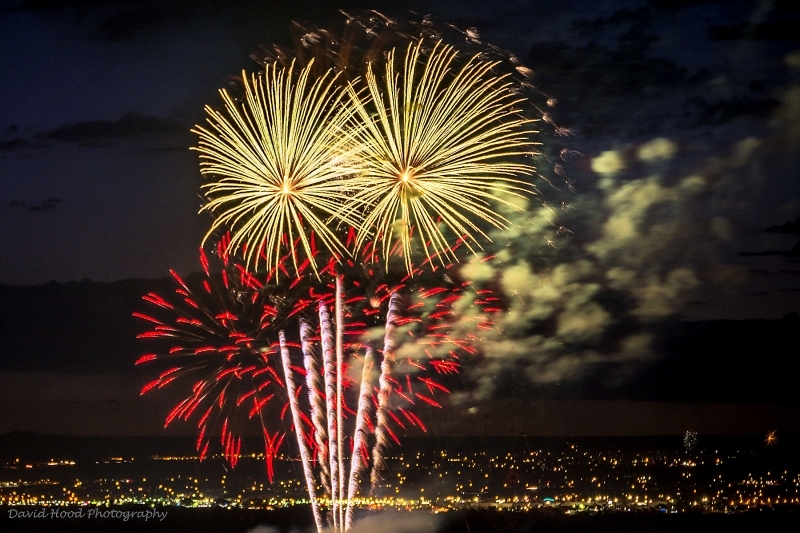
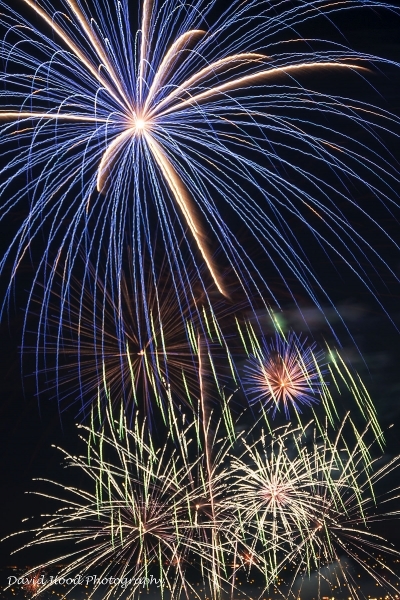
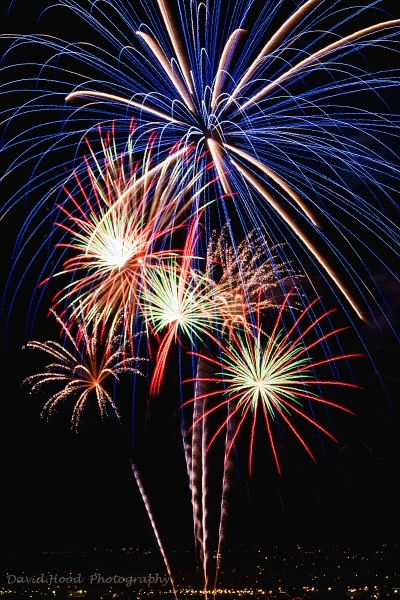
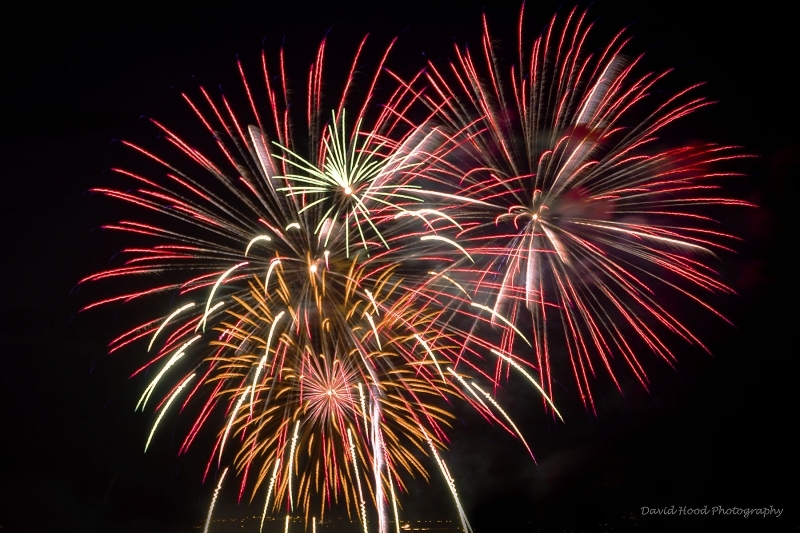
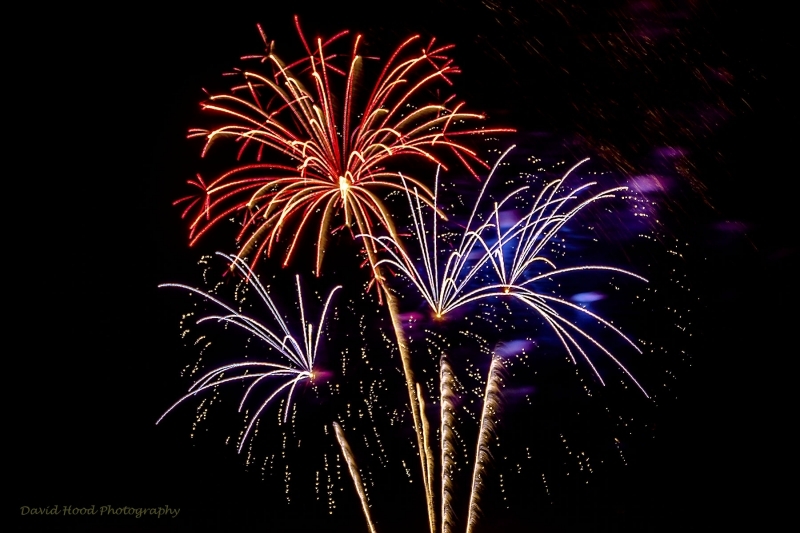
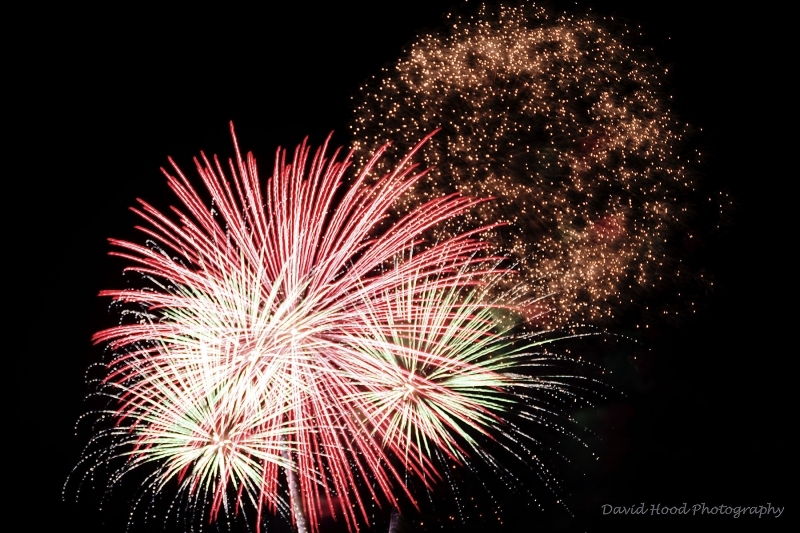
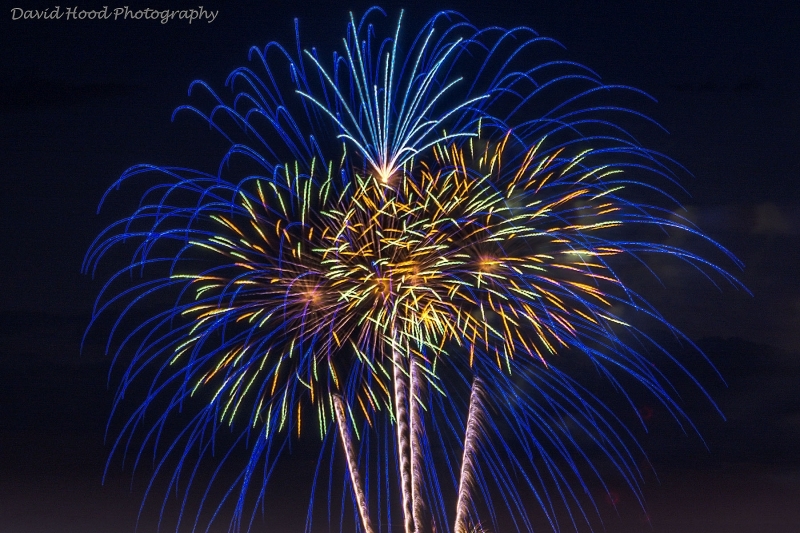
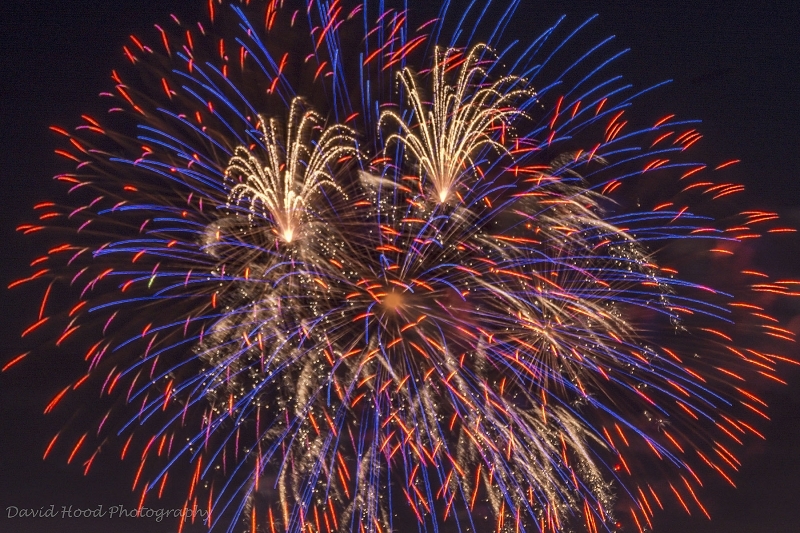
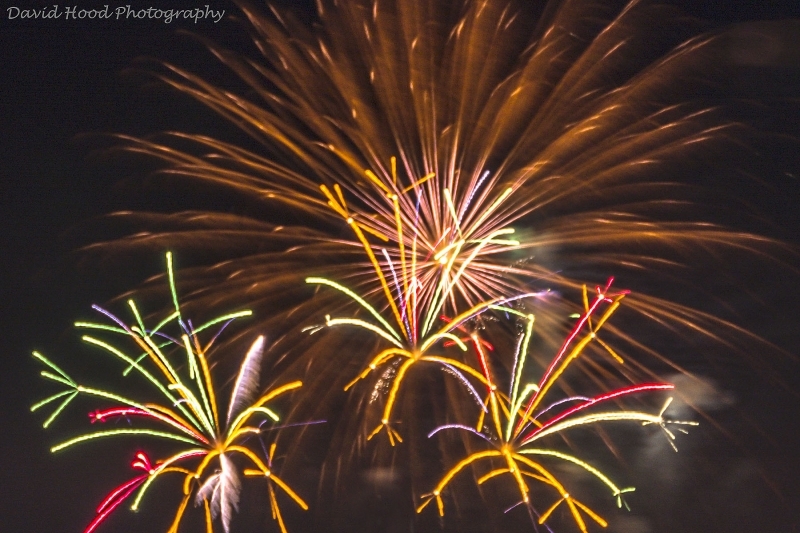
Every July 4th, Albuquerque’s Balloon Fiesta Park provides a fireworks display to celebrate Independence Day for the United States.  My wife and I secured a location on the 3rd floor of a nearby parking garage where I could get an unobstructed view of the show and set up my tripod and camera.

A rainstorm had passed through parts of the city about 2 hours before the show began, so we had some concerns about cloud cover obstructing our view.  But the heavy clouds were gone prior to show time and, in fact, provided some beautiful sunset views (a coming post perhaps!).

These photos were captured with my Nikon D7100 camera fitted with a Nikon f.3.5-6.3 18-300 mm zoom lens.  I mounted my camera on a tripod and (using manual focus) while there was still sufficient daylight, pre-focused the lens to the area of the expected display.  I also turned the lens vibration reduction (VR) function off and used a remote shutter release.  Ironically, keeping the VR function on while shooting from a tripod can be counter productive because the VR function in the lens actually adds a small amount of vibration – it does its job and works well when the camera is hand=held, but is not designed for use on a tripod.

Using manual mode, I set the aperture to f/11 (the sweet spot of the lens for sharpness and to provide sufficient depth of field), the ISO at 100 (the lowest setting on my camera) in order to minimize “noise” or grain like artifacts that can appear in dark areas of the image, and the shutter speed at 4 to 5 seconds (sufficient time to adequately expose multiple and sequential fireworks explosions).

Finally, I set my camera to record the digital images in camera raw mode, as opposed to relying solely on the jpeg file format.  Raw files capture a wider range of colors than the jpeg format, thus providing greater flexibility in post processing, or editing, the final image.  I used Adobe Photoshop CC  for Photographers to process my raw files into the final jpeg images presented here.  Specifically, while in Adobe Camera Raw CC, I set the white balance to fluorescent, closed down the highlights and opened up the shadows, adjusted the white and black settings to taste, increased clarity to about 15. adjusted tonal settings (highlights, light, dark, and shadows) to taste, set noise reduction luminance to 15,  color luminance to 8, and sharpening to zero. After opening the image in Photoshop CC, I cropped the images, used the curve adjustment tool to tweak the highlights, mid-range shadow tones, and the spot healing tool to remove distracting artifacts from the image. Then as the last step before saving the file I set the print size and used the Photoshop filter/sharpen/unsharp mask function to add appropriate sharpening relative to the print size.

I hope you enjoy the results, and as always I welcome comments and questions.

Capture the Wonders Found in Travel and Life                                  Email: d300dave@gmail.com

Instagram
Share

British Soccer Camp

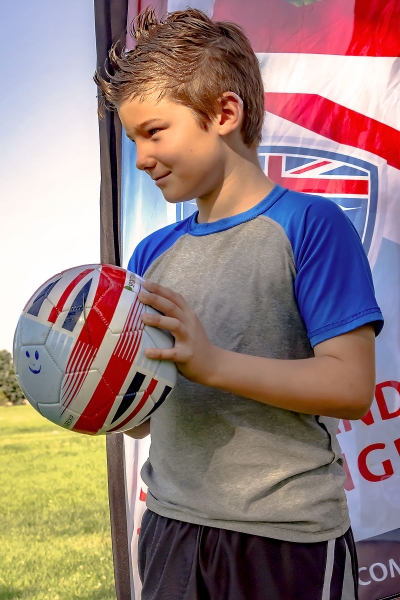
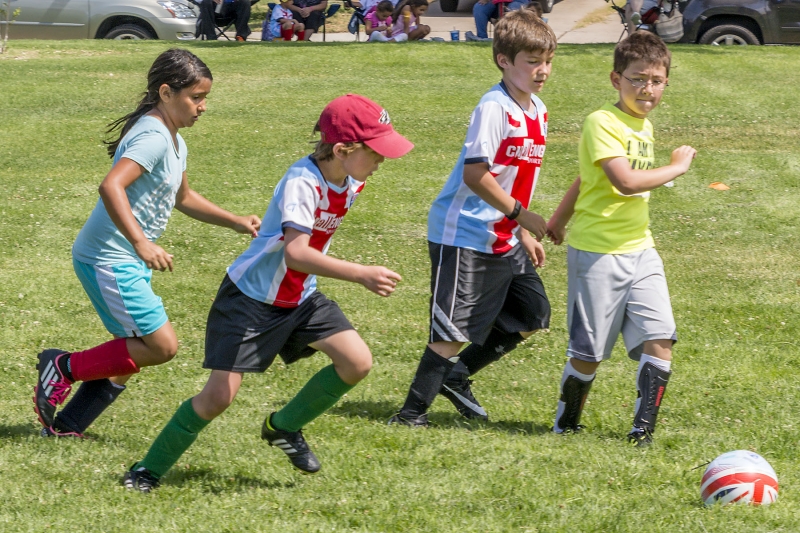
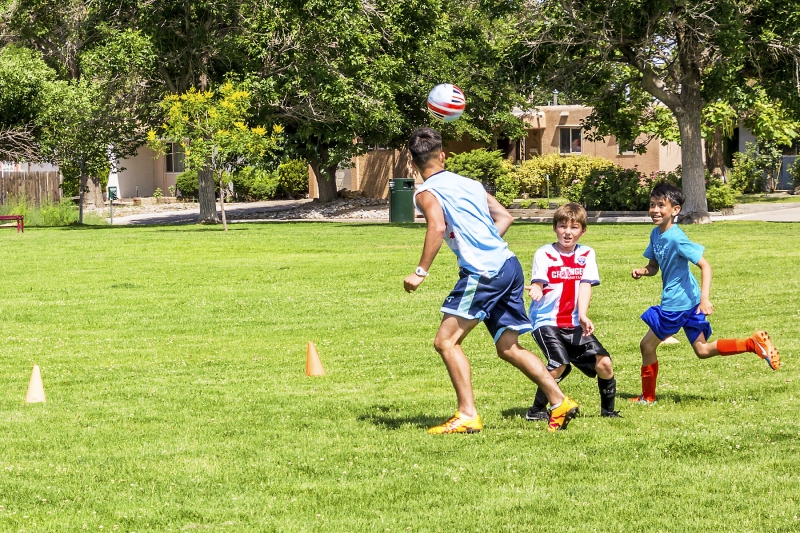
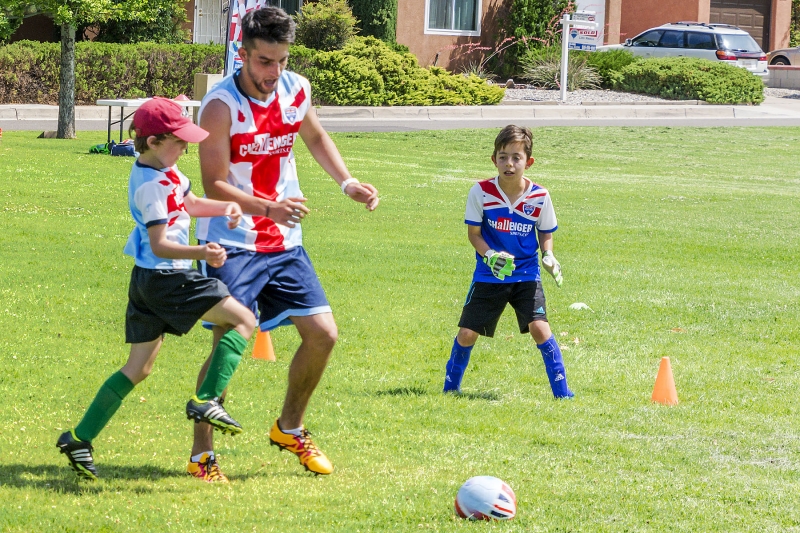
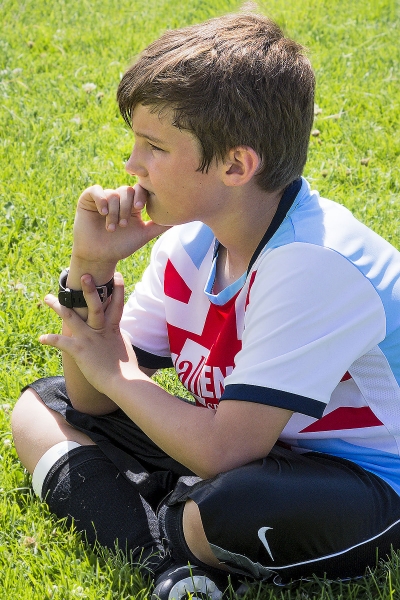
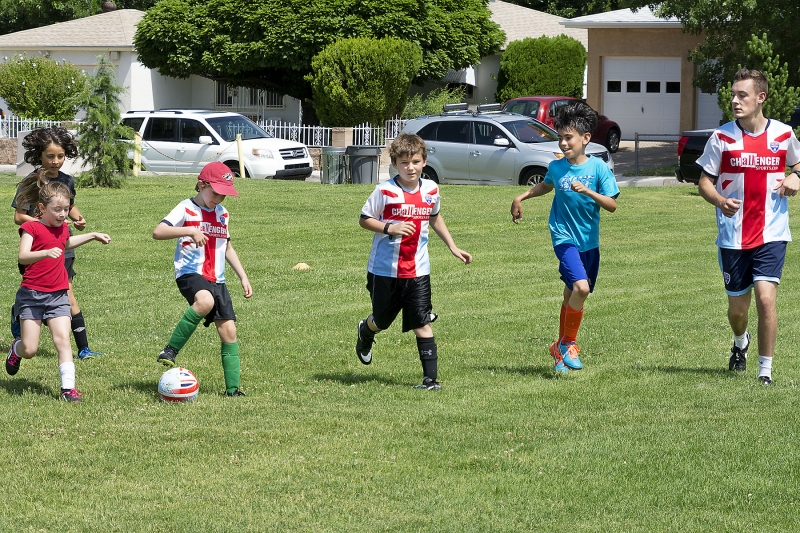
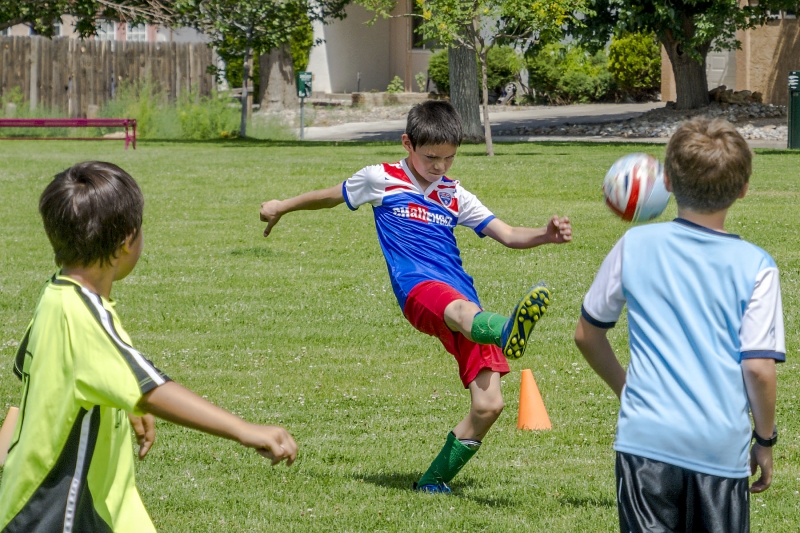
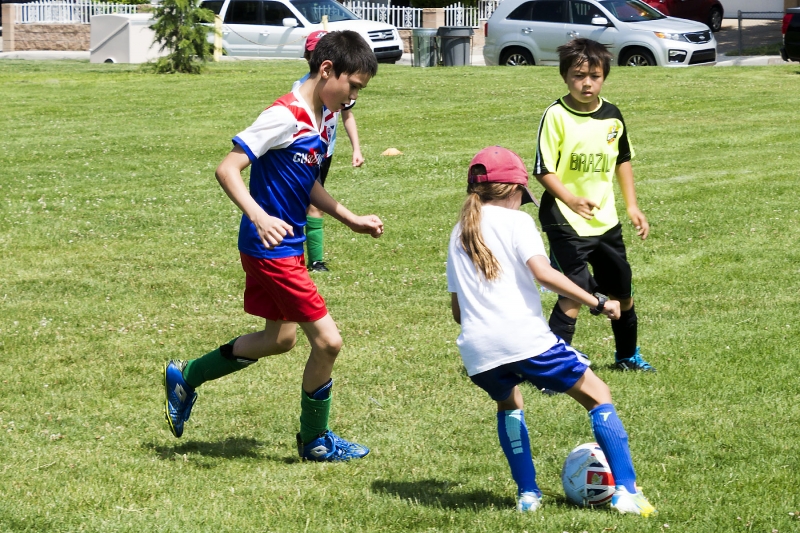
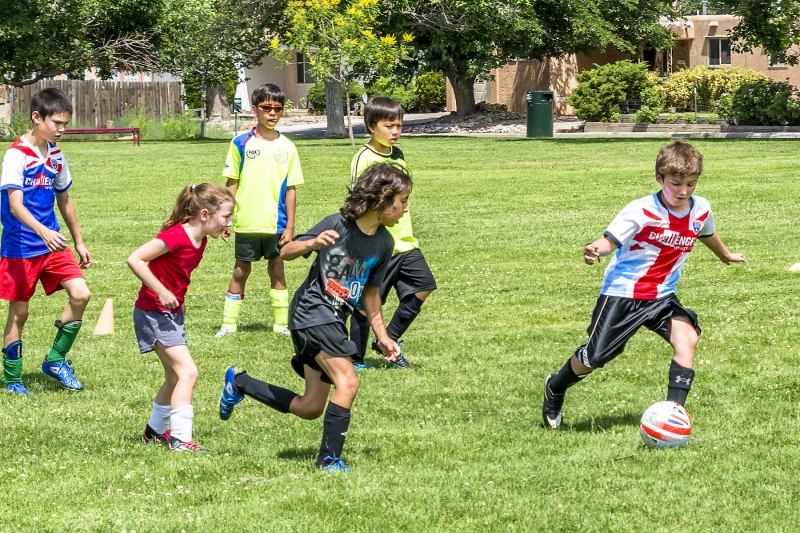
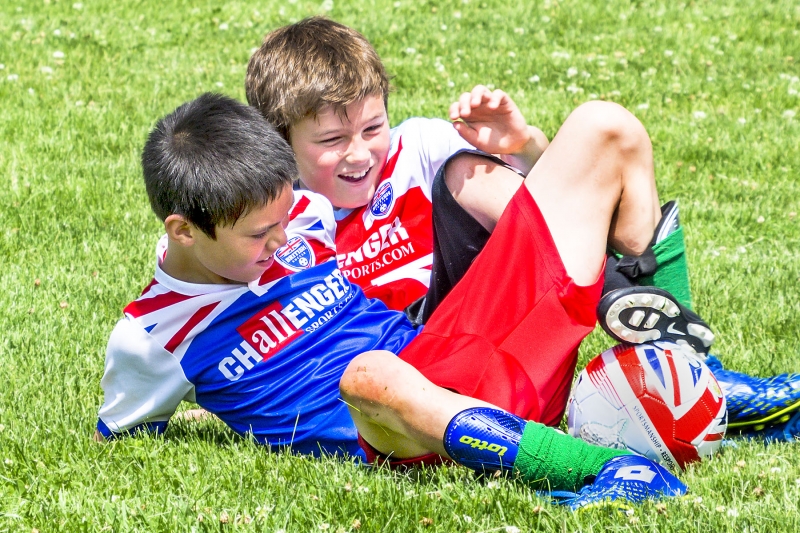
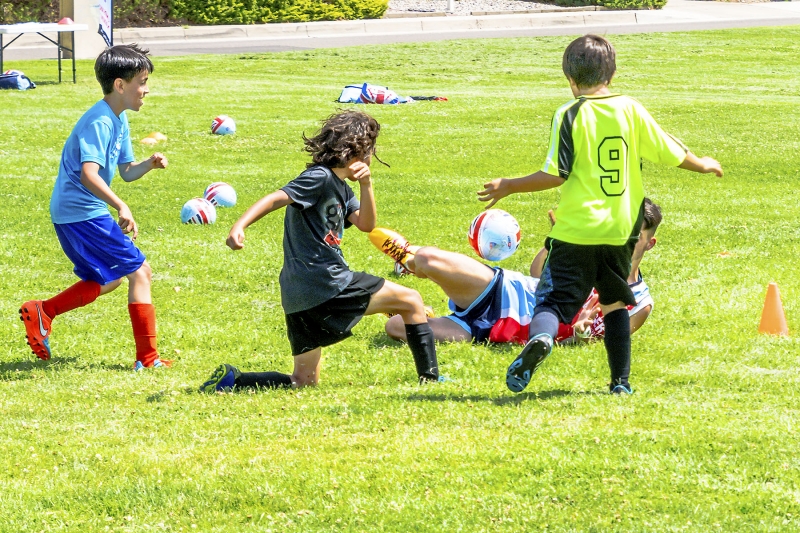
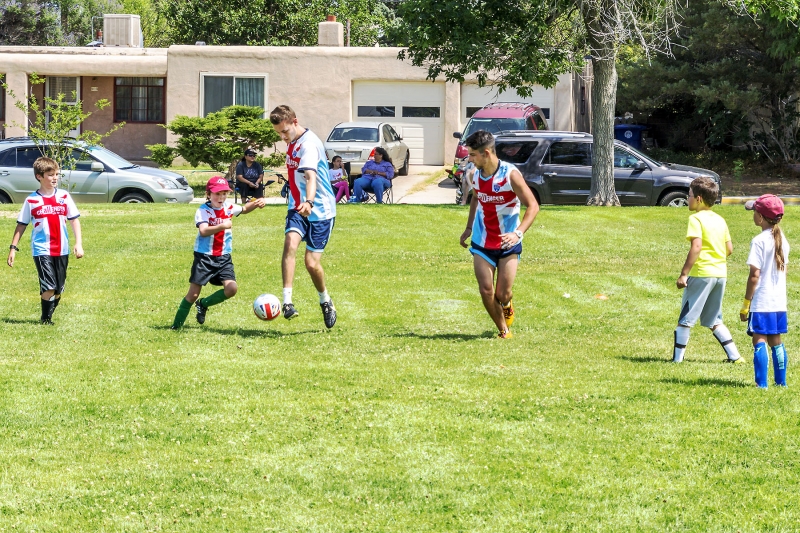
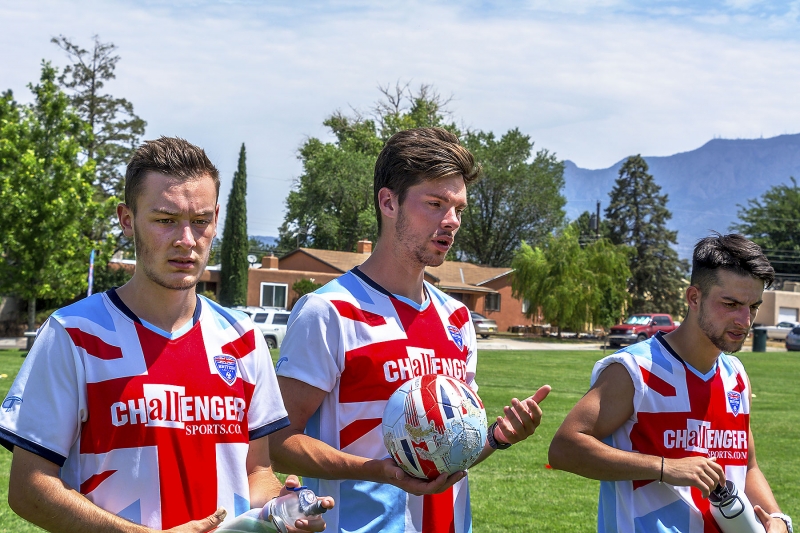
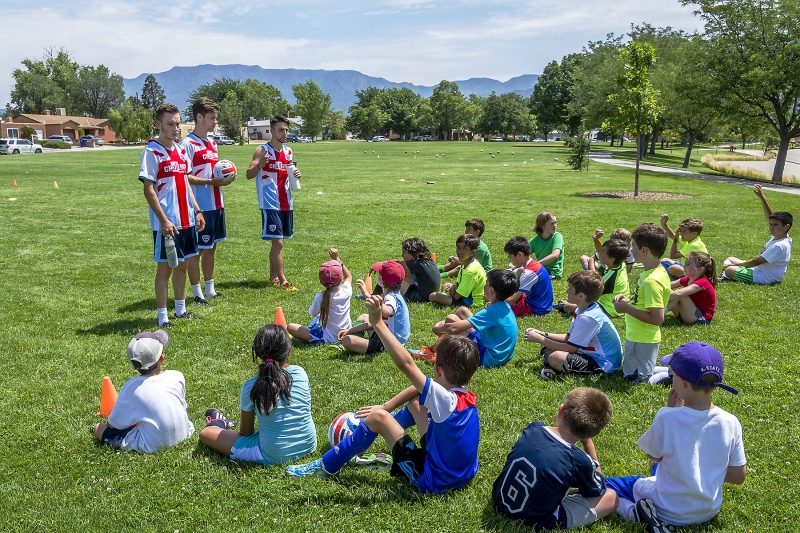
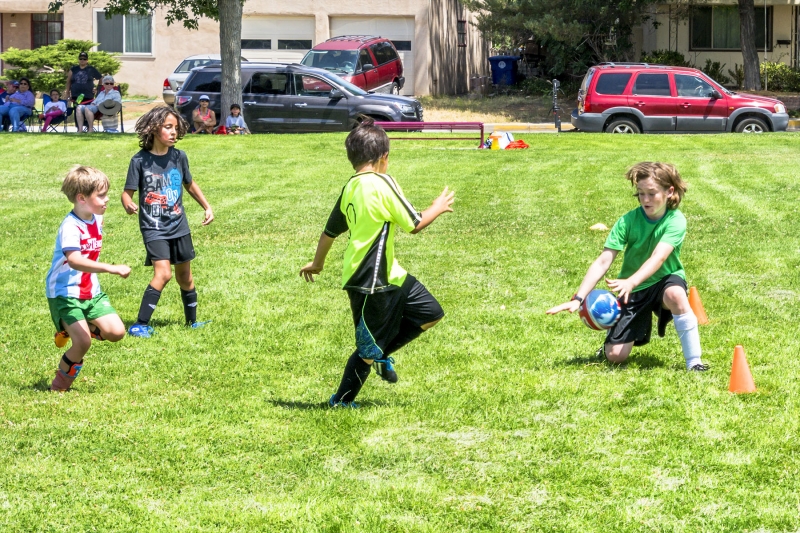
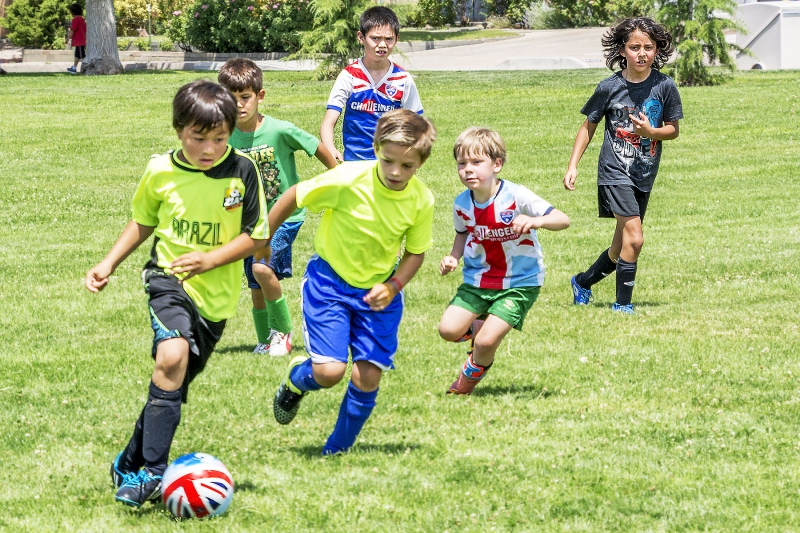
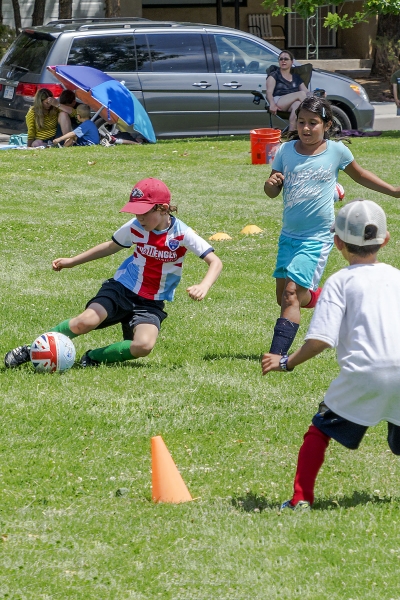
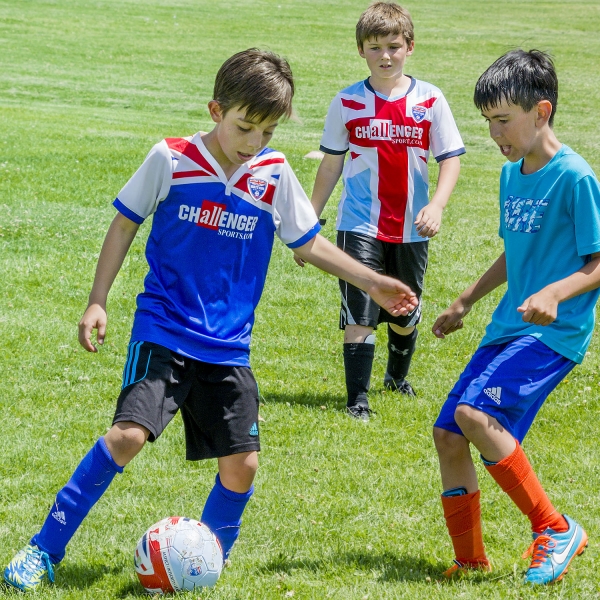
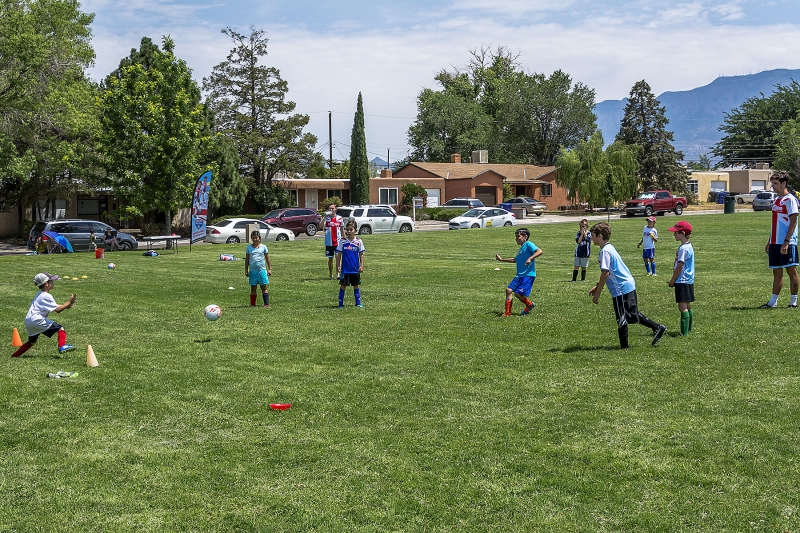
With encouragement from out Team Mexico U10 coaches, we signed our grandson Billy up for a one week/half day Challenger Sports British Soccer Summer Camp – and we’re so happy that we did.  About 20 kids signed up for the session held here in Albuquerque, NM the week of 20 June.  Three awesome coaches did a wonderful job of keeping the kids undivided attention and teaching them skills – all the while having fun and emphasizing sportsmanship, leadership, and respect.  Billy had a great week, and I highly recommend this camp.

In appreciation to Challenger Sports, the coaches, and parents I’m sharing these photos which may be shared, downloaded, copied or printed for personal use.  For camera buffs, they were taken with my Nikon D7100 camera using a Nikon 18-300 mm f/3.5-6.3  zoom lens with aperture set to f/11, shutter speed set to 1/500th second, and ISO set to auto.  Post processing was done in Adobe Camera Raw and Photoshop CC.

Comments and questions are always welcome.

Capture the Wonders Found in Travel and Life                                  Email: d300dave@gmail.com

Instagram
Share

Real Estate Photography

Whew, I just completed my fourth commercial real estate photo assignment during the past 30 days. I thought I’d share some of my thoughts about the real estate photography niche with any of my readers who may be considering that path. I enjoy doing both residential and commercial real estate photo assignments, but I prefer the commercial side because while the clients are often quite demanding, the profitability tends to be considerably higher.

So you may be wondering, what is there about real estate photography that makes it different from other types of photography?  Well, the basics are indeed the same. All photography venues require 1) a good DSLR camera, 2) sufficient lighting of the right kind for the task at hand, 3) a good sharp lens of the correct focal length, 4) an understanding of the “exposure triangle” and how to adjust aperture, shutter speed, and ISO settings for the desired effect, and 5) the ability to process your digital images with a fully functional post processing software such as Photoshop.

Suffice it to say that many modern DSLR cameras are very capable of producing high quality photographs. I happen to use a Nikon D7100 – not an entry-level camera, but by no means a high-end camera either.  But often times a quality real estate photo does require a sharp, fast lens. Sharp and fast usually means a higher cost lens than the typical “kit” lens. My “go to” lens for real estate photography is the Tokina AT-X 116 Pro f2.8 lens.  Getting a large room or building into the frame while working in a confined space requires a wide-angle lens, and my Tokina 11-16 mm zoom lens fills this need nicely.  On occasion, I also use my Nikon 18-300 zoom lens.  This is a good tool for those situations where I need a distant view, such as a view from the highway or from an elevated shot taken from a nearby building.

Before taking your equipment to the assigned photo location, it’s important to know how the property is situated relative to the sun’s path and available ambient light to the interior (if applicable), and any challenges that may be presented by confining factors such as adjacent buildings, utility lines, traffic, construction zones, etc.  Google Earth is a very handy application to determine much of this information in advance – especially for determining the best time of day to schedule the shoot to get the best lighting for “must have” shots such as the view of the front of the property.  Every effort should be made to schedule the shoot for the best time of day to avoid back-lit scenes where important shots have the desired view in deep shade.

In order to produce good sharp images do everything possible to avoid even the slightest amount of blurriness caused by camera shake.  This means that you should use a tripod whenever possible, and use a remote shutter release to avoid having to touch the camera. Another advantage to using a tripod is that when determining your exposure triangle you can crank the ISO setting to the lowest level to minimize the adverse affects of noise in the image, set the aperture to the “sweet spot” of your lens where the lens produces the sharpest image (usually in the f/8 to f/16 range), and then set the shutter speed as required for the proper exposure – even as slow as a time exposure if needed.  But sometimes a tripod just won’t work. For example, on some of my commercial real estate assignments the owner asks for discretion when shooting so as to avoid questions from tenants or employees who may not yet be aware that the property is to be marketed.  On these occasions I set my aperture to its sweet spot, set my shutter speed to 1/250th of a second, and “float” my ISO by setting it as required for the proper exposure, but not to exceed ISO 500.  If greater light is need for a proper exposure, then I decrease my aperture accordingly to a smaller f-stop number.  And speaking of proper exposure, I make it a practice to bracket my shots shooting 5 photos in .3 EV increments (1 camera meter determined exposure, 2 under exposed, and 2 over exposed shots).  Yes, the over exposed shots will reduce my shutter speed below 1/250th, but seldom is the resultant shutter speed less than 1/60th second – my lowest acceptable setting for images with no blur from camera shake. I will say more about why bracketed shots may be helpful later in this post.

I basically use the same approach for interior images, but for most interiors some external source of light is required. While I’ve used off camera flash units for some situations (small areas with white ceilings for bounce flash), what works best for me is external continuous lighting.  I use up to 3 lights powered by CFL daylight bulbs with umbrellas and stands.  As above, whenever possible I use a tripod, compute my exposure triangle as above, and bracket my shots. Note however that shooting a view that contains a view through a window or patio door can be tricky.  I use a tripod for these shots with a remote shutter release. In order to determine the best exposure triangle for the strong ambient light coming through the window, I set my camera to Aperture Priority and select the same aperture that I would use for the non-window portion of the room (usually f/4 to f/8). I leave my ISO setting on manual and again use the same setting that I would for the remainder of the  room (320 or less).  I determine my shutter speed setting based upon the camera’s reading of the strong ambient light coming through the window. Then I take a single test shot and look at the histogram and image to ensure that the view through the window is not over exposed and blown out.  If necessary, I adjust the shutter speed or ISO as required until I find the best shutter speed for an ideal window exposure. From there I set up my lights to fill in the shadowed or dark areas of the room, turn my bracketed shot function back on and set it for 5 shots at .7 EV, and then take 5 bracketed shots.  When completed, and without moving my camera, I once again check the resulting histograms and images before moving on to the next room.

During post processing, you can select 3 from each set of bracketed shots – one for the best exposure of highlighted areas (such as the window), one for the best exposure of the deep shadows (such as a corner on the same side of the room as the window), and one for the mid tones (such as the ceiling).  Process each by concentrating only on that area or areas of the overall photo (highlights, shadows and mid tones). Then you can blend the best portions of each image using layers and masks, or you can use high dynamic range (HDR) software to do the blending for you.  But a word of caution here – HDR images sometimes contain “ghosts” (perhaps from a moving ceiling fan) or “halos”, or they may look over saturated and unnatural. Real estate clients will not be happy with these results.  If you aren’t comfortable with blending or HDR processing, all is not lost.  Simply select the shot from the bracketed exposures that provides the best exposure for the mid tones and use layers and masks to adjust the highlights and shadows. You should be able to produce a quality image that will make the client happy.

Producing high quality real estate photos is not easy – but that’s why they pay us the big money! But I encourage those interested in real estate photography to give it a try, and then practice – practice – practice.  You’ll soon develop your own techniques, workflow, and confidence.

I invite you to see a sampling of my residential and commercial real estate portfolio at www.abqrealtyphotos.com.

Capture the Wonders Found in Travel and Life                              Email: d300dave@gmail.com

Instagram
Share

Sandia Mountains in April

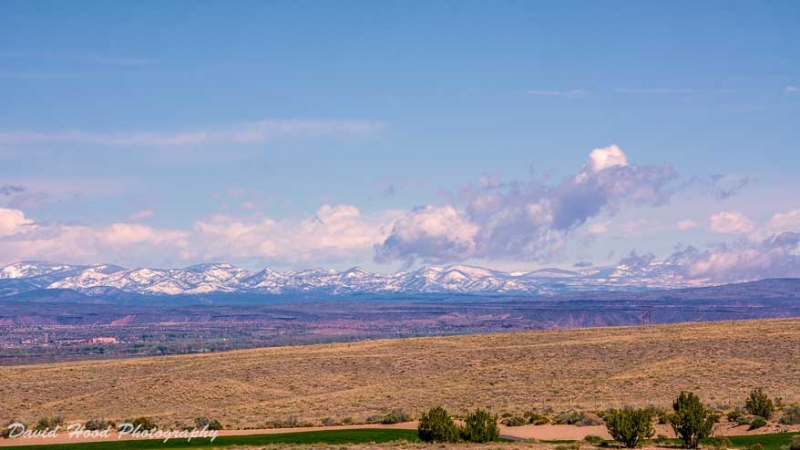
This is only our third Spring season in Albuquerque, but I think it’s unusual to see snow on the west side of the Sandia Mountains in mid-April.  A beautiful scene!

Photographed with my Nikon D7100 camera, Nikon 18-300 mm zoom lens at 95 mm, manual mode with f/13 aperture, 1/400 second shutter speed, ISO 100, matrix metering. Shot in camera raw and post processed with Photoshop CS6.

Please contact me if you would like to purchase a print or canvas.

Capture the Wonders Found in Travel and Life                          Email: d300dave@gmail.com

DJH_2962WMweb

Image 1 of 1

Instagram
Share

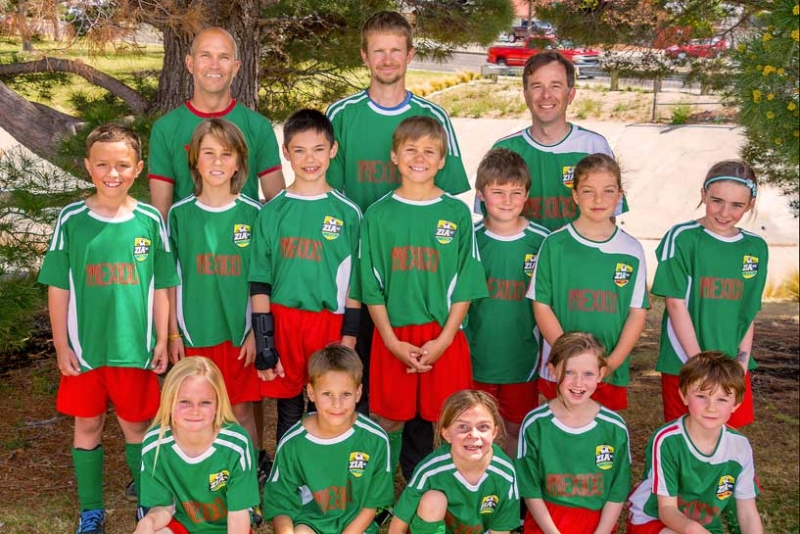
Group Photo in Mixed Light

I volunteered to take a photo of my grandson’s “under 10 years” soccer team after their game, but I’m kicking myself for not taking more time to find the best location for the shoot well before the game ended.  After I finished  photographing the game, I quickly searched for a place where the sun would not be shining in the kids’ faces, the photo would not be back-lit or the sun creating lens flare, and where the likelihood of photo bombing would be minimized.

I selected a location where there was shade and then proceeded to set up my equipment.  I used a Nikon D7100 camera with a Nikon f/3.5-6.3 18-300 zoom lens (same equipment that I used to photograph the game), and 2 off camera Nikon speed lights on stands.  The stands were set at about 35 degrees each side of the camera and about 8 feet back from the front row of players; the flash to the right of the camera was set higher in order to target the faces of the taller coaches in the back row. The camera flash was set to “command” mode and the off camera flashes were set to “remote” mode; all 3 flashes were set to the “TTL” mode because I knew that there wouldn’t be enough time to take practice shots in “manual” mode and adjust the flash power manually for optimal lighting.

I opted not to use a tripod because I wanted to stand on a ladder to get a view that looked slightly down on the group in order to minimize the chances of a blocked face.  I shot in the camera raw mode with the camera set to a shutter speed of 1/125th of a second to minimize any blur due to camera shake. Aperture was set to f/8, and the ISO to “auto” (resulting in a very acceptable ISO in the 140-160 range).  White balance was also set to “auto” because my camera does a good job at this setting with only minimal post  processing white balance adjustment.

In the 15 minutes it took to set up for the shoot and assemble the kids, the late afternoon sun shifted enough to put the front of the group in sun and the remainder of the group in full or partial shade. Now I was getting nervous about the potential adverse effects of the mixed lighting, so even though the 8-10 year old kids were getting fidgety, I took the time to do one test shot. The histogram of the test shot looked good, so I pressed on with the shoot.

I think you’ll agree that the resultant shot was acceptable, thanks in part to a significant amount of post processing in Photoshop CS6 with adjustment layers and masks. The lesson learned is take the time to scout the area of the shoot to find the best location, and set up your equipment well before the scheduled time for the shoot if at all possible. Mixed lighting can be very effective for some applications, but it can increase the complexity of an outdoor group shot.

Comments and questions are welcomed.

Capture the Wonders Found in Travel and Life                                        d300dave@gmail.com

DJH_2825_4x6web

Image 1 of 1

Instagram
Share