Photoshop Dodge and Burn Tool

In the days of black and white printing from a film negative in the darkroom, photographers would pass a small object to “dodge” or block the light passing through the negative from areas of the print paper that they wanted to make lighter – thus reducing the exposure.  Conversely, they would use their hand or a piece of cardboard with a hole in it to “burn” or focus the light only on to areas of the print that they wanted to darken – thus increasing the exposure. 

The Dodge/Burn tool on the left side of the Photoshop tool bar performs the same function in digital photography editing.  Note that the Burn Tool is pictured here; simply right-click on the tool to see/select the Dodge Tool.  Use the Dodge Tool to paint on areas of the photo that you want less exposed (lighter) such as shadow areas, and use the Burn Tool to paint on areas of the photo that you want more exposed (darker) such as highlights.   In the Options Bar at the top, choose a brush tip and the set brush options (0% hardness recommended).  In the options bar, select one of the following from the Range menu: 1) Midtones – Changes the middle range of grays; 2) Shadows – Changes the dark areas; 3) Highlights – Changes the light areas.  Next, in the Options Bar click the airbrush button  to use the brush as an airbrush.  Alternatively, select the Airbrush option in the Brush panel.  Finally, click on  the Protect Tones option to minimize clipping in the shadows and highlights. This option also tries to keep colors from shifting hue.

Note that applying the Dodge or Burn tool to the “background layer” (the layer seen to the right of the screen when you open a file in Photoshop) permanently alters the image information. To edit your images non-destructively, it’s always best to work on a duplicate layer.  Also note that there are other Photoshop techniques for changing the tonal qualities of a digital image.  Some of these will be the subject of future blog posts.

With a little practice using the Photoshop Dodge/Burn tool, can help you improve your photographs by reducing the harsh differences between highlights and shadows.                                                  

If you are new to digital photography or want to learn effective Photoshop editing techniques that will add a “wow” factor to your photographs, please consider teaming with me, Albuquerque’s Photography Tutor, as your personal photography coach.

Capture the Wonders Found in Travel and Life                                Email: d300dave@gmail.com

Instagram
Share

Bandelier Elementary School Bear-A-Thon Fundraiser

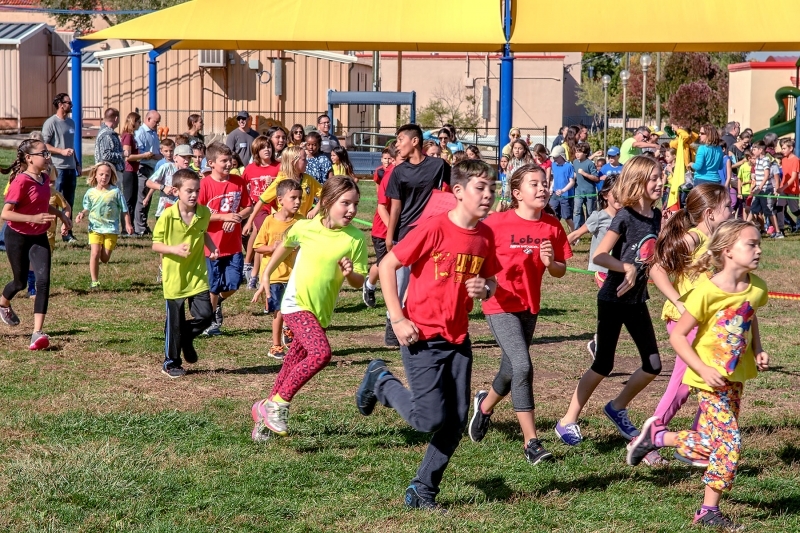
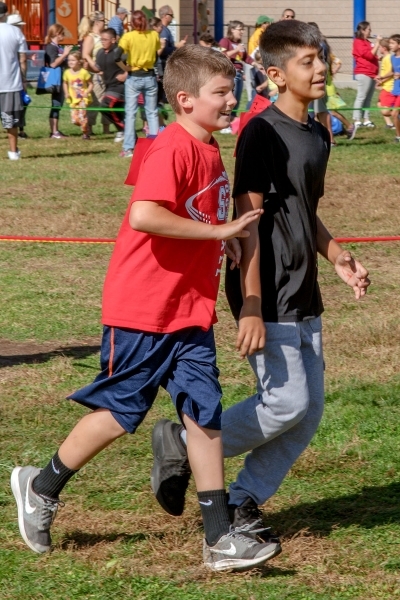
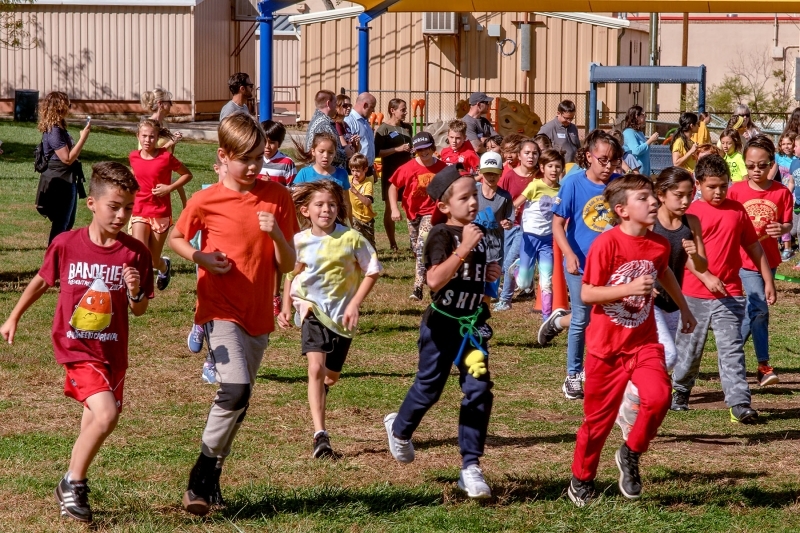
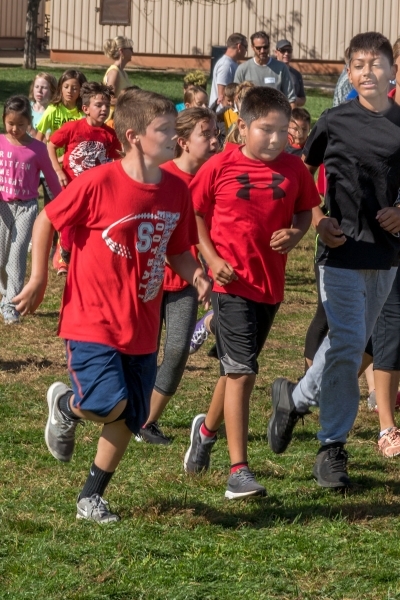
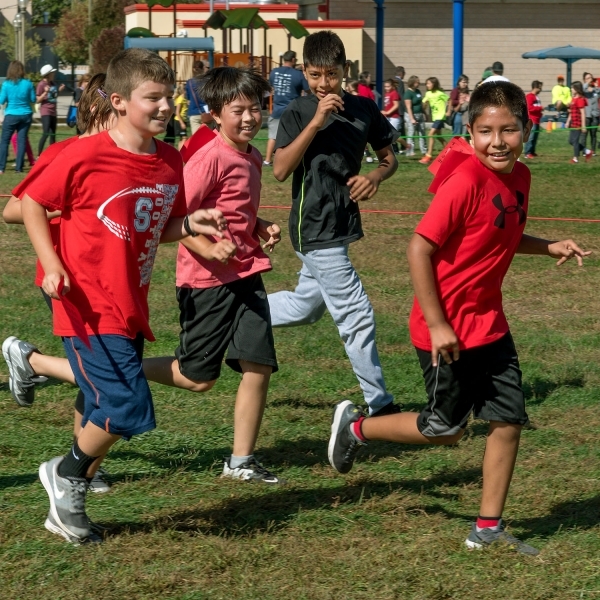
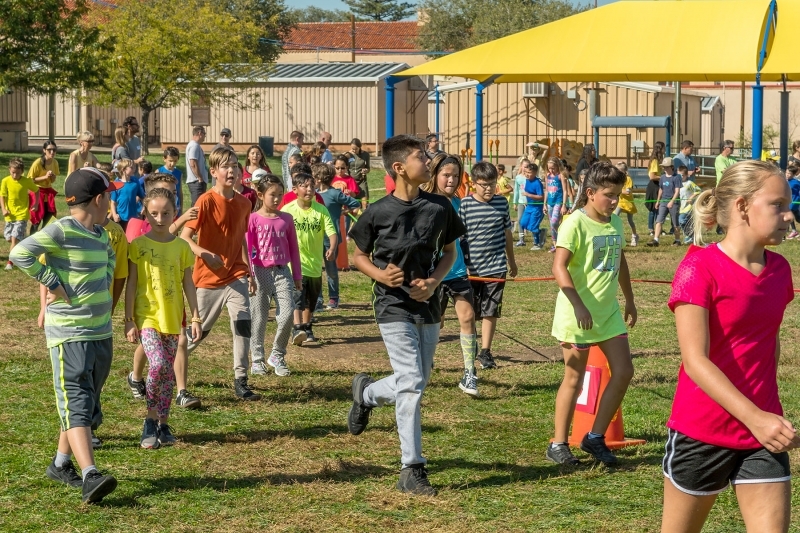
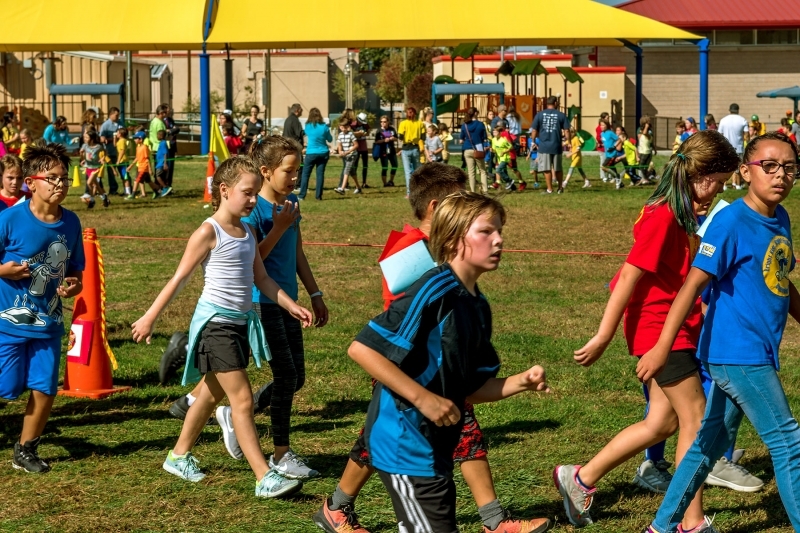
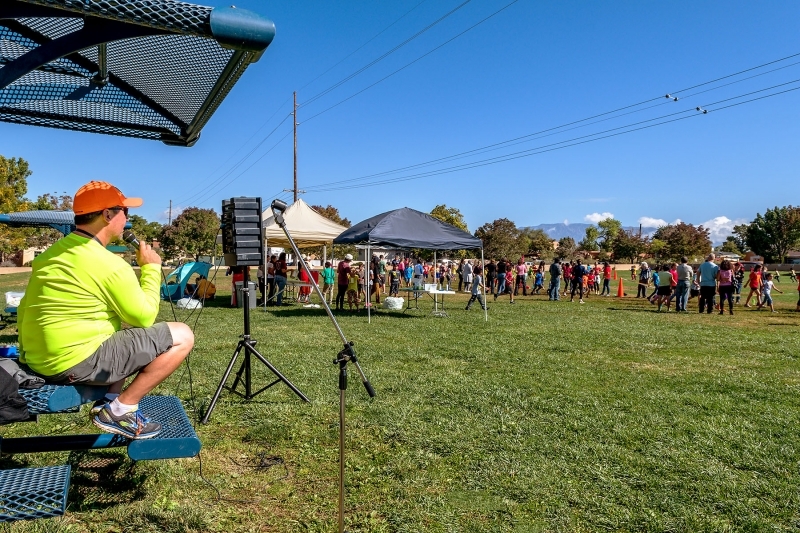
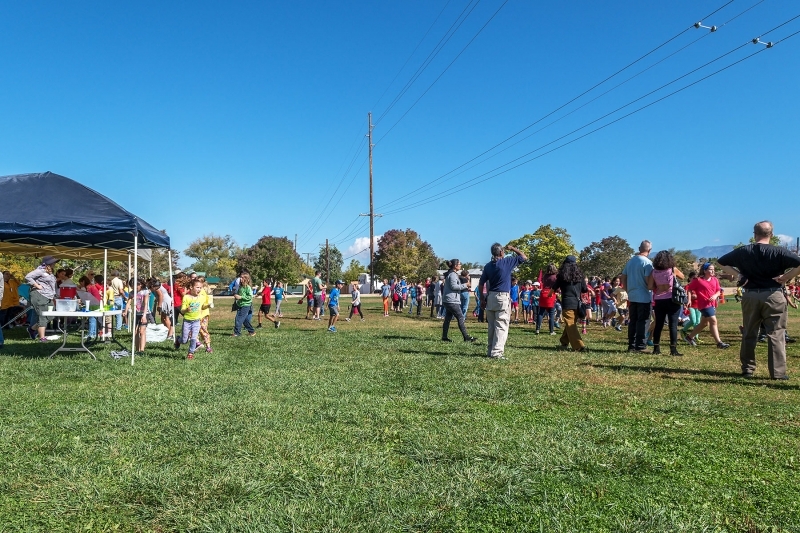
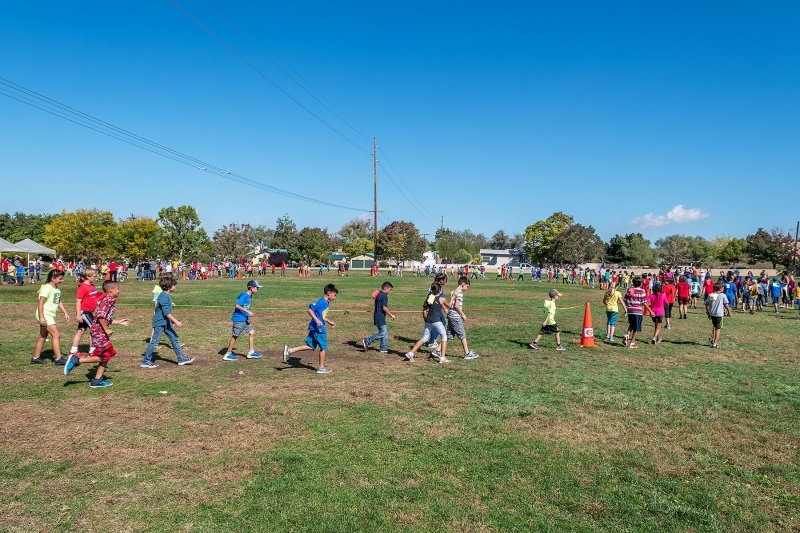
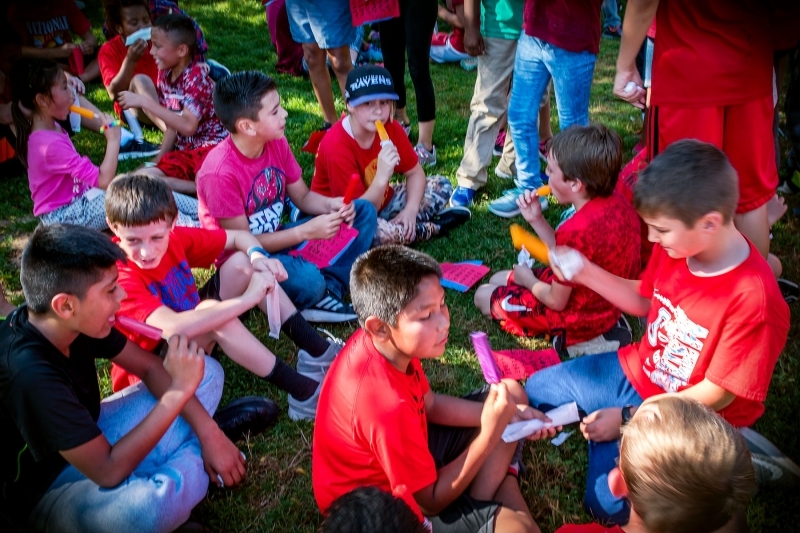
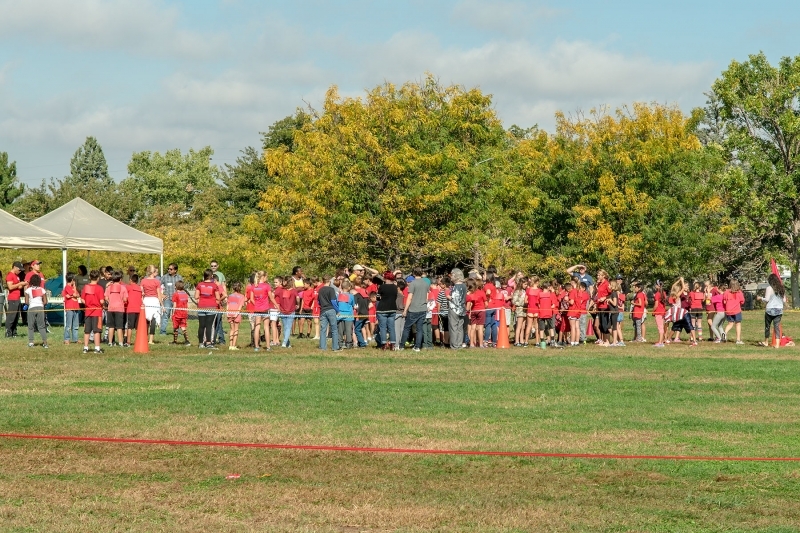
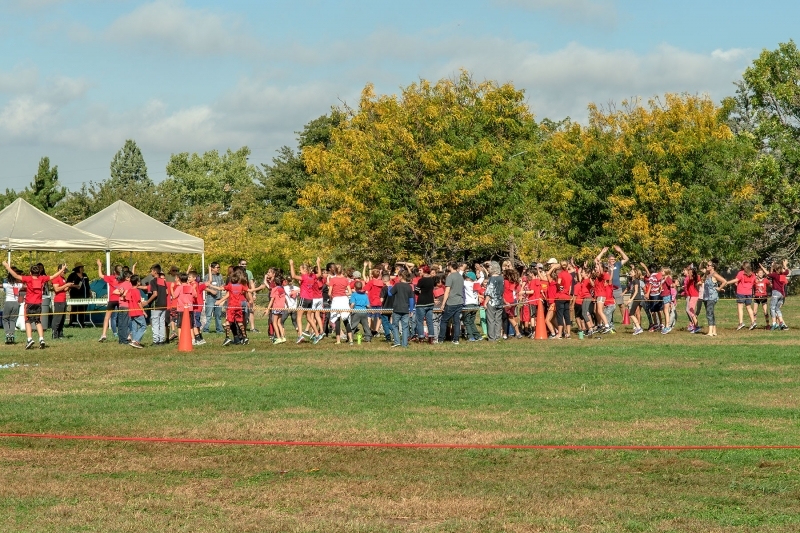
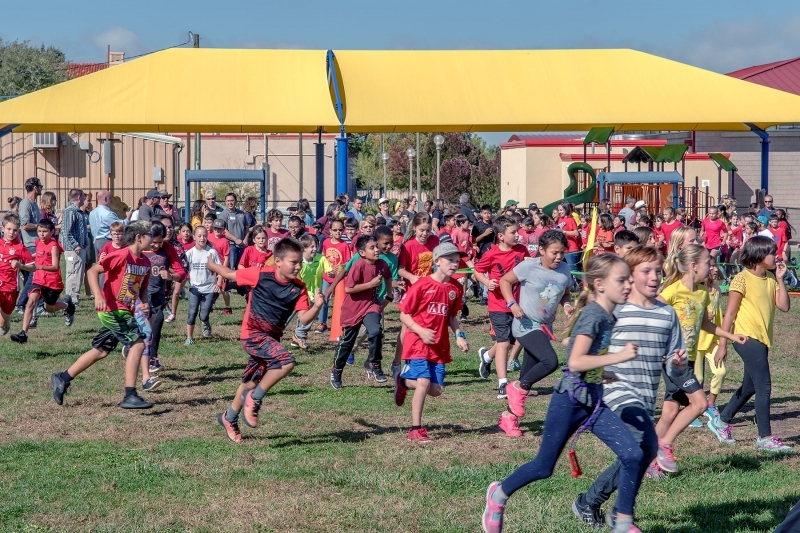
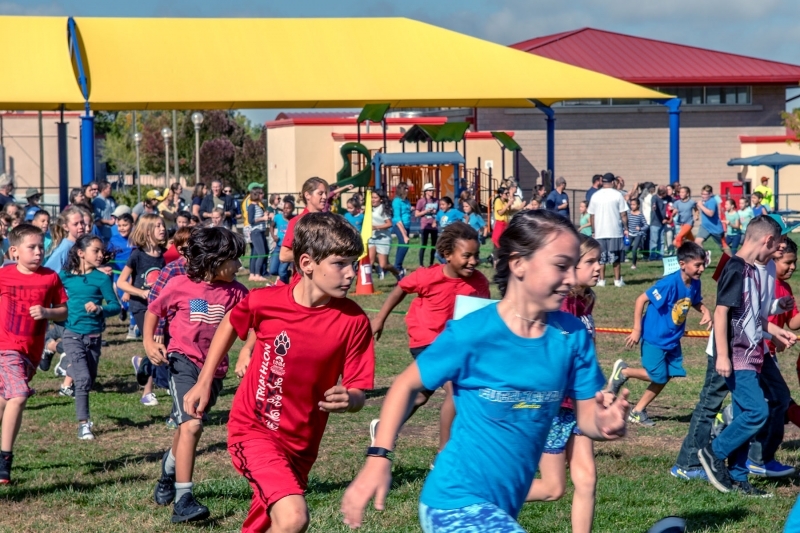
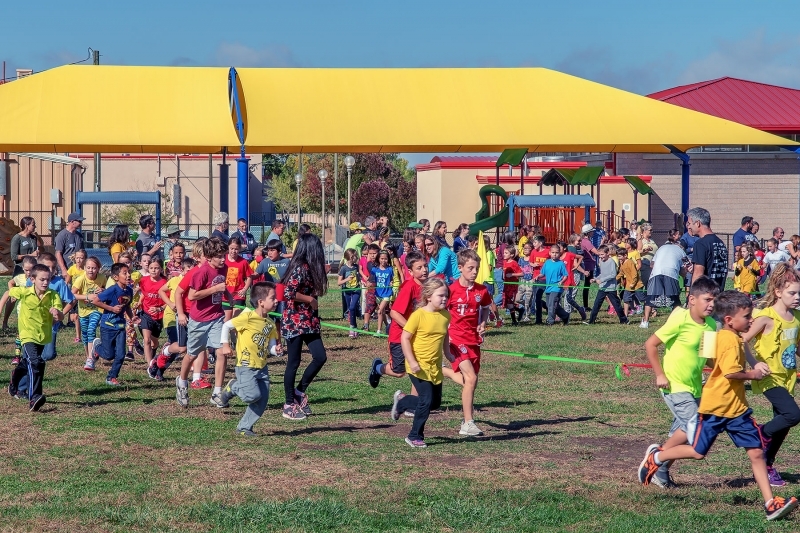
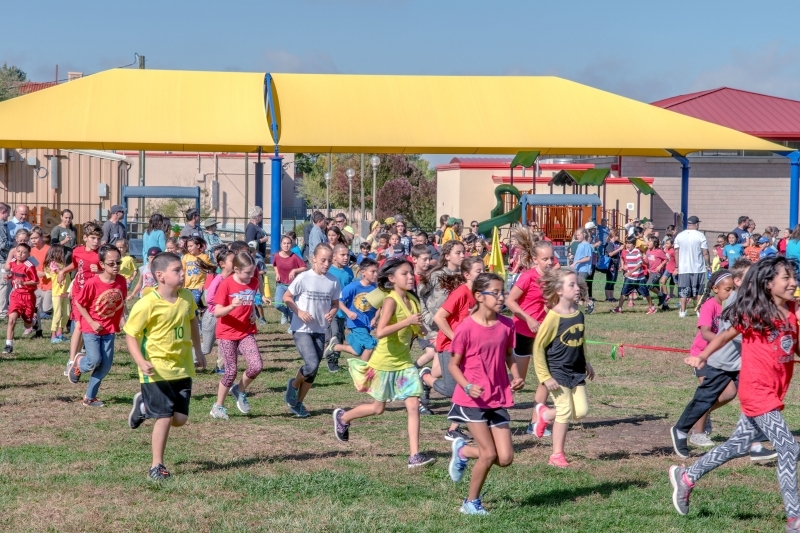
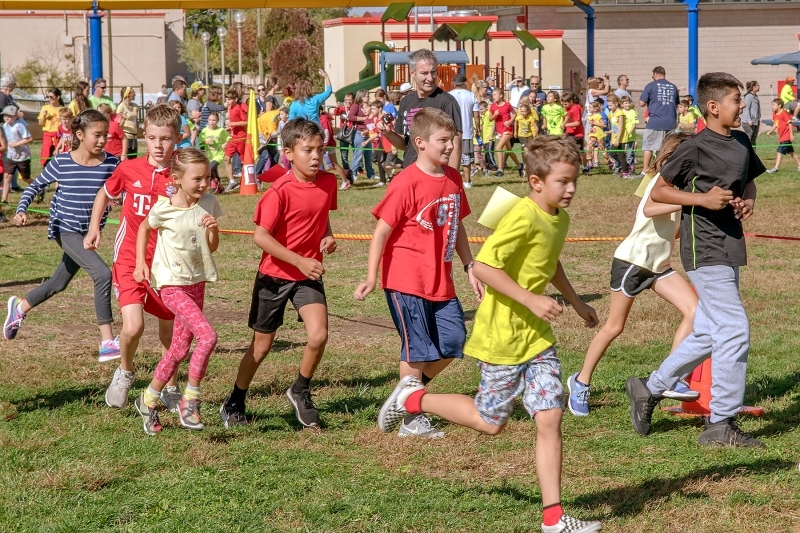
Our (grand) son Billy is a Bandelier “Bear” attending 5th grade at Bandelier Elementary School here in our Albuquerque neighborhood.  The Bear-A-Thon is​ ​is​ ​the​ ​PTA’s​ ​largest​ ​fundraiser​ ​of​ ​the​ ​year,​ ​which​ ​provides​ ​support​ ​for​ ​so​ ​many​ ​activities​ ​that​ ​help to​ ​make​ ​Bandelier​ ​a​ ​great​ ​school​ ​–​ ​field​ ​trip​ ​buses,​ ​curriculum​ ​support,​ ​Art​ ​in​ ​the​ ​School,​ ​and​ ​much, much​ ​more!​ ​The children seek pledges for the number of laps they run around the playground or lump sum donations.  Please donate whatever you can – in the current economy schools are strapped for funding.  Go to this website (control/click for link) and select Billy’s teacher’s class, Team Parker, and enter your tax deductible donation by the closing date, October 17th.  These are photos of the event conducted on October 6th.  Thanks for your support!

Capture the Wonders Found in Travel and Life                                 Email: d300dave@gmail.com
Instagram
Share

Author Headshot

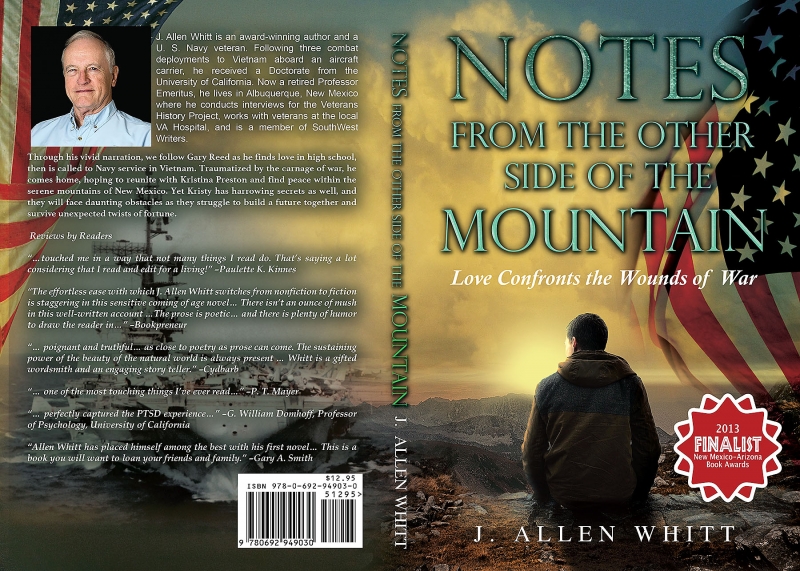
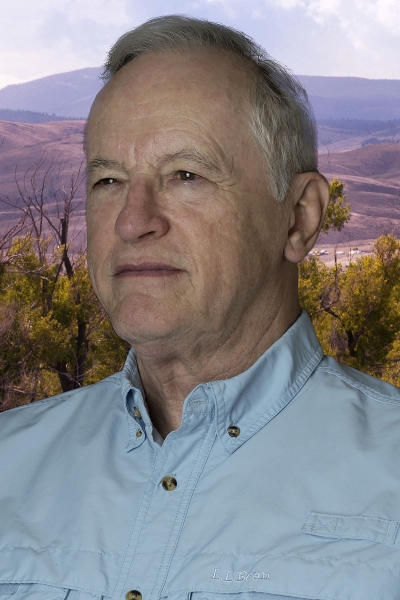
I was gratified to receive a note from Albuquerque author J. Allen Whitt thanking me for my “great work” in providing a head shot for a revised book cover for his award-winning novel Notes From the Other Side of the Mountain (available from Amazon.com).

There are subtle but important differences between a portrait and a head shot. A good head shot should capture the personality of the client and provide the best possible professional (yet realistic) representation of the client.  A portrait, however,  sets a mood and suggests a story. Lighting, coloring, and expressive poses, and venue (studio vs. local) often effect the transformation between a head shot and a portrait.

I enjoy head shot photography because I’m a good listener and after 40+ years of experience in government and industry I have a unique capability to work with clients to best portray their personalities through a photograph. These same skills carry over to working with clients seeking a portrait that suggests a mood, circumstance, life event, or story.  If you live or work in the Albuquerque area and need a professional head shot or portrait photo, please contact me for a free, no obligation consultation.

Capture the Wonders Found in Travel and Life                        Email: d300dave@gmail.com
Book Cover With Head Shot on Back Cover

Completed Novel Cover

Image 1 of 2

Portrait of Author J. Allen Whitt

_DJH2081_Composite2

Image 1 of 1

Instagram
Share

Multiple Processing of One Raw File

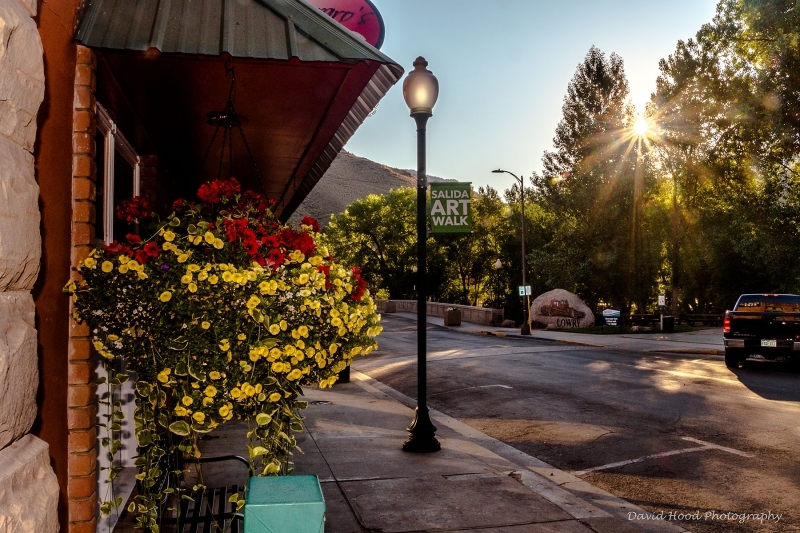
I’m a strong advocate of shooting in Camera Raw because all of the light that enters the lens is captured in the file – not just the lights that the camera jpeg algorithm thinks is needed for the desired exposure.  This photo is an example of one where using that wider dynamic range of light can produce a better photograph when other alternatives such as bracketed shots and high dynamic range (HDR) processing are not available.  This was a single photo shot in camera raw.  I purposely under exposed the photo in order to avoid over exposing or “blowing out” the sun and the bright, early morning sky.  Of course, the result was that much of the sidewalk and flowers were in deep shadow lacking any significant detail.  The fix was straight forward: Process the same raw file twice – once for the highlights (sun and sky) and again for the shadows (sidewalk and flowers).  I opened up the file exposed for the highlights as a smart object in Photoshop, then opened the camera raw filter and increased the exposure to bring out the details in the shadows and flowers. I rather like the results of the blended effect – a wider dynamic range of light, while still realistic looking and not “over the top” as seen in some HDR processed photos.

If you live in the Albuquerque, NM area and would like to master your DSLR or quickly become proficient in Photoshop editing, please consider me as your personal tutor.  Photography is my passion, and I’d be privileged to assist you on your journey.

Capture the Memories Found in Travel and Life                                Email: d300dave@gmail.com
DJH_0434-6

Image 1 of 1

Instagram
Share

Good Morning Salida!

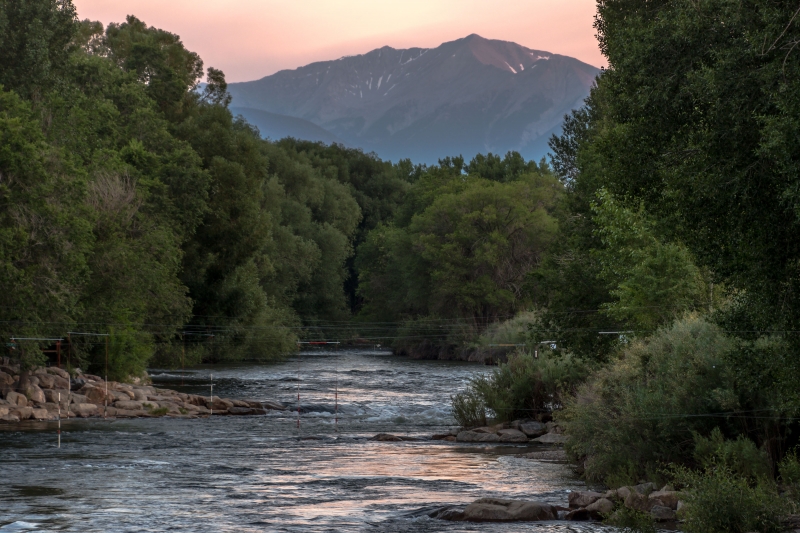
I captured this photo looking East on the Arkansas River early in the morning on our first full day of vacation in Salida, Colorado. Nikon D500 fitted with Nikkor 18-300mm zoom lens at 122mm, ISO 100, aperture f/6.3, shutter speed 1/25th second (hand held resting on bridge railing). I lost my lens cap and hood in the process, but I think the photo was worth it.

Capture the Wonders Found in Travel and Life                               email: d300dave@gmail.com

DJH_0383REV2

Image 1 of 1

Instagram
Share

How to Shoot Fireworks

For DSLR Owners – A stable tripod is a must; and a small flashlight can be a great help if you need to change camera settings in the dark. Get to the venue early enough to stake out a good position and to set up your camera while there’s still enough light to manually focus. Put your camera on a tripod and turn off the vibration control or stabilization function on your lens. Using autofocus, focus on the point where the fireworks will be ignited. Then move your camera/lens settings to manual focus and fine tune the focus to maximum sharpness – use your digital zoom button and live view mode if you have those functions. Once properly focused, don’t change the focus unless you move to a different location – tape the focus ring to the lens if necessary. If you can’t see well enough to focus, set the focus to infinity. Set your camera to manual mode, then set the aperture to f/11, the ISO to 100 (not auto), and use a shutter speed somewhere between 2 and 8 seconds. The longer your shutter is open, the more “bursts” you’ll capture in one photo. Do not use flash. Use a remote shutter release if you have one, or use the camera’s delay timer set to 2 seconds to fire the shutter. 

For Point & Shoot or Smartphone Owners – Again, a tripod is a must. If your device has manual mode and manual focus capabilities, by all means use them. If not, use a scene mode set for fireworks, starry night, or the like – these will set the focus to infinity and will use shutter, aperture and ISO settings similar to the above. If you use manual focus, set it to infinity.  Autofocus should be avoided – at night it tends to “hunt” for a focus point and you’ll likely get a blurry picture. And again, disable the flash.

I’m available for one-on-one tutoring if you live in the Albuquerque area.  

Have a fun, safe and happy July 4th holiday!

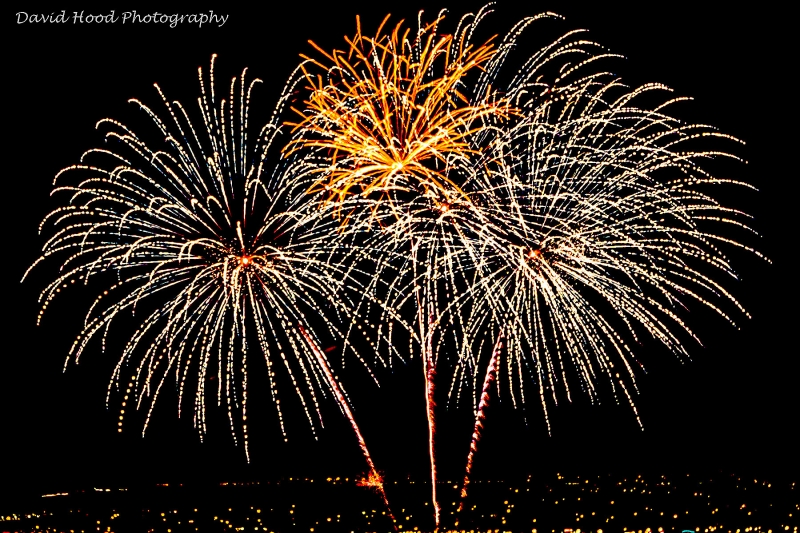
I took this photo last year with my Nikon D7100 affixed with 18-300 mm zoom lens at 90mm. Aperture f/11, ISO 100, shutter speed 8 seconds. Your mileage may vary. 🙂

DJH_4857

Image 1 of 1

Capture the Wonders Found In Travel and Life                           Email: d300dave@gmail.com
Instagram
Share

Rio Grande Nature Center

Yesterday I made my first visit to Rio Grande Nature Center and made my first ever attempt to photograph hummingbirds.  I used my Nikon D7100 crop sensor camera fitted with a Nikon f/2.8 70-200mm zoom lens, manual mode, shutter speed 1/1250 second, aperture f/8, spot metering, and auto ISO (around 1800).  I’m satisfied with the results, but the bird photos were heavily cropped (in excess of 100%) to create these photos.  The next time I will use my Nikon 18-300mm zoom  lens in order to avoid the visible grain that often comes with significant cropping.

DJH_3850

Image 1 of 2

These are other photos captured at the visitor center’s viewing area and during my walk around the scenic and serene trailways.

DJH_3840

Image 1 of 6

Bird photography, like many other photography venues, requires an understanding of your camera’s manual controls – specifically the control of aperture, shutter speed, and ISO.  Reading your camera manual and trying to understand the “how” and “why” of these settings can be a time consuming and frustrating experience.  If you live in central New Mexico I can provide one-on-one tutoring tailored to your camera and your needs – see my page, Albuquerque’s Personal Photography Tutor.  I’d enjoy meeting or speaking with you – no charge for initial meeting and consultation.  

Capture the Wonders Found In Travel and Life                                    Email: d300dave@gmail.com


Instagram
Share

Yearbook Photo

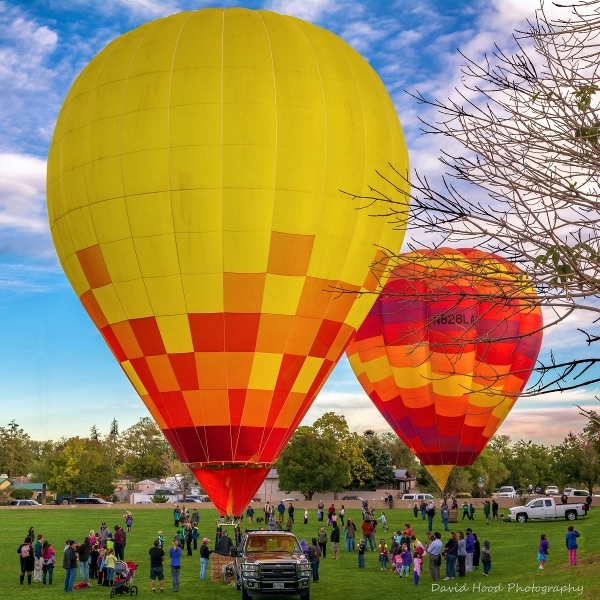
I was pleased to say “yes” today to Bandelier Elementary School (where grandson Billy is in the 4th grade) when they asked for permission to use this photo in their school yearbook.  This capture was made last October at the kickoff to Albuquerque’s annual International Balloon Fiesta.  Two balloon teams came to the school early in the morning and showed the kids how the balloons were prepared for flight – their demonstration was a big hit!  My photo will be featured on a page surrounded by other candid photos of the day’s events.

Capture the Wonders Found in Travel and Life                                  Email: d300dave@gmail.com
DJH_2983_Yearbook Final_6x6_LQ

Image 1 of 1

Instagram
Share

Change A Distracting Background

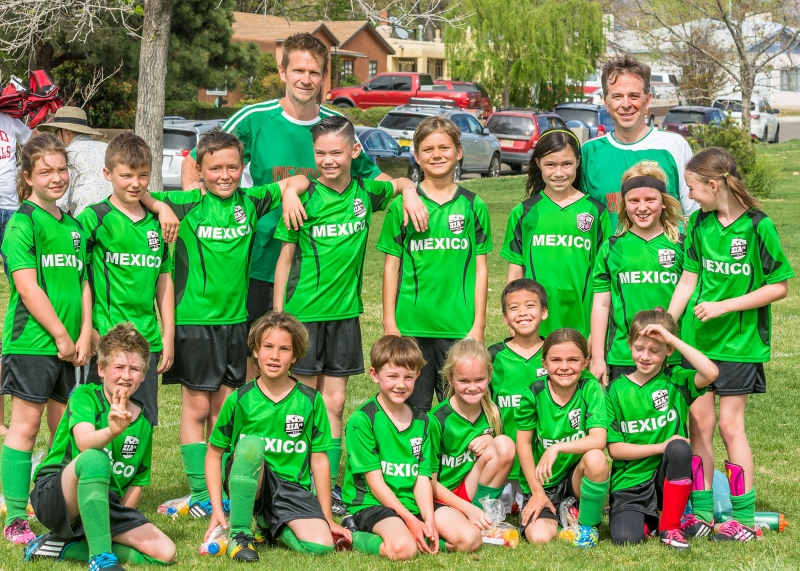
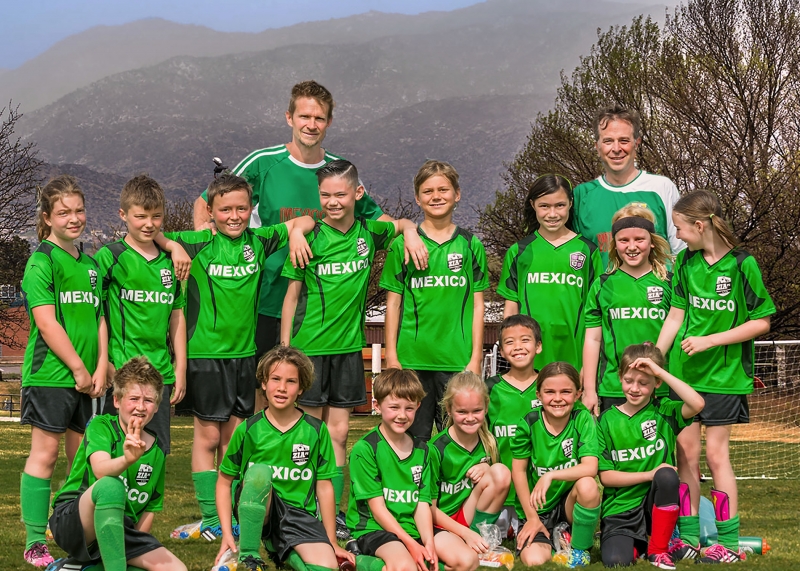
Today grandson Billy’s soccer team Mexico played team Brazil in the Zia Youth Soccer League “Under 11” age bracket.  Team Mexico won the match 4-2 and thus earned bragging rights at Billy’s elementary school where the 2 teams are rivals.  Whenever my schedule permits, I take action photos of the games and post the edited photos to my website for the parents and coaches to see.  Today was such a day, and I chose my equipment accordingly – my trusty Nikon D7100 outfitted with the superb lens for sports action – the Nikon f/2.8 70-200mm VR2 telephoto lens.  To my surprise after the game, I was asked to take a team photo because all 15 of the kids and both coaches were present – a rarity. Normally I would bring at least one off camera flash to properly light a group shot, so I was unprepared for the task.  The team was lined up and waiting, so I hurried over and took the shot (photo 1).  During editing I did the best I could to minimize the “raccoon eyes” that typically result from lack of flash fill, but I was unhappy with the distracting background.  So using some Photoshop magic, I very carefully selected the team from the background and moved it to a more suitable background – a photo that I took at last week’s game.  If the parents and coaches like the photo, I’d like to think that it’s an example of how to make lemonade out of lemons. 🙂

Capture the Wonders Found in Travel and Life                                  Email: d300dave@gmail.com
DJH_0777

Image 1 of 1

DJH_0011_TeamComp5x7

Image 1 of 1

Instagram
Share