Personal Camera and Photoshop Tutoring Focused On “Learn-by- Doing”

If you live in Albuquerque, NM I’d like to be your personal camera and Photoshop tutor. 
Perhaps you have a new DSLR or Mirrorless camera, or decided to dust off your old camera to capture holiday photos, and find yourself frustrated with understanding the hows and whys of the camera menu, and the lack of quality in the images captured. You may lack the time to read the camera menu with its confusing terminology or spend hours online searching for understandable tutorials.

I enjoy sharing my passion for photography, and have been providing one-on-one camera and Photoshop tutoring at my Albuquerque home/studio location for almost 10 years. If you prefer the “learn by doing” style of training over “one size fits all” textbook training, I’m your coach!  There’s no risk – if after the first hour of training you decide that I’m not a good fit for your needs, simply say so.  There will be no charge, and we’ll depart friends. For details please see https://www.davidhoodphotography.com/phototut/

Instagram
Share

New Photoshop AI Noise Reduction Tool

This post is for photographers who may be looking for a way to salvage photos taken with very high ISO settings. A recent update to Photoshop includes a new Lightroom and Camera Raw AI driven tool that provides  surprisingly effective results.

While many newer model DSLR and Mirrorless cameras have advanced sensors capable of providing high quality photos at ISOs in the 3500 to  8000 range, photographers rightfully try to keep ISO settings as low as possible in order to avoid excessive noise artifacts in their photos.

I’m not suggesting that photographers use ISO settings without concern for minimizing noise. But I am suggesting that photographers not walk away from a shot simply because they want to avoid dealing with noise in post processing.  

Take this photo for example. I was shooting a nighttime outdoor wedding reception using off camera flash, and when I was moving from one part of the venue to another, I came upon this opportunity to capture the venue from a distance. I wanted the shot because I believed the bride would appreciate a photo that captured the ambience of the location with its lighted pavillion. But I had no time to fetch my tripod, so I captured the scene and hoped for the best. I was using my Nikon Z6 fitted with a Nikon f/2.8 24-70mm zoom lens; settings were aperture f/5.6 (in order to maintain acceptly sharp focus from front to back), Shutter 1/80, and ISO 32,000. 

The raw photo straight out of camera (on the left) looked awful, but the photo edited in Camera Raw with the new Denoise Tool (on the right) provided a result sufficiently acceptable for delivery. I suggest that you give the new Denoise tool a try on your high ISO photos!

David Hood                                                                                                    Email: d300dave@gmail.com

Capture the Memories Found in Travel and Life

Instagram
Share

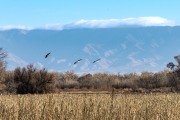
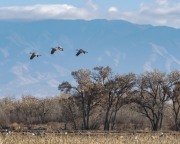
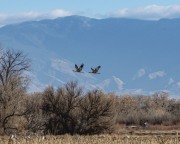
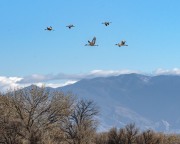
Photographing Birds in Flight Using a Nikon Z6

Capturing birds-in-flight is a challenging photography venue.

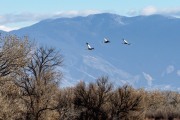
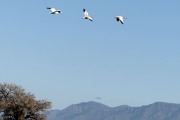
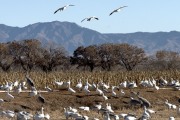
One of my photography tutor clients https://www.davidhoodphotography.com/phototut/ invited me to travel with him for a birds-in-flight photo-shoot at the Bernardo Waterfowl Area in Bernardo, NM located north of Socorro on Interstate 25, Exit 175. The area contains a three (3) mile vehicle tour loop and three (3) elevated viewing and photography platforms providing a great area for winter viewing of migrating Sandhill Cranes and Canadian Snow Geese. https://www.socorronm.org/attractions/ladd-s-gordon-waterfowl-complex-bernardo-waterfowl-area/

My objective was to capture a landscape photo of the birds in flight with the scenic mountains in the background.  We arrived about 9AM on a clear day and found a location with the view I envisioned, birds in flight, and with the sun in the right position for good lighting – perfect!

My camera gear included a Nikon Z6 fitted with a FTZ adapter and a Nikon f/2.8 70-200mm zoom lens. I shot in manual mode with a shutter speed of 1/1250th second, an aperture set to f/11 to ensure adequate depth of field, and ISO set to Auto so that I could quickly change my direction of view without worrying about my exposure settings. 

My camera is Nikon’s first entry into the full frame mirrorless camera market, and I’d read some early reviews critical of its slow autofocus of moving objects. Nikon has since addressed those concerns with firmware updates. But with those concerns in mind, I had my camera set up for back-button-focus using AF-C continuous focus mode and Dynamic Area autofocus.  My shutter release was set for focus (as opposed to release), so that the shutter would only release when focus was achieved. I was able to achieve focus and capture a sufficient number of images to get the photos that I’d envisioned. 

Post processing was done in Adobe Camera Raw and Photoshop where I applied Levels and Brightness/Contrast layers and sized/sharpened the images.

David Hood Photography   

Capture the Wonders Found in Travel and Life     


Instagram
Share

Landscape Photography Tips

It’s the time of year that leaf peeping photographers search for that perfect landscape photo with colorful foliage from the foreground to the background. Once that perfect location is found, the challenge is dialing in the proper exposure and focus settings to capture a photo with a pleasing composition, proper white balance, balanced exposure (minimal loss of detail in shadows or highlights), and acceptably sharp from foreground to background. When tutoring DSLR/Mirrorless clients https://www.davidhoodphotography.com/phototut/, I talk about this phase of the process as the vision phase. It’s important that the photographer have a firm vision of the desired outcome in order to determine the best exposure and focus settings for the the next phase of the process – the capture phase. The purpose of this post is to provide some landscape photography tips. 

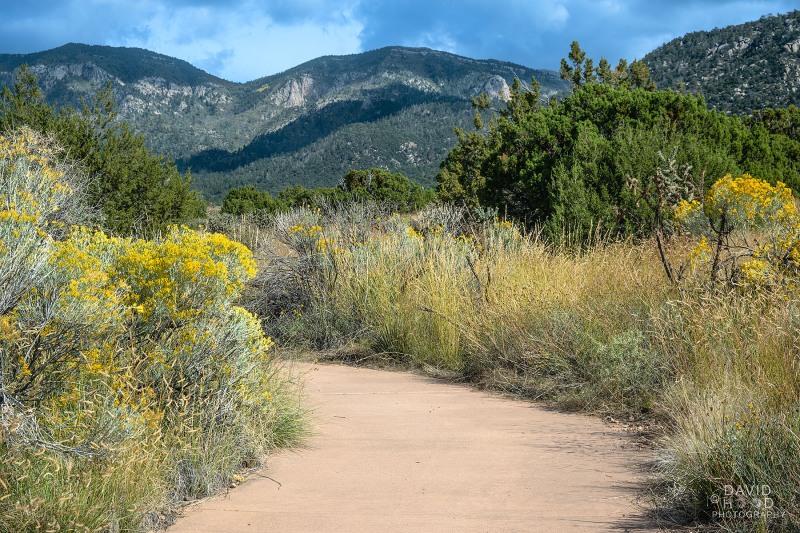
This post will concentrate on the capture phase. Composition is a subject unto itself, and is an essential element of the photographer’s “vision” of the capture. Yes, there are “rules” for composition (rule of thirds, leading lines, etc.). Lighting conditions, practice and experience will soon give you  an “eye for photography”, and you’ll know a good composition when you see it. For the photo below https://www.cabq.gov/parksandrecreation/open-space/lands/elena-gallegos-open-space my vision was for the leading lines of the pathway with colorful flowers on either side to draw the viewers eyes toward the Sandia Mountains in the background. I was using my Nikon Z50 with the 16-50mm kit lens.

So let’s get to it and review the thought process behind determining the camera settings for the capture phase. First, I teach my students owning a modern DSLR to shoot in raw mode (as opposed to jpeg mode) because raw mode provides much more latitude than jpeg in editing a photo to maximize the details often lost in shadows and highlights. 

Now the thinking behind the exposure settings for this landscape photo.  Of the 3 elements of the exposure triangle, shutter speed is the least critical. Since I was shooting hand held, I wanted to be at 1/60th second or greater in order to minimize the effects of camera shake.   In this daylight setting with plenty of ambient light, I wanted the second element of the exposure triangle, the ISO setting (the sensor’s sensitivity to light), to be as low as possible in order to minimize “noise” in the photo (artifacts or specs in the image caused by high ISO settings).  The third element of the exposure triangle, the aperture or f/stop, is the most critical setting of any landscape photo because it (as well as the distance from the closest item of interest in the foreground) establishes the depth of field. The smaller the aperture setting, the greater the depth of field (distance between the nearest and furthest elements in a scene that appear to be “acceptably sharp” in an image). I wanted an image that was acceptably sharp from front to back, and at the same time wanted an aperture at which my 16-50mm kit lens was sharpest. For most lenses, this “sweet spot” is at apertures f/8 to f/11 so I chose f/10 for my aperture. Using the f/10 aperture and ISO 100, the resultant shutter speed required to center my camera’s meter was 1/250th second.

The remaining decision was where in the scene to focus to achieve acceptably sharp focus from front to back.  Landscape photographers use the hyperfocal distance (the point nearest the camera at which the depth of field extends to infinity at the selected aperture) to determine where to focus. There are smartphone apps to calculate this point, but in actual practice placing your spot focus on a point roughly half way into the scene (which I did) provides acceptable results.  

I’d be remiss if I didn’t introduce the editing (aka post processing) phase of creating a landscape photo. It’s during this phase that the photographer takes the raw image from the camera sensor to  editing software and turns a good photo into a great photo by adjusting pixels for white balance, tonal qualities, colors, vibrance, saturation, highlights, shadows, contrast optics, cropping, size and sharpness. I teach my clients to use the Adobe Creative Cloud photography plan subscription software package; specifically, Adobe Bridge (the library), Adobe Camera Raw (raw processing), and Adobe Photoshop (final editing).

I find that every photo shoot provides a learning opportunity. In future photographs of this kind, I’d like increased sharpness – particularly in the background area of the photo. I had to use an Adobe Camera Raw layer mask with the clarity slider to improve the sharpness of the mountains in this photo. But the real lesson learned here is that focus stacking is the surest way to move from “acceptable focus” to real front to back sharpness. Focus stacking with the Nikon Z50 has to be done manually, one frame at a time, but with a tripod and patience it can be done. Perhaps I’ll address focus stacking in a future post.

Capture the Memories Found in Travel and Life                                   Email: d300dave@gmail.com


Instagram
Share

Dragging the Shutter

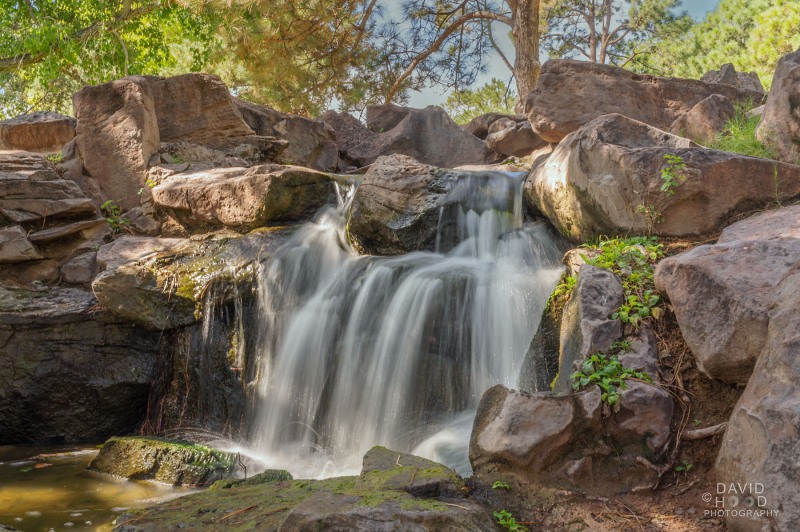
Serenity.  I often visit the University of New Mexico Duck Pond to shoot senior pictures and family portraits. On these occasions my attention was drawn to the waterfalls and how nice it would be to capture a long exposure to emphasize the smooth flow of the water coming over the rocks. Well yesterday I took a lessons client there https://www.davidhoodphotography.com/phototut/ and came prepared with the right gear – a tripod and a 2 stop Neutral Density filter to reduce the light coming into the lens. 

I used my Nikon Z6 fitted with a 24-70mm lens and the 2 stop filter, on camera flash, and tripod. I shot in manual mode with evaluative metering for the exposure which was .4 seconds shutter speed, f/22 aperture and ISO 100. I used spot focus on the water and 1/2 power on the flash to bring out the details in the rock and add highlights to the flowing water. 

This combination of equipment and techniques provided the result I’d been seeking – capturing the serenity of the scene. Enjoy!


Instagram
Share

Free Help With Digital Camera Manual Exposure Settings

One of my favorite digital photography venues is teaching clients how to move from the auto setting mode to the Manual mode. In Auto mode the camera’s algorithm controls all of the exposure settings based upon ambient lighting and other factors. However, in Manual mode the photographer controls the settings and is thereby able to create exposure settings consistent with the style envisioned. 

The purpose of this post is to encourage the move from Auto to Manual by providing free help with manual exposure settings. The idea for this post came from my social media searches about trying to improve my golf swing. Most were long winded infomercials that didn’t provide any helpful information – very frustrating! So I decided to write this pay-it-forward post to help photographers that may be struggling with manual exposure settings.

I encourage beginners to get out of their comfort zone, switch to Manual mode, and use these 4 steps to get you started. Remember the acronym I Am Shooting Fast (IASF) to help you remember the 4 critical settings. Below is a description of the settings; the idea is to adjust one or more of these settings as needed in conjunction with your camera’s meter so that the meter doesn’t indicate significant over-exposure or under-exposure. For most cameras, you can view the meter as you look through the viewfinder of at the LCD screen. 

  • I (ISO). Most modern DSLR and mirrorless cameras have an ISO button on the camera to control the ISO setting which typically ranges from 100 to 6400 or higher. The higher the ISO number, the more sensitive your camera sensor is to light. But there is a tradeoff – at higher ISO settings there is greater likelihood that the resulting photo will contain “noise” or grainy artifacts in the image. So keep the ISO as low as possible. Outdoors start with 100. Indoors start with 400-620. On entry level or bridge cameras you may have to go to the camera menu to set the ISO; otherwise, on many cameras the ISO is set by pushing the ISO while turning the wheel on the back of the camera (below the shutter button) until you see the desired ISO number in the viewfinder or LCD screen.

  • A (Aperture or f/stop). Aperture controls the size of the hole within the lens where light enters the lens and hits the camera’s sensor. For low numbers like 2.8 or 3.5, the hole is at its largest setting and therefore allows the most light to be recorded on the sensor. For higher numbers like f/18-f/22, the hole is at its smallest setting and therefore allows the least amount of light to be recorded on the sensor. Again, there are tradeoffs involved. Lower aperture numbers will diminish the depth of field, or sharpness/detail from the very front of the photo to the very back. Most lenses also have a “sweet spot” or aperture setting at which the lens is at its sharpest (typically at the f/8-f/11 range). Start with f/3.5-f/5.6 indoors and f/8-f/11 outdoors.

  • S (Shutter speed). Shutter speed controls the length of time for the shutter within the camera to open and close, thus affecting the amount of light hitting the camera’s sensor. For low numbers like 1/10 – 1/40, the speed is at a slow setting and therefore allows the most light to be recorded on the sensor. For higher numbers like 1/500-1/1000, the speed is at its fastest setting and therefore allows least amount of light to be recorded on the sensor. Again, there are tradeoffs involved. Very slow shutter speeds (below 1/60) can permit camera shake/blurry photos (especially for moving objects) unless a tripod is used. Start with a shutter speed equal to or greater than the focal length of the lens. For example if using a zoom lens at 85mm focal length, start with 1/100 shutter speed.

  • F (Focus). The 3 settings above are commonly referred to as the exposure triangle. Proper focus has nothing to do with exposure, but it’s so important that I’ve added it as an essential setting for creating a good photograph. Even the best exposure settings will not create a good picture unless there is proper focus. Many cameras and lenses provide options for manual focus (MF) or autofocus (AF). Autofocus generally works well, so if not already selected choose autofocus, and then partially depress the shutter button until you see an indication in the viewfinder or LCD (typically a green box) indicating proper focus.

This covers the basics of exposure setting in manual mode; I hope that you find it helpful. If you live in the Albuquerque area and would like to learn more about my one-on-one photography tutoring, please click here for additional information https://www.davidhoodphotography.com/phototut/ . Please feel free to share and/or provide feedback. 

Email: d300dave@gmail.com                                                                             Phone/Text: (210) 422-0572

Instagram
Share

Old Town Albuquerque


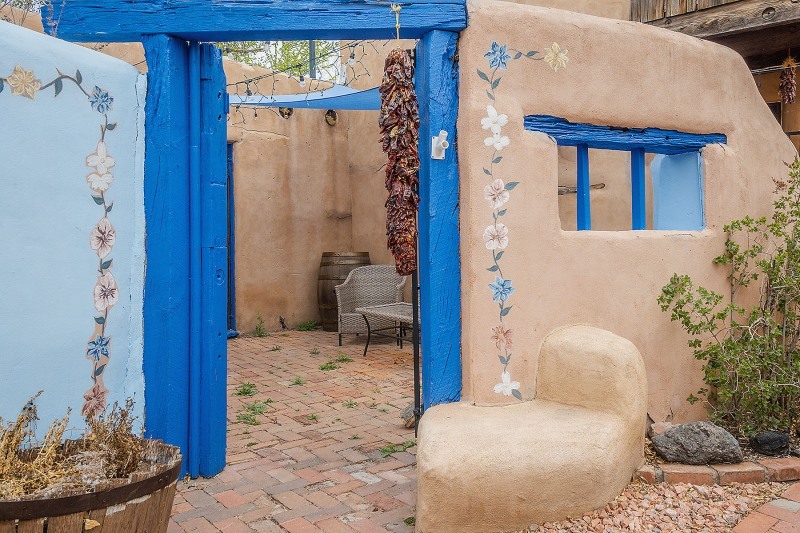
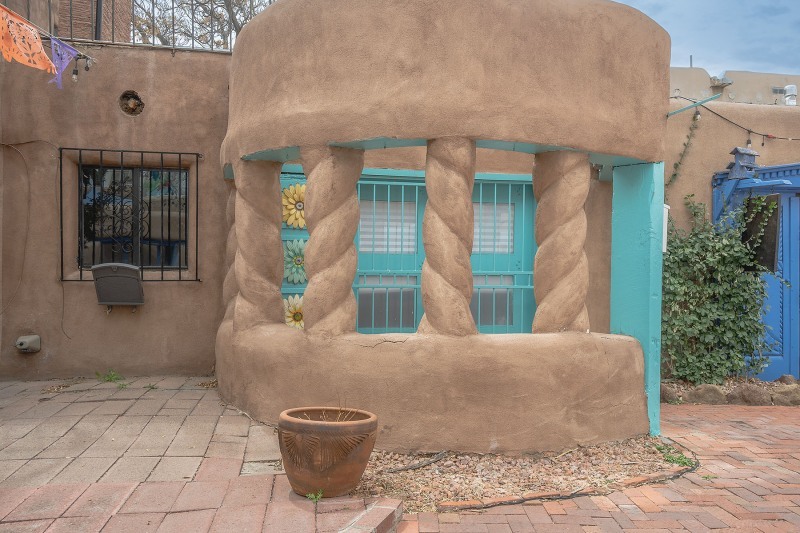
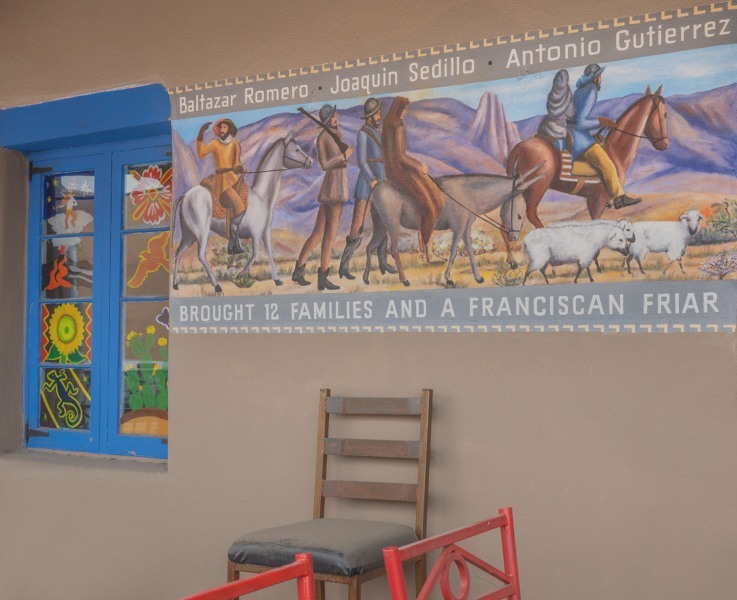
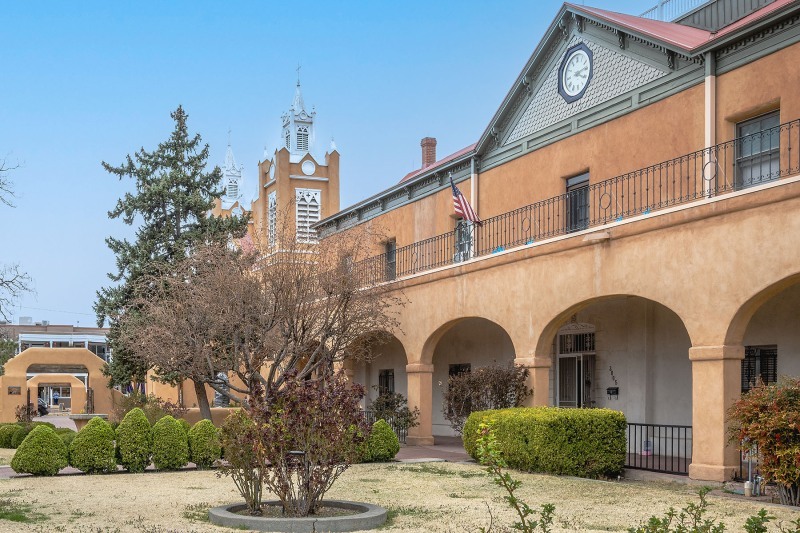
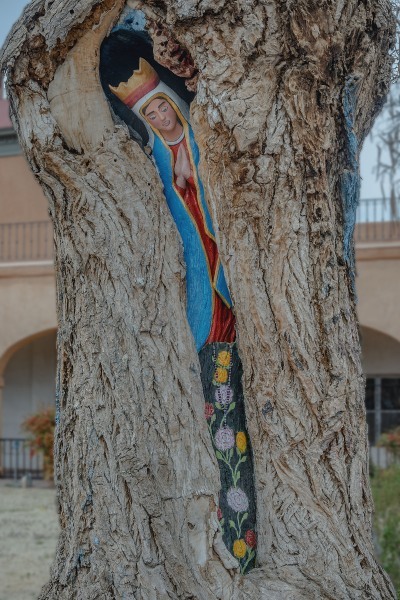
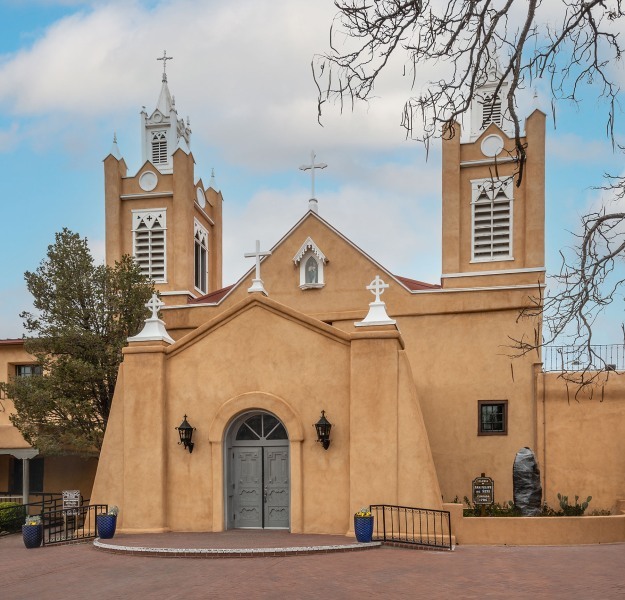
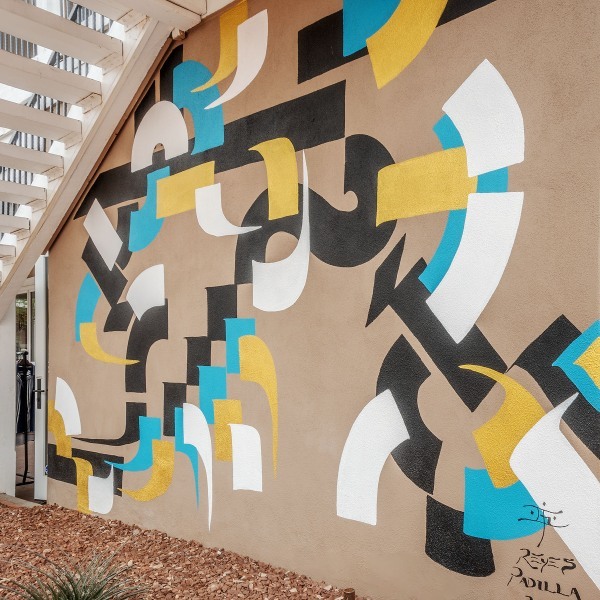
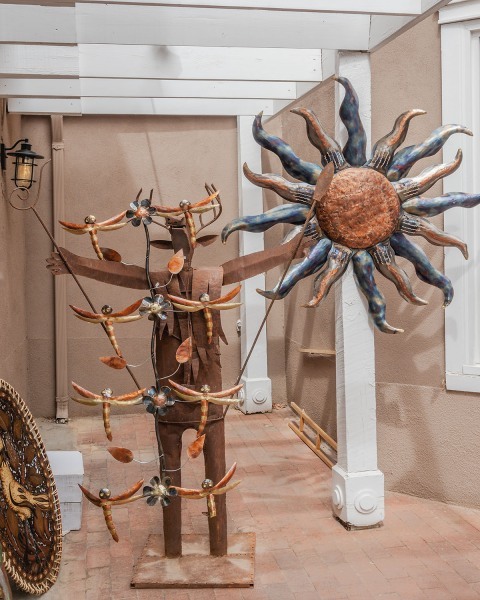
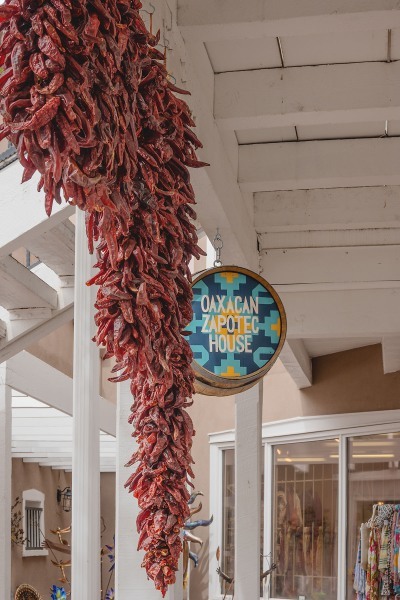
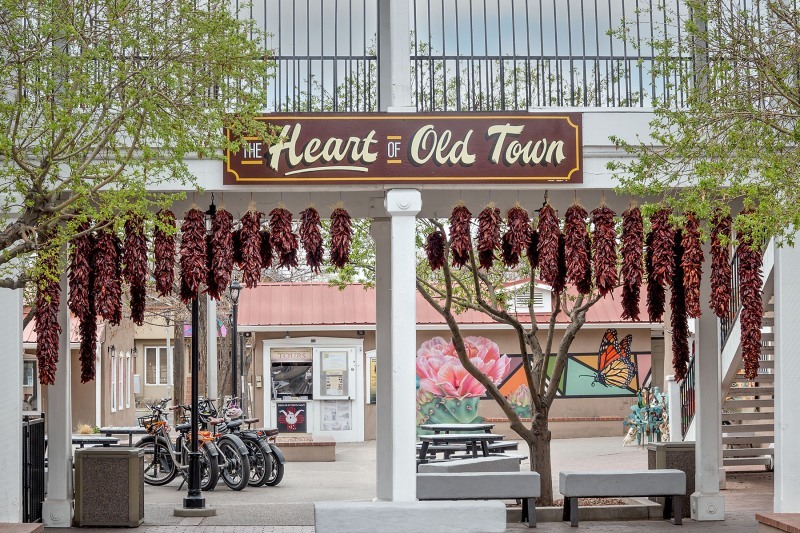
Once in a while it’s nice to get out and take photos for my own enjoyment, and yesterday was one of those occasions.  A photographer that I’ve known since high school visited Albuquerque and expressed interest in visiting Old Town. We had a wonderful time walking about and capturing photos of some of the main tourist attractions together with some that were off the beaten path. These were taken with a Nikon Z50 camera fitted with the 16-50mm lens. Post processed with Adobe Camera Raw and Photoshop CC. 

Capture the Memories Found in Travel and Life

Email: d300dave@gmail.com


Instagram
Share

Shooting in Camera Raw With iPhone 13

This post focuses on the proper settings for shooting in camera raw with the iPhone 13. It’s geared to photographers like me who are new to the late model iPhones, but are struggling with achieving a workflow that enables them to take advantage of the dynamic range of camera raw for extra latitude in editing on their PC or MAC. It may also be of interest to newbies to the iPhone that might be looking for a tutor to help them understand the menu system and how to select the settings on their new iPhone to capture the best possible photo  https://www.davidhoodphotography.com/phototut/

Full disclosure, based upon very good reviews of the iPhone 13 camera quality, I just converted from an Android Pixel 2 phone to the new iPhone 13 Pro. As a pro photographer I wanted a camera that I always had with me, and that I could shoot in raw and edit in Adobe Camera Raw and Photoshop CC. My new iPhone definitely meets these needs, but as a new IOS user, it took me a while to discover the proper menu settings.

For new users like me who want to begin the editing process  with a raw file (Apple ProRAW in this case), these tips on menu setup may be helpful. However not all of my recommendations will apply to photographers who have no need or desire to shoot in raw format.

First, tap on the Settings menu, tap on your name, and then tap on the Camera menu. Next tap Formats – then turn on High Efficiency, Apple ProRAW, and Apple ProRES (for video). 

Tap Settings again to go back to the previous menu. Set Record Video for 4K at 30 fps, and turn ON: 1) Record Stereo Sound, 2) Use Volume Up for Burst, 3) Scan QR Codes, 4) Show Detected Text, 5) Grid, and 6) Mirror Front Camera. View Outside the Frame  is a distraction in my opinion and I recommend that it be turned off. Scroll further down and turn on Lens Correction. In the section under Photo Capture, I left Photographic Styles disabled because I choose to capture my photos in “standard” style and edit to my own taste during post processing.  I also left Prioritize Faster Shooting disabled because I don’t want risk any degradation of image quality. I further recommend leaving Macro Control off since I’d rather decide which lens to use (the .5X wide angle, the 1X normal, or the 3X telephoto) instead of letting the camera automatically select.

One last and very important step if you want to have the raw file on your camera where you can either edit it with an app such as Lightroom Mobile or Snapseed is to go to Settings, then scroll down and tap Photos, then scroll down to the heading Transfer to MAC or PC.  Select the Keep Original option; the Automatic option will NOT transfer the dng raw file back to your iPhone.  Once you have the captured raw file on your phone you can connect a cable from your phone to your PC and move the selected raw files (.dng) to a folder on your PC.

My  workflow from this point is to open Adobe Bridge (part of the $10/mo Adobe Creative Cloud subscription) and select the dng files to be edited from the folder on my PC. Then I right click on the selected file for raw editing and open that file in Adobe Camera Raw (also part of the Creative Cloud subscription) to edit the raw file. The final step is to open the edited raw file in Photoshop and complete the editing process before saving the edited file as a psd or jpg file ready for printing or sharing on social media. 

It’s important to note that if you leave leave the iCloud app enabled on your phone (tap Settings, tap your name, scroll to iCloud), then those large 25Mb raw files will soon fill up your free iCloud storage. So if you shoot a lot of raw photos as I do, you may want to disable iCloud and store your files on an external drive or on another cloud service.

I’ll close with reviewing a couple of things you’ll experience with the iPhone 13 compared to your DSLR or mirrorless camera.

  1. There are no issues with the iPhone 13 autofocus system unless the foreground is closer than 10 feet. In that case the camera will decide whether to focus on the foreground or the background, in which case one or the other will be less sharp. The good news is that the photographer can make the choice by simply tapping the foreground or background to set the focus point. Note that a firm press will lock both focus and exposure to that point in the picture.
  2. It’s not surprising that there are some focus limitations because the available apertures are very small (f/1.8, f/1.5, and f/2.8 for the ultra wide, wide, and telephoto lenses respectively). But these apertures, combined with the iPhone 13’s 47% larger sensor than last year’s iPhone 12, provide for amazing low light photography. 
  3. Shooting in the iPhone 13’s Live View mode enables the photographer to shoot short bursts by keeping the shutter depressed, which is an advantage while shooting action shots. But for those of us who want to shoot in raw format, burst shooting via the shutter is disabled. That’s why I recommended above that the photographer enable Use Volume Up for Burst in the Camera settings. This may not be an issues for those who don’t shoot in raw format.

This photo was captured with my iPhone 13 Pro about 30 minutes after sunset using the .5X lens (13mm equivalent) at f/1.8 aperture, 1/50 shutter speed, and ISO 1000.  Edited in Adobe Camera Raw and Photoshop.

Capture the Wonders Found in Travel and Life            Email: d300dave@gmail.com

IMG_0205-4x6

Image 1 of 1

Instagram
Share

Fall Color at UNM’s Duck Pond

I enjoyed visiting the nearby UNM campus yesterday to capture some photos of fall colors around the Duck Pond https://www.10best.com/destinations/new-mexico/albuquerque/university-area/attractions/unm-duck-pond/ in the central campus area. These shots were made with my Nikon Z50 fitted with a 16-50mm lens. Camera raw photos were post processed using Adobe Camera Raw and Photoshop Creative Cloud. This is a nice area to take my clients who want outdoor portraits, or those who hire me for camera coaching https://www.davidhoodphotography.com/phototut/ . It provides many opportunities to practice different metering and focus modes, aperture settings for controlling depth of field, and shutter settings for  smoothing the flow of water.

Capture the Wonders Found in Travel and Life            Email: d300dave@gmail.com

Instagram
Share

Rio Grande Nature Center

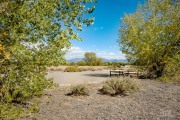
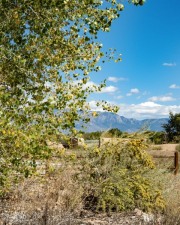
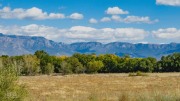
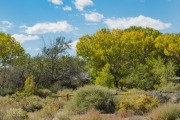
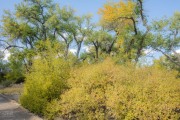
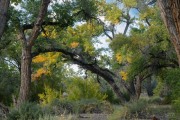
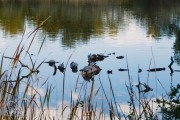
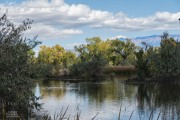
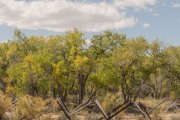
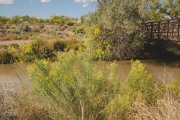
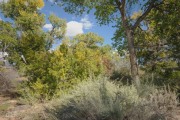
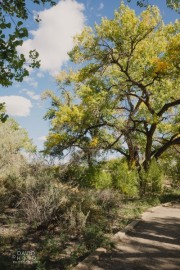
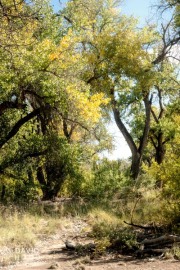
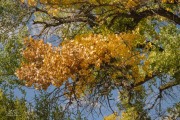
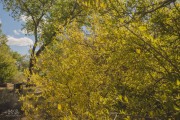
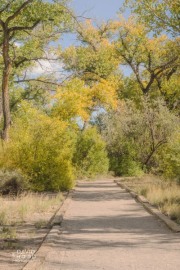
Barbara and I spent a lovely afternoon at Rio Grande Nature Center State Park last Wednesday https://www.emnrd.nm.gov/spd/find-a-park/rio-grande-nature-center-state-park/ looking for fall colors. We were a tad early, as the cottonwoods were just starting to turn, but hopefully we’ll get back again in a few days and see more color. Shot with a Nikon Z50 mirrorless camera using 16-50mm and 50-250mm lenses.

Capture the Memories Found in Travel and Life                          Email: d300dave@gmail.com

Instagram
Share