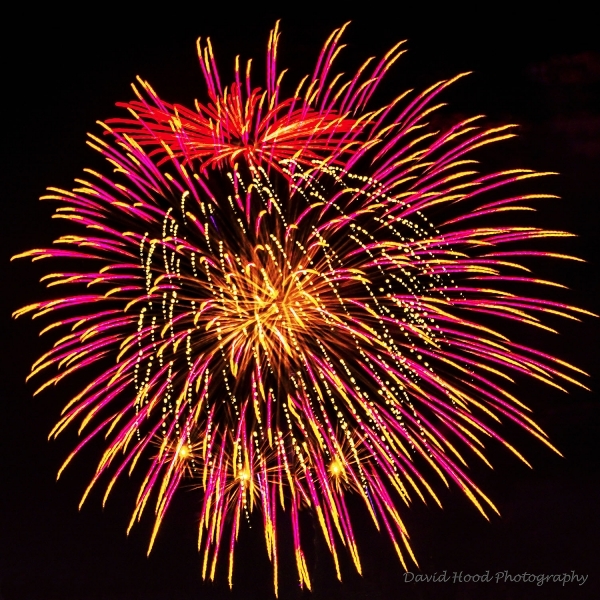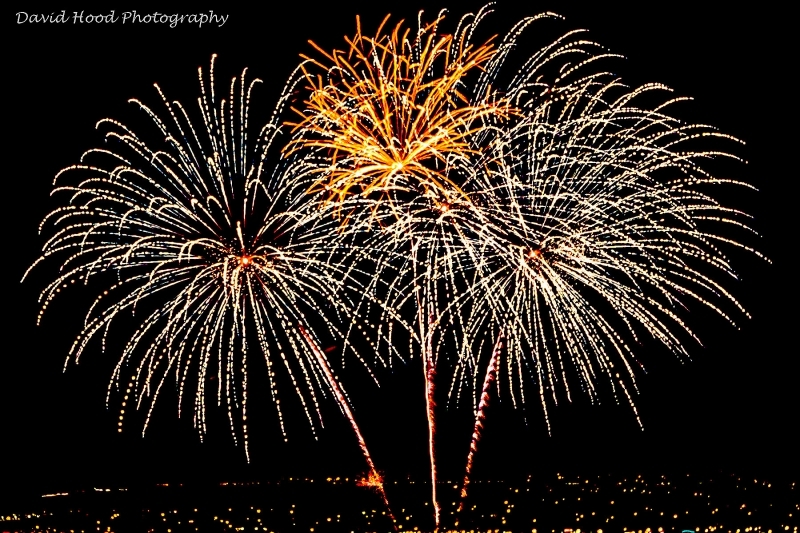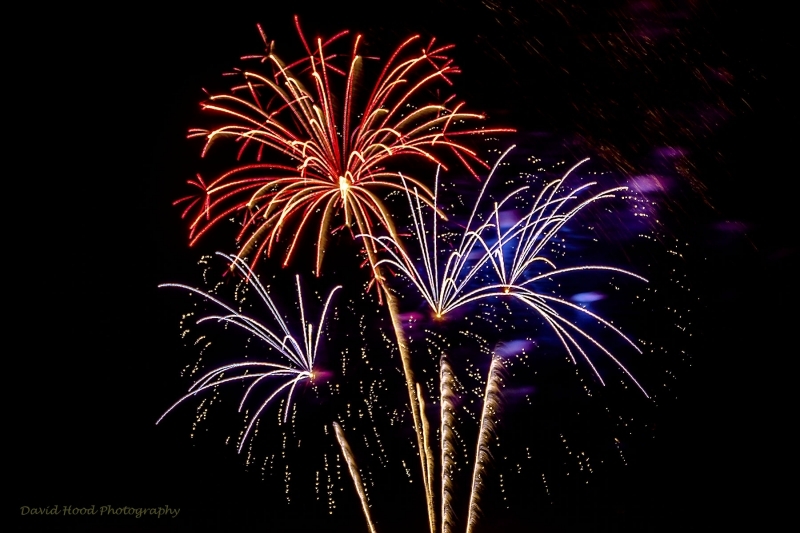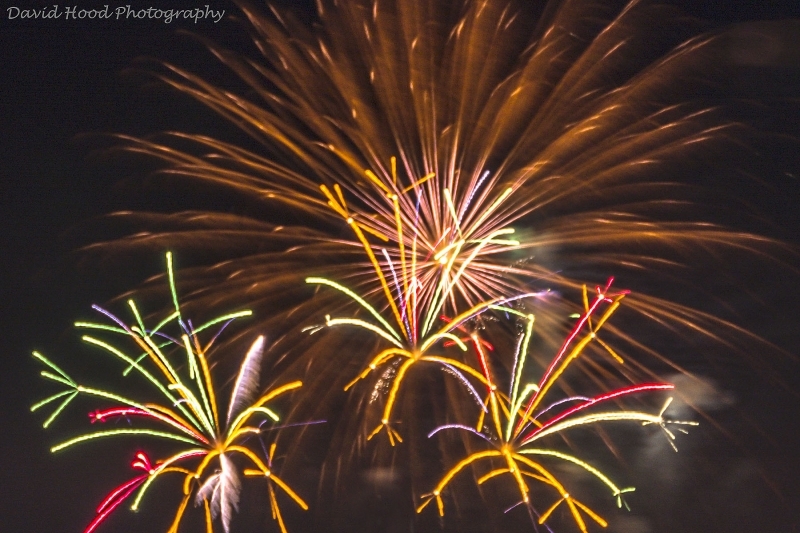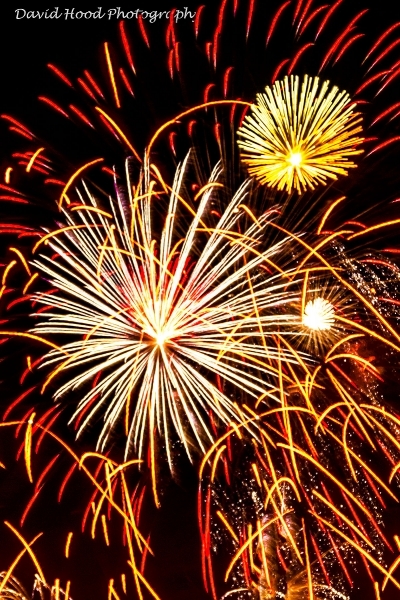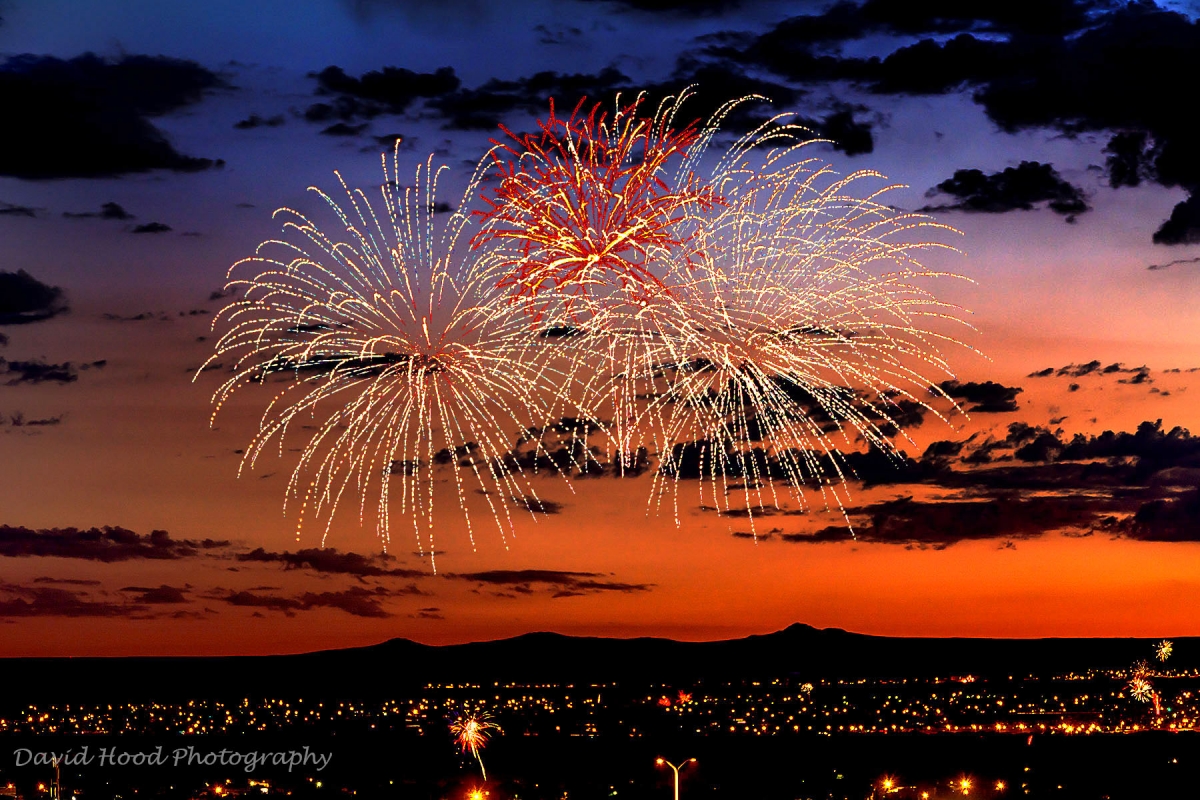
Every July 4th, Albuquerque’s Balloon Fiesta Park provides a fireworks display to celebrate Independence Day for the United States. My wife and I secured a location on the 3rd floor of a nearby parking garage where I could get an unobstructed view of the show and set up my tripod and camera.
A rainstorm had passed through parts of the city about 2 hours before the show began, so we had some concerns about cloud cover obstructing our view. But the heavy clouds were gone prior to show time and, in fact, provided some beautiful sunset views (a coming post perhaps!).
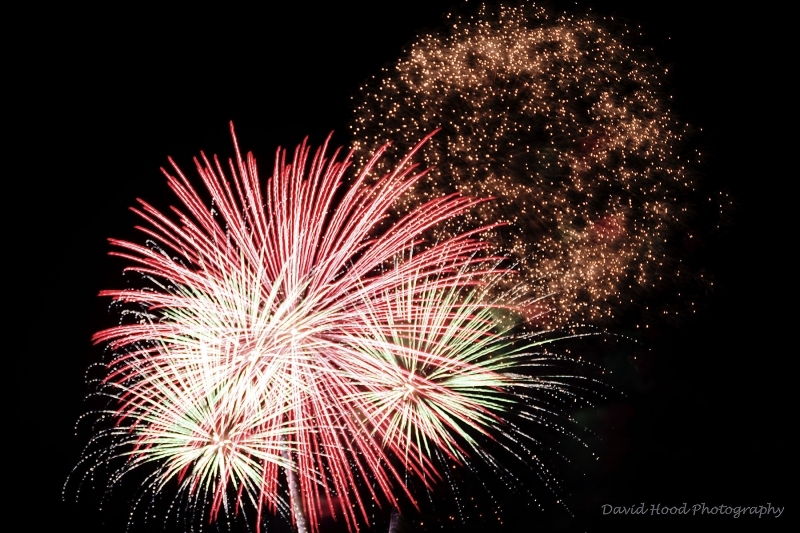
These photos were captured with my Nikon D7100 camera fitted with a Nikon f.3.5-6.3 18-300 mm zoom lens. I mounted my camera on a tripod and (using manual focus) while there was still sufficient daylight, pre-focused the lens to the area of the expected display. I also turned the lens vibration reduction (VR) function off and used a remote shutter release. Ironically, keeping the VR function on while shooting from a tripod can be counter productive because the VR function in the lens actually adds a small amount of vibration – it does its job and works well when the camera is hand=held, but is not designed for use on a tripod.
Using manual mode, I set the aperture to f/11 (the sweet spot of the lens for sharpness and to provide sufficient depth of field), the ISO at 100 (the lowest setting on my camera) in order to minimize “noise” or grain like artifacts that can appear in dark areas of the image, and the shutter speed at 4 to 5 seconds (sufficient time to adequately expose multiple and sequential fireworks explosions).
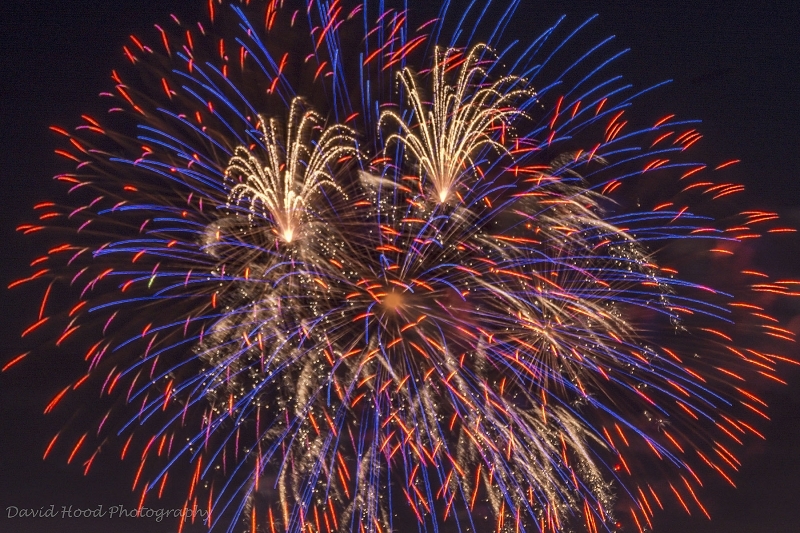
Finally, I set my camera to record the digital images in camera raw mode, as opposed to relying solely on the jpeg file format. Raw files capture a wider range of colors than the jpeg format, thus providing greater flexibility in post processing, or editing, the final image. I used Adobe Photoshop CC for Photographers to process my raw files into the final jpeg images presented here. Specifically, while in Adobe Camera Raw CC, I set the white balance to fluorescent, closed down the highlights and opened up the shadows, adjusted the white and black settings to taste, increased clarity to about 15. adjusted tonal settings (highlights, light, dark, and shadows) to taste, set noise reduction luminance to 15, color luminance to 8, and sharpening to zero. After opening the image in Photoshop CC, I cropped the images, used the curve adjustment tool to tweak the highlights, mid-range shadow tones, and the spot healing tool to remove distracting artifacts from the image. Then as the last step before saving the file I set the print size and used the Photoshop filter/sharpen/unsharp mask function to add appropriate sharpening relative to the print size.
I hope you enjoy the results, and as always I welcome comments and questions.
Capture the Wonders Found in Travel and Life Email: d300dave@gmail.com